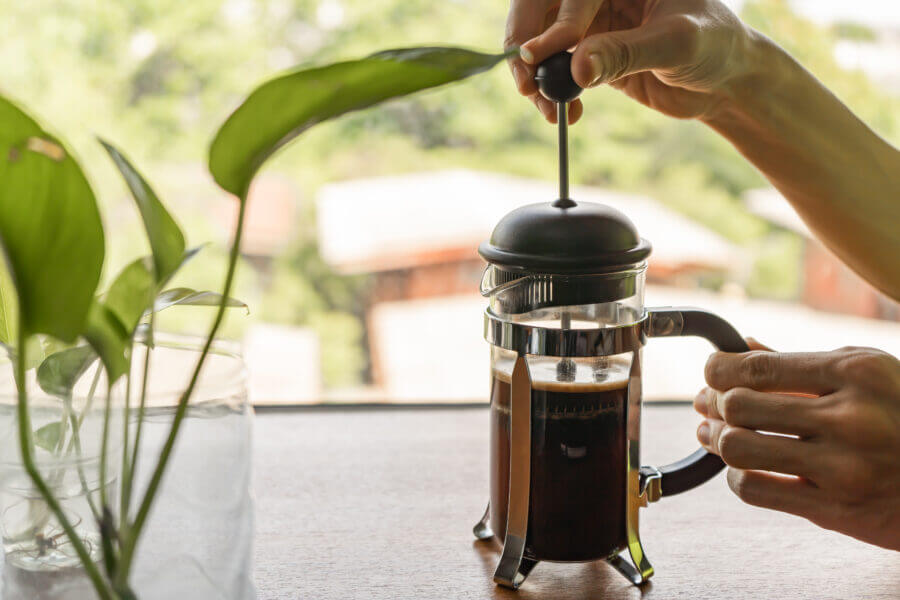
If you’re a diehard coffee lover, you probably know about coffee plungers. Learning how to use a coffee plunger will help you create the perfect cafe at home.
The Coffee Grounds
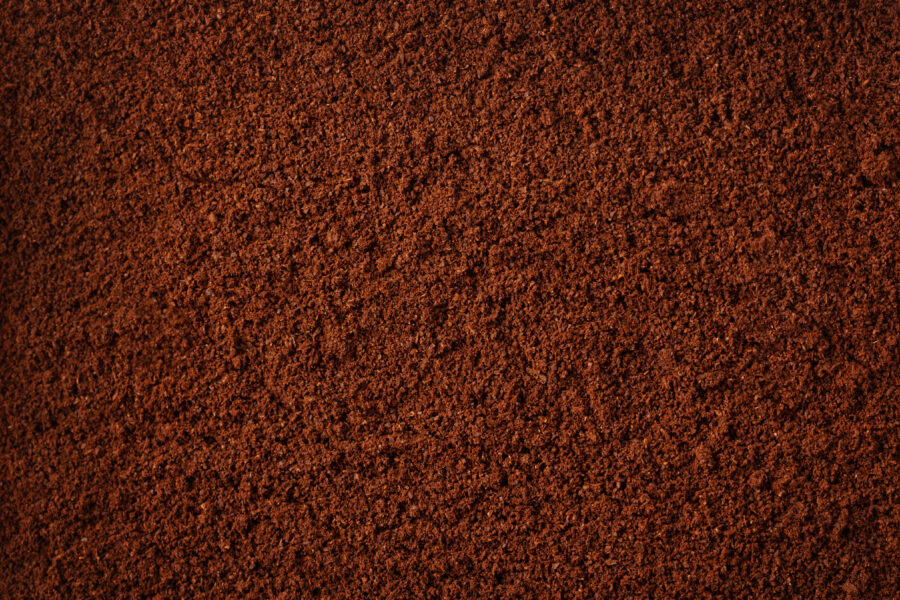
Before you do anything, buy the right kind of coffee. The coffee should be freshly ground. Some coffee machines require whole coffee beans, but not this one.
You don’t necessarily have to grind them yourself, though it does help the coffee taste fresher. In any case, a bag of medium-level coffee grounds works nicely.
Coarse grounds could also work. However, don’t go for finely ground coffee. It’ll get through the plunger’s filter, defeating the whole purpose of using it.
Preheat the Plunger
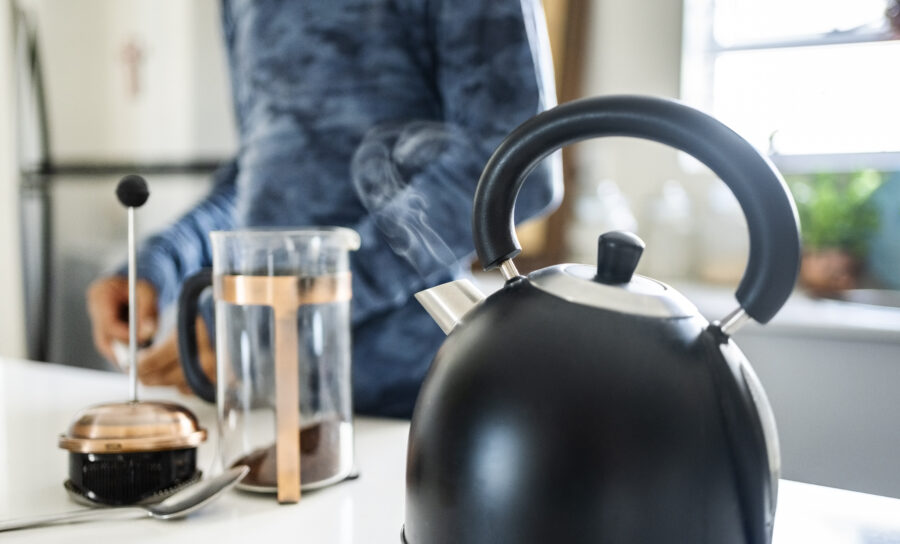
This is a step to making plunger coffee that people tend to forget. It’s not strictly necessary, but it can elevate your drinking experience.
Simply fill the carafe (the beaker-like part) with hot water before you start making coffee. The water shouldn’t be boiling. You can use hot tap water.
This will warm up the plunger and keep the coffee at a nice, warm temperature. Do this while the water for your coffee is boiling.
Time to Scoop!
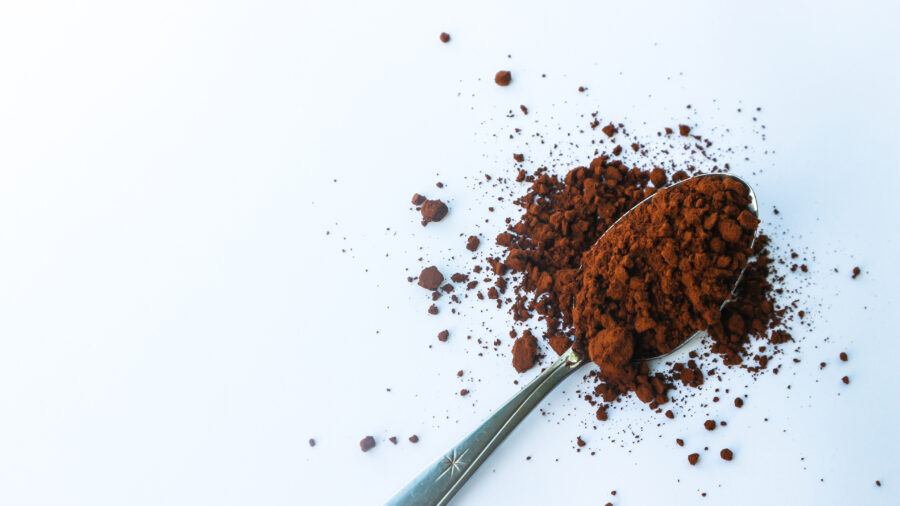
The amount of grounds you need to spoon into your coffee is largely dependent upon how big your plunger is. Small plungers usually ask for a tablespoon.
Large plungers, on the other hand, call for about five or six tablespoons. See how much it can vary? Regardless, you don’t want to be skimpy about it.
Fill up the whole tablespoon. The grounds should be falling off the sides. Maintaining the proper ratio of grounds to water is crucial for a good cup.
Utilizing Brewing Scales for Precision
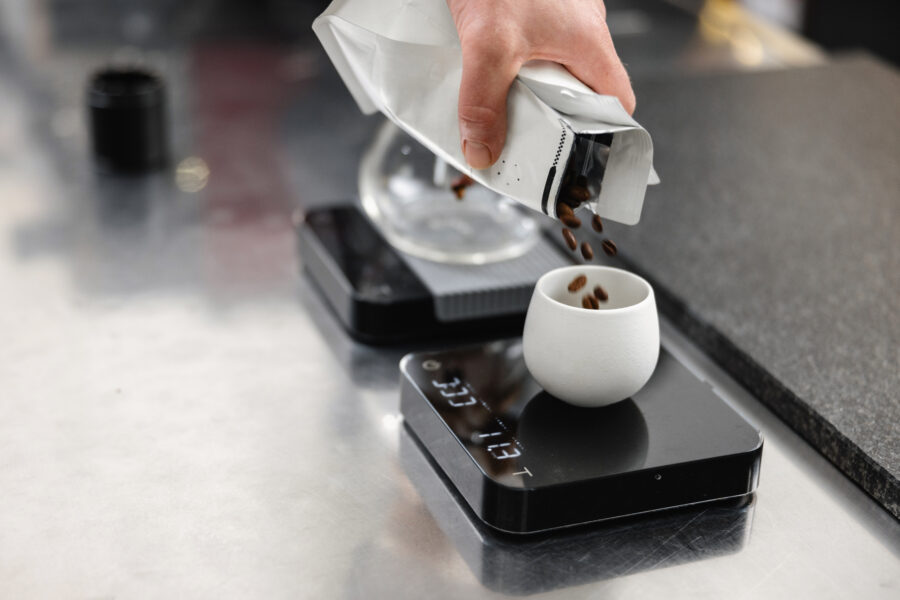
This step is optional. Brewing scales are typically used by high-level baristas. If you want to pursue coffee-making as a serious hobby or career, invest in one.
So, what’s the point? Brewing scales weigh coffee beans and water, which helps you figure out the precise ratio you’ll need for the coffee you’re making.
Since different types of coffee need different ratios of coffee to water, a brewing scale can only help you. Don’t feel the need, though — they’re pretty fancy.
Adding the Water
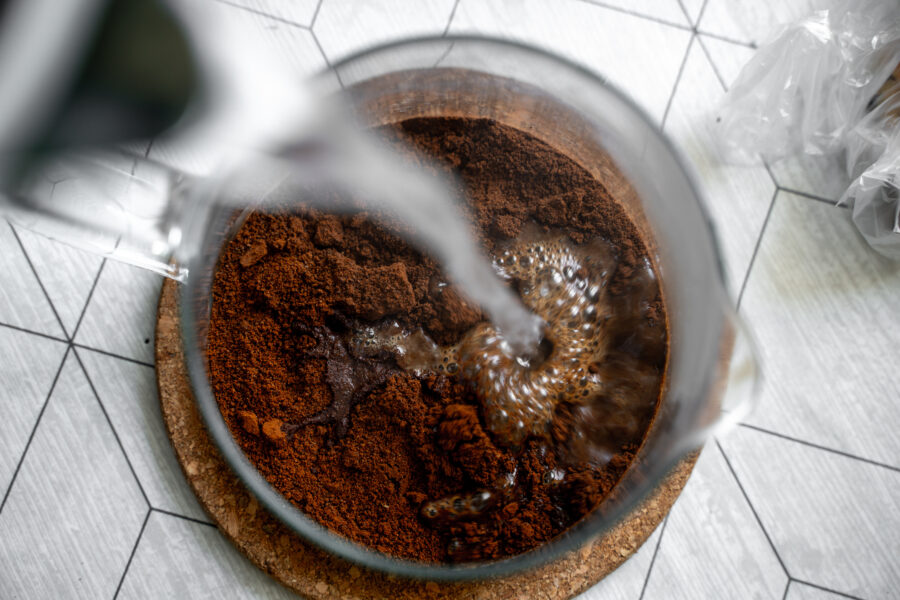
How much water you need depends on what your plunger can accommodate. Plungers usually have a line towards the top that indicate the amount they can hold.
You never want to fill it all the way to the top, though. That’s pretty much one of the the biggest rules of using a coffee plunger.
Since you’ll be pushing down on the water, filling it to the top would displace the liquid, causing it to spill. Also, the water should be boiling.
Blooming the Coffee

This can be used interchangeably with bubbling or foaming. You’ll notice that this “blooming” effect occurs right after you add the boiling water.
When you add boiling water to coffee grounds, they release carbon dioxide and natural oils, making the liquid bloom. Looks (and sounds) pretty, right?
However, it can actually affect the flavor of your coffee. This is why stirring is crucial: it leads to a more evenly mixed and flavored coffee.
Stirring the Mixture
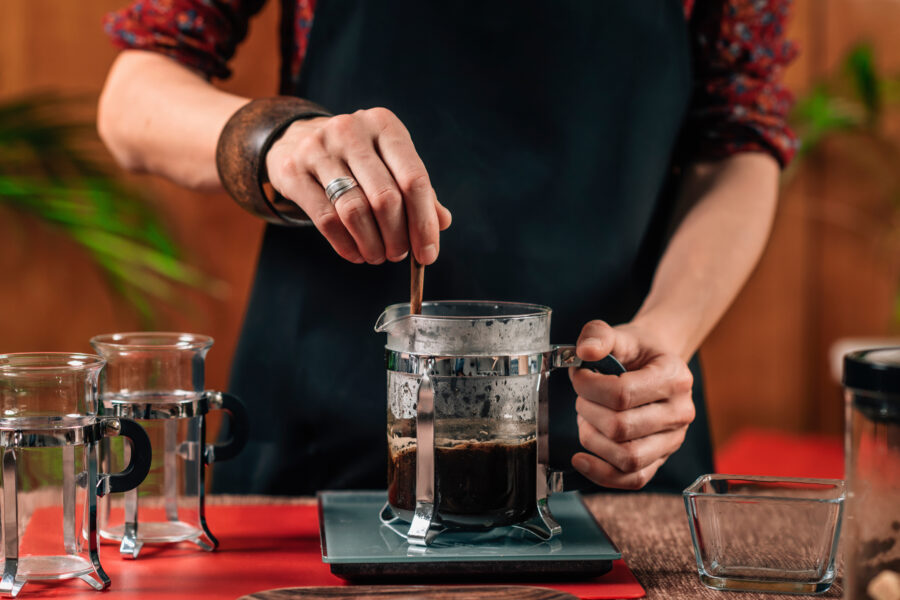
The coffee grounds and hot water should be thoroughly stirred, so as to evenly distribute the flavor. Use your tablespoon to stir the mixture a few times.
Then, let it steep for about five minutes. You want to give the coffee time to mix together, infusing the water with the grounds’ taste and color.
You don’t need to go crazy with stirring. The goal here is to give it a good mix, not to make the grounds completely disappear.
The “Plunging” Part
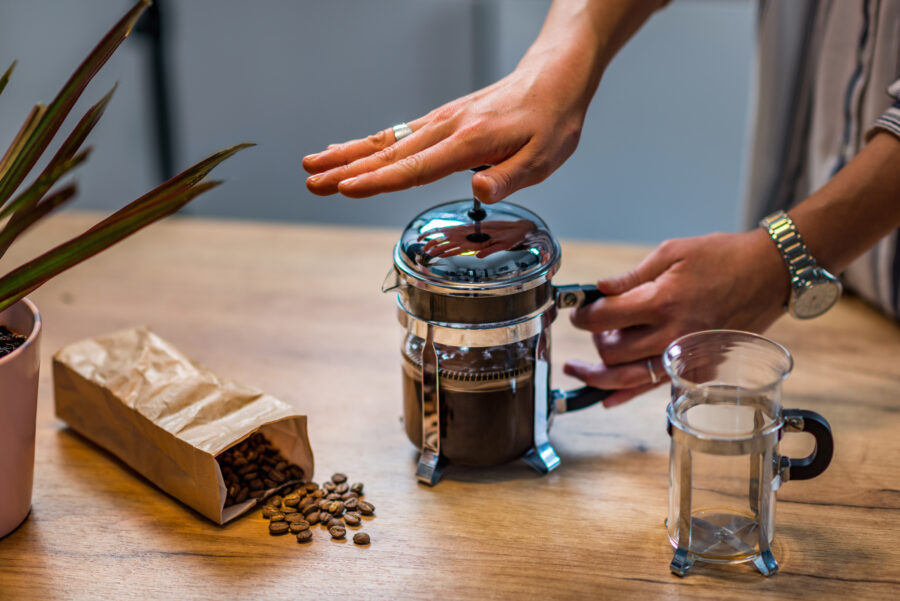
This is where the “plunging” comes in. Fit the lid on top of the carafe. Make sure it’s firmly secured, with the rod pulled all the way up.
Then, press down on that rod, so that the filter is pushed down through the coffee, separating the grounds from the liquid. Push down slowly, but continuously.
The filter won’t go all the way down. It’ll stop about three-quarters of the way, with the majority of the grounds packed in at the bottom.
Decanting Process

You might associate this with wine, but decanting can also be done with coffee. Decanting helps to remove any lingering sediment in a liquid.
While plunging the coffee removes most of the grounds from your brew, there’s always some left over. Still, this is optional — there aren’t many left after plunging.
So, how do you do it? Well, you slowly pour the liquid from one cup to another. A few times should do the trick.
The Proper Pour
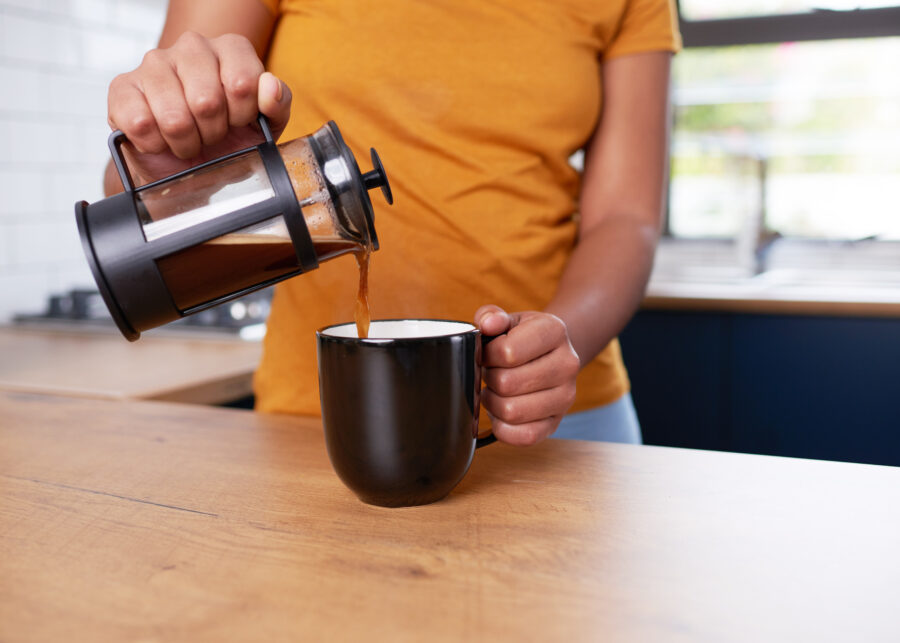
If you’ve opted not to decant, all that’s left is to pour the coffee…but wait! There’s more. The way you pour your coffee can make or break you.
Again, this depends on the type of plunger you have. The spout’s shape can cause the coffee to run down the front, instead of going into your cup.
To prevent any messes, pour over the sink. Also, tilt the carafe closer to the cup. Pouring at a smaller angle may make it more likely to spill.
Managing Extraction Yield
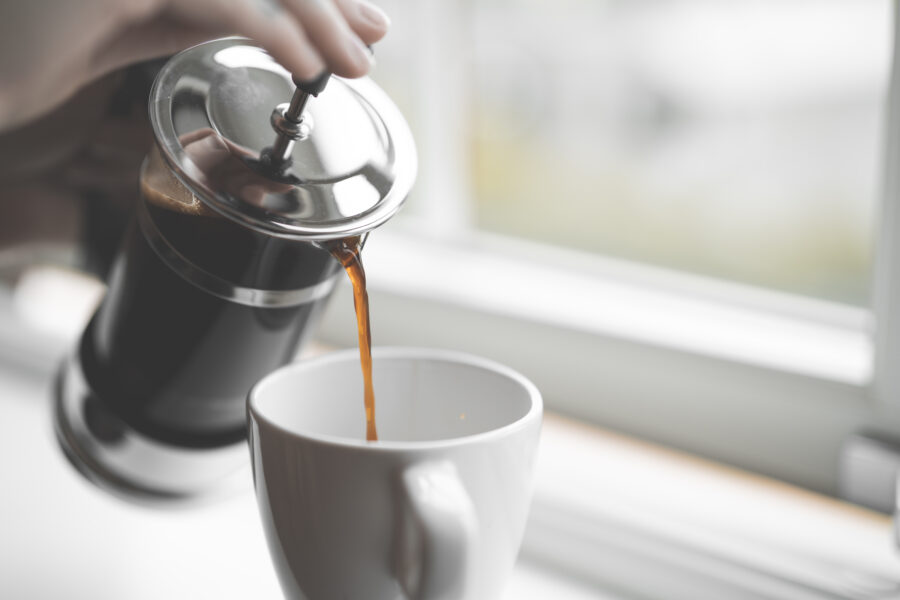
The extraction yield can only be measured after the coffee has been brewed. This is another optional step — don’t feel any pressure to do this.
This is for the really serious at-home baristas among us. That being said, understanding extraction yield will help you get some top-notch coffee out of your plunger.
Extraction yield is defined as the amount of solids that have been liquefied in the brewing process. Increasing your extraction yield will give you a better brew.
Adding Milk and Sugar
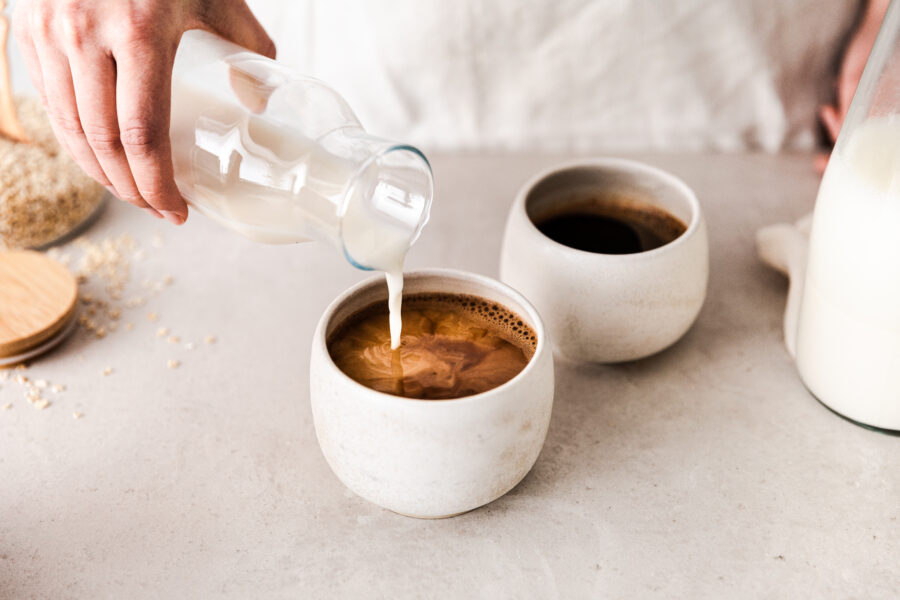
Always add milk and/or sugar after you pour the coffee. Honestly, it’s just easier to mix additives into coffee that’s already filtered and mixed.
There’s no particular formula you need to follow. Feel free to go with you preferred coffee order (that is, if it’s simple enough to follow at home).
When you use a coffee plunger, though, you have more control over the taste. Dark roast that have steeped for longer, for example, may require more sugar.
Post-Brewing Cleanup
Once you’re done, the grounds will still be sitting at the bottom of your plunger. Don’t just toss them in the trash! They make for great compost.
It’s best that you hand wash your plunger, especially if it’s made of glass. They can be delicate, and many are not dishwasher safe.
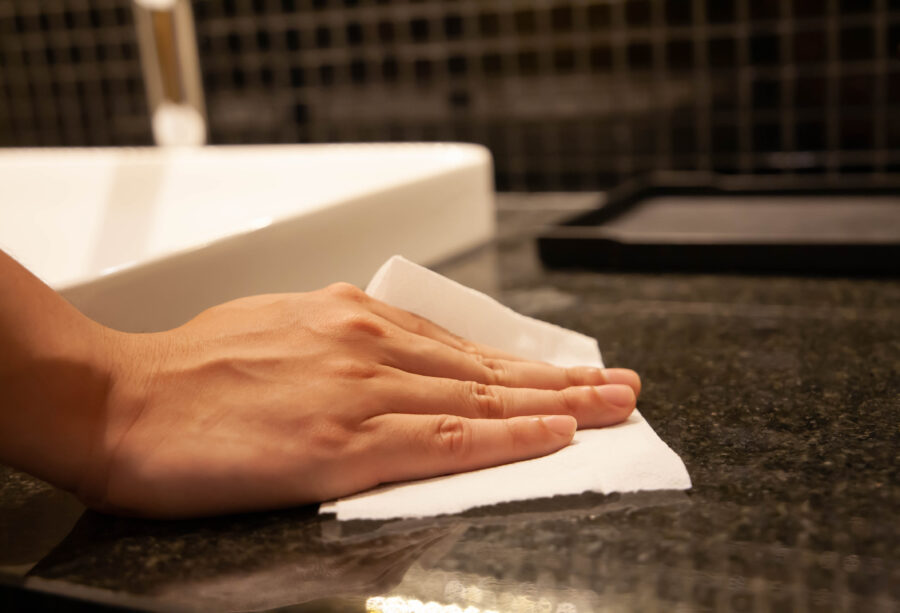
And, of course, wipe up any coffee spills. As we mentioned before, they can be easy to make when you’re pouring out of a plunger.
Incorporating Freshness Factors
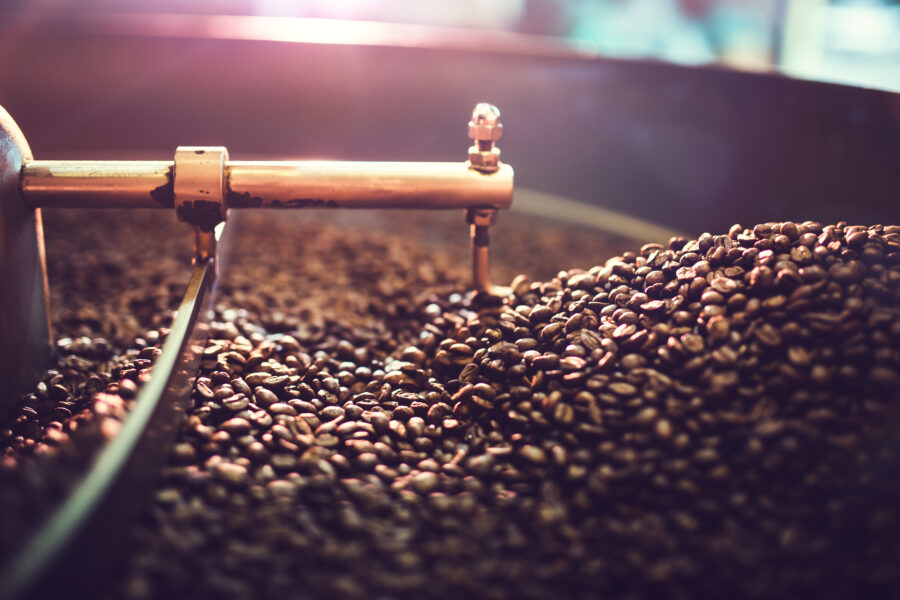
Grinding your own coffee beans and using them immediately after will ensure maximum freshness. Pre-ground coffee, while delicious, won’t be as fresh as coffee beans you ground yourself.
Exposure to oxygen and light will alter coffee’s taste. So, if you buy pre-ground coffee that’s been sitting on the shelf, it won’t taste as fresh.
This does depend on the brand you buy it from. Some high-end brands will take steps to minimize the coffee’s exposure to oxygen, preserving them for longer.
Adjusting Strength and Flavor
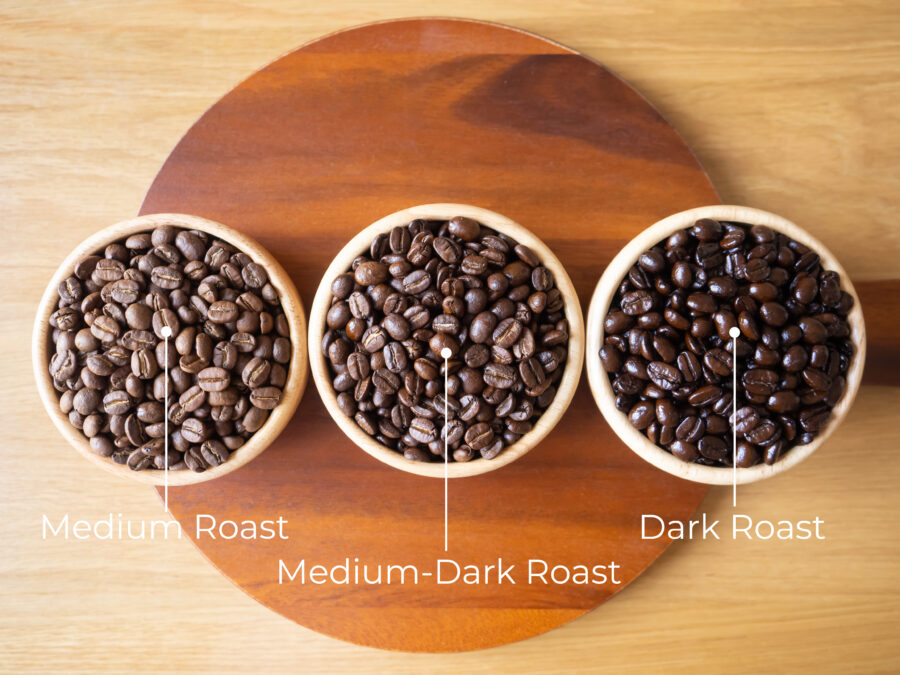
The best way to measure your coffee’s strength is choosing the right roast. Dark roast, true to the name, is heavier, with a stronger taste.
Medium roast is less so, and so on and so forth. There’s also a specific temperature that works best for stronger coffee. Warning: it’s hot.
In Celsius, it’s in between 90 and 96 degrees (195 and 205 Fahrenheit). Using a plunger, in general, is also more conducive to stronger coffee.
Evaluating Water Quality and Purity

Water quality can affect your coffee’s flavor, regardless of whether or not you use a plunger to make it. Boiling water kills bacteria, though, so you’ll be safe.
However, the mineral and chlorine levels in water, even if they’re low, can alter that traditional coffee taste. Research the quality of your area’s tap water.
This can honestly benefit you in your everyday life. If the tap water has a high mineral content, then you should buy filtered water instead.
Frequently Asked Questions
What is the purpose of a coffee plunger?
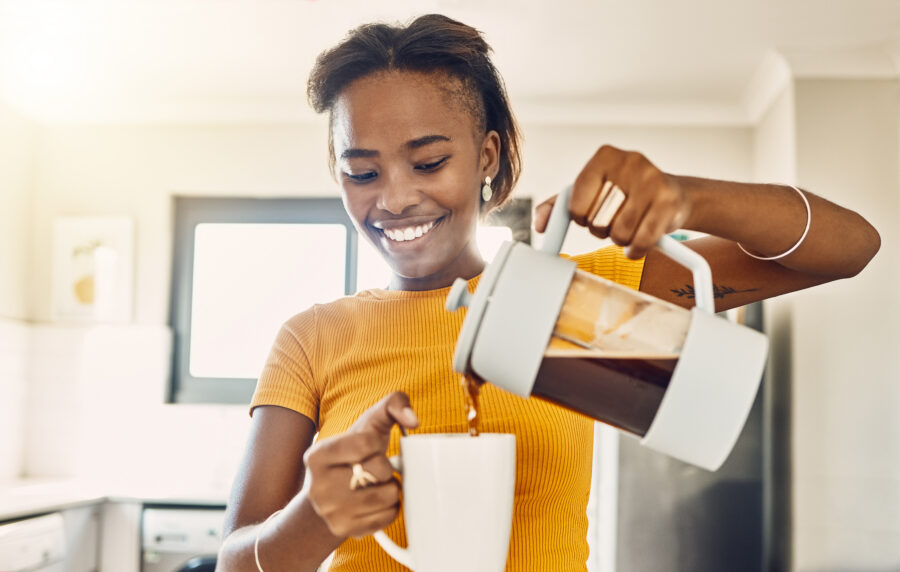
Same as the purpose for any other coffee maker: to make great coffee. However, coffee plungers have a reputation for delivering on high-quality, quickly made coffee.
We think that coffee plungers live up to the hype. With your own, you can become your own barista. They can also be relatively affordable.
This does depend on the kind that you get. The most expensive are sold for hundreds of bucks, while the cheapest are under ten.
Do coffee plungers make good coffee?
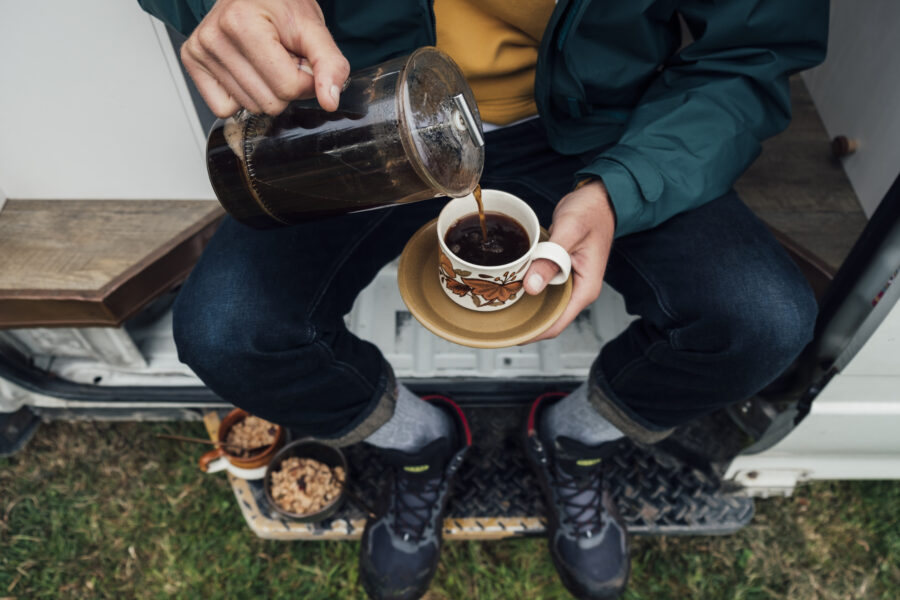
Well, yeah, though it depends on how much of a coffee snob you are. People with more complicated brewing processes might scoff at a plunger.
If that doesn’t describe you, then yes, coffee plungers make good coffee. A lot of it does depend on the type of coffee you get, though.
If you buy coffee grounds that aren’t to your taste, the plunger won’t magically fix them. However, steeping the grounds does give it a richer, smoother taste.
What is the difference between a coffee plunger and a coffee press?
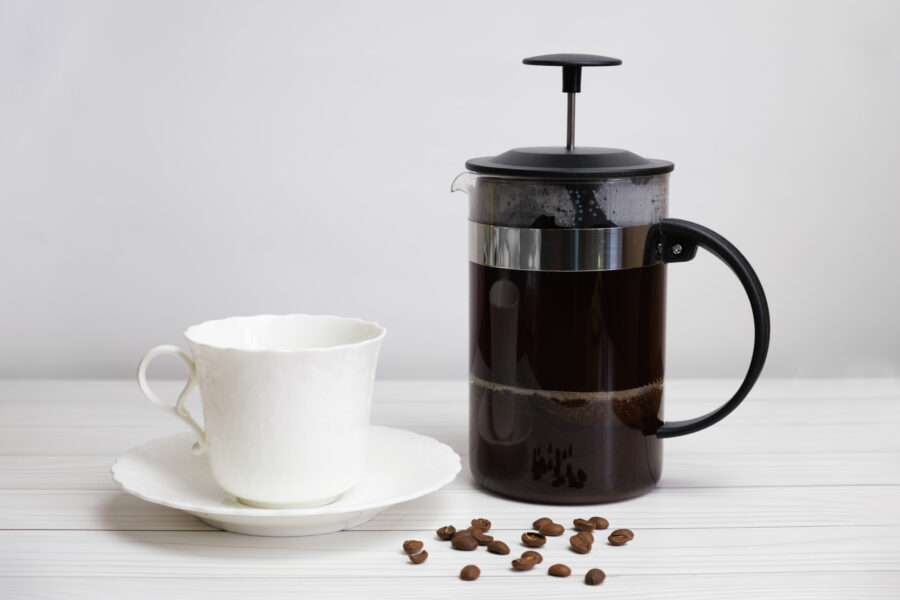
So, if you’re from North America, you’re probably pretty confused right now. You’ve been seeing all these French presses get called “plungers” without explanation.
Turns out, there’s actually no functional difference between the two devices. The real difference lies in the terminology, and the country you’re located in.
South Africans, New Zealanders, and Australians call it a plunger, while North Americans call it a French press. It’s not French, however — it was invented in Italy.
How many scoops of coffee do you put in a plunger?
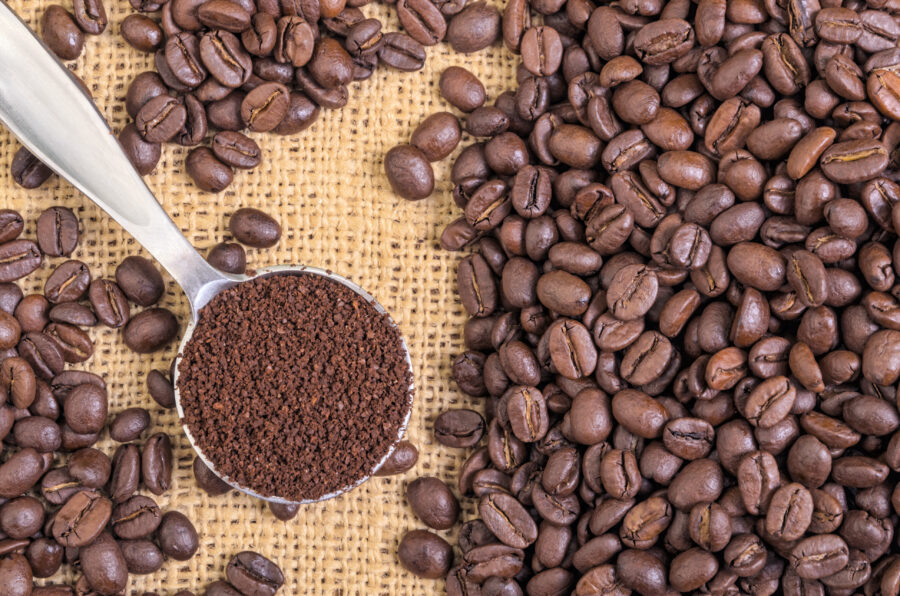
It totally depends on the plunger. The instructions for this can be found in the package, or on the side of the plunger itself.
There is a set of guidelines to help you make the ideal cup. More specifically, there’s a ratio: 1 scoop of coffee grounds to 12 parts water.
However, some people like stronger coffee. Does that mean you should add more grounds? Luckily for you, there’s an online calculator to help you out.
What coffee is best for a plunger?
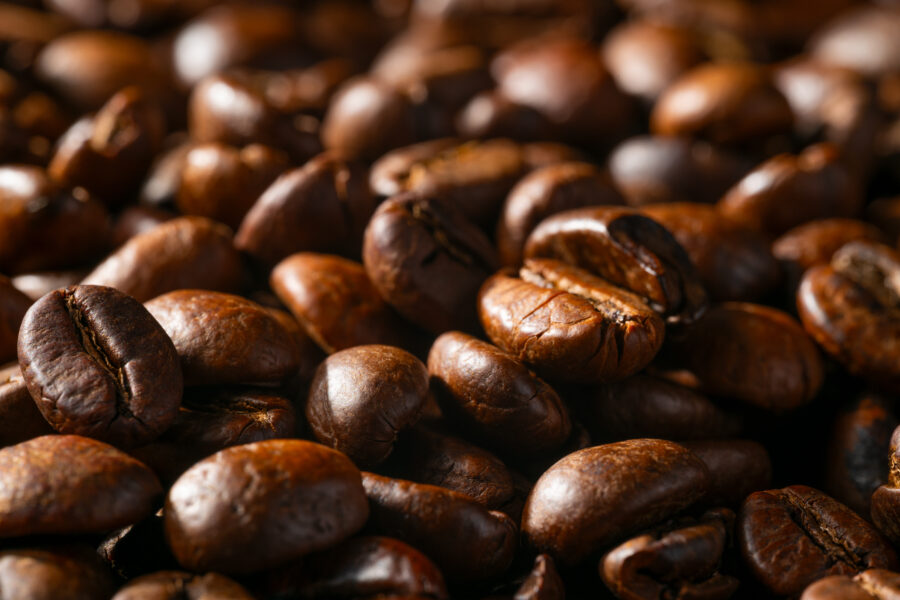
We already established the type of coffee grounds that should be used in coffee plungers. Is there a specific roast that’s most compatible with plunger coffee, though?
You can never go wrong with medium. It’s a good roast to start out with. Espresso blends also taste particularly well when made with a plunger.
Light roasts work well, too, especially if you like your coffee black. Whatever you go with, don’t let it sit for too long. That can make it bitter.
What is the “James Hoffman Method”?
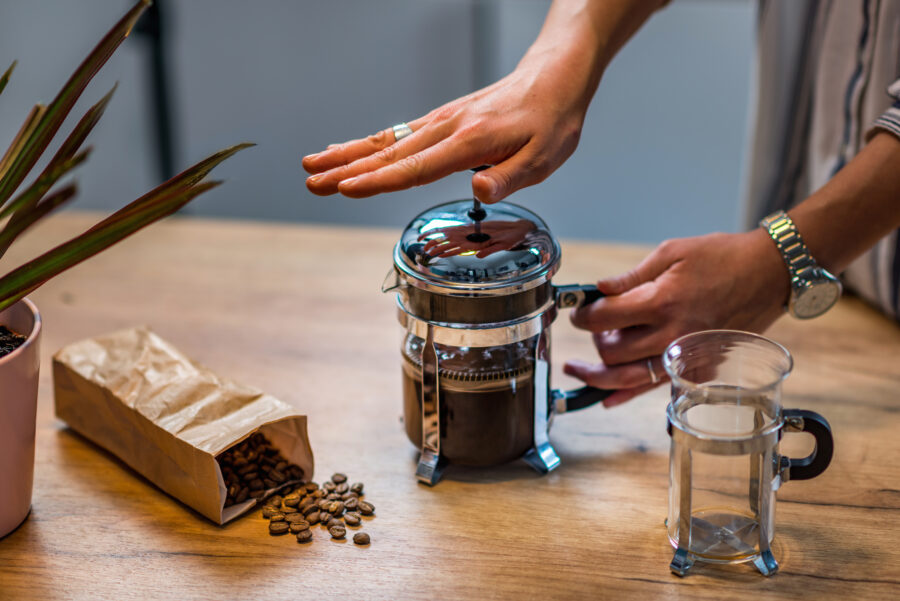
The “James Hoffmann method” is a particular way of making plunger coffee that many people swear by. So, just who is this guy?
James Hoffmann is a YouTuber and experienced barista that makes informational coffee videos. If you take coffee tips from anyone, take them from him.
He waits exactly five minutes for the coffee to steep before stirring. Then, he scoops out the foam and coffee grounds. He waits another five minutes and plunges.
Is plunger coffee the same as instant?
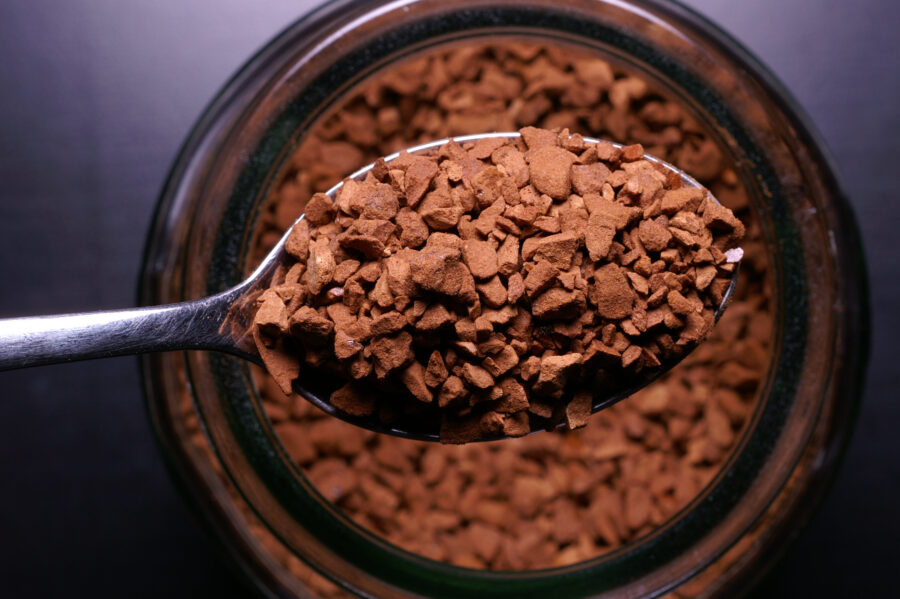
Nope. Plunger coffee generally uses freshly ground beans, which are superior in taste. Instant coffee uses freeze dried coffee beans crushed into a powder.
It’s not necessarily bad, but it’s definitely not the same as plunger coffee. There’s also way less variety with instant coffee, since you can’t choose your beans.
Most instant coffee packets are actually made from the same type of beans: Robusta. There’s nothing inherently wrong with Robusta, but it’s a bit cheaper.
Can you drink day old plunger coffee?

Yeah, sure, if you want to. Putting your coffee in the fridge will keep it fresh overnight. Of course, it won’t taste exactly the same.
It may taste a little stale, but it won’t be that bad. You don’t want to leave it for longer than a couple of days, though.
That being said, it is safe to drink. It’s the taste we’re worried about. If you don’t want to drink it, you could repurpose it for tiramisu.
Why does my plunger coffee taste bad?

There’s a number of reasons why your plunger coffee might taste bad. First, you’ll want to examine your beans. Low-quality coffee beans are usually more bitter.
How long are you brewing your coffee for? Even if your beans are high-quality, letting the coffee brew for too long can lead to a bitter taste.
Lastly, your coffee to water ratio might be off. Adding too much water can make your coffee less flavorful and (you guessed it) a lot more bitter.
Can coffee sit for too long in a plunger?
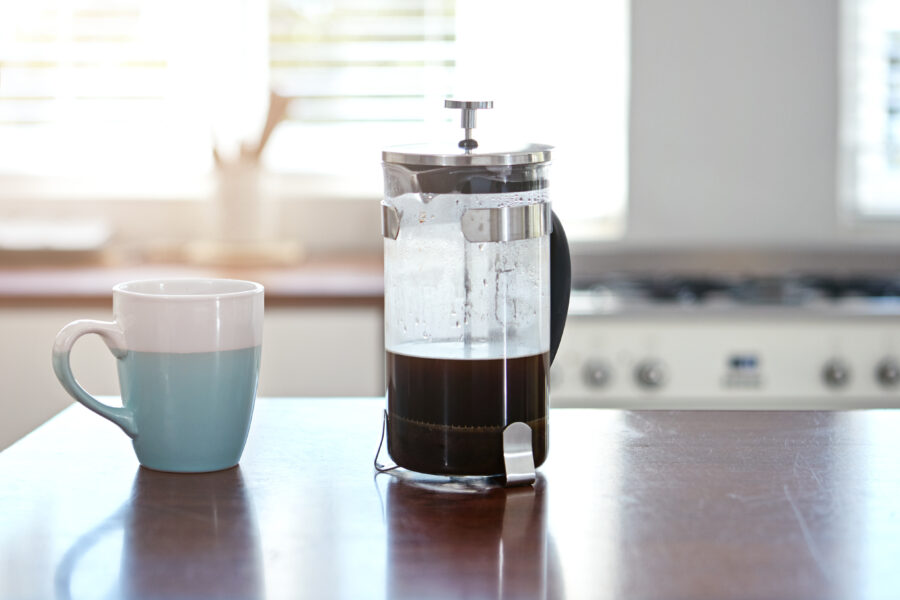
As we mentioned earlier, letting your coffee sit for too long in the plunger can lead to bitterness. It’ll also cool down before you even drink it.
To be fair, some people prefer bitter coffee. Still, general consensus seems to be that you shouldn’t let it sit for any longer than five minutes.
Five minutes is more of a suggestion. You can experiment a little with brewing times, so long as they’re not too far out of left field.
Does freezing coffee keep it fresh?
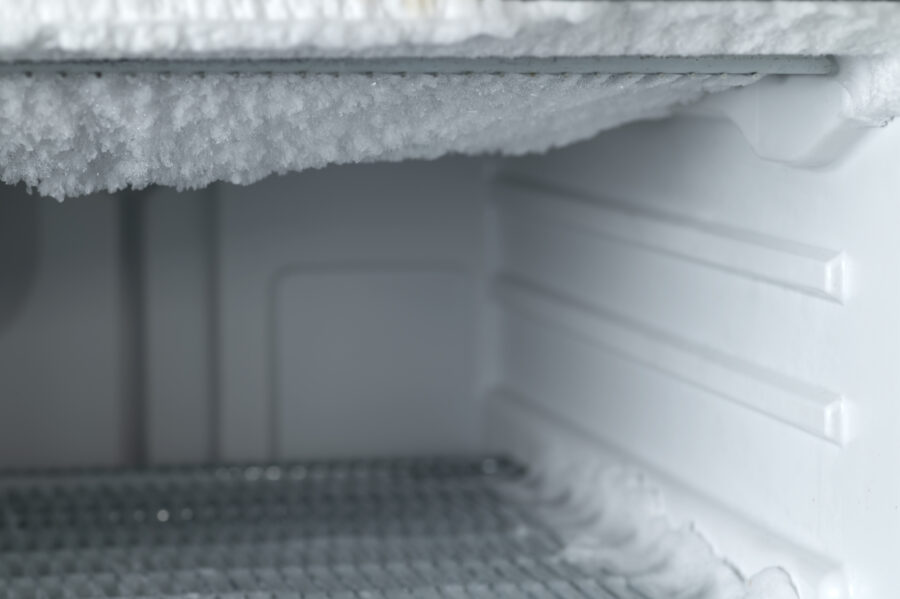
For the coffee you’re drinking on the regular, using a freezer won’t help you. When storing coffee grounds and beans, you want to protect it from moisture.
However, you can still freeze coffee. When you want to store a large amount of coffee over a long period of time, your freezer is a solid option.
It’s best to freeze whole beans, rather than grounds. Once you’re ready to use them, make sure you do so within a couple weeks of thawing.
What is the best thing to store coffee grounds in?
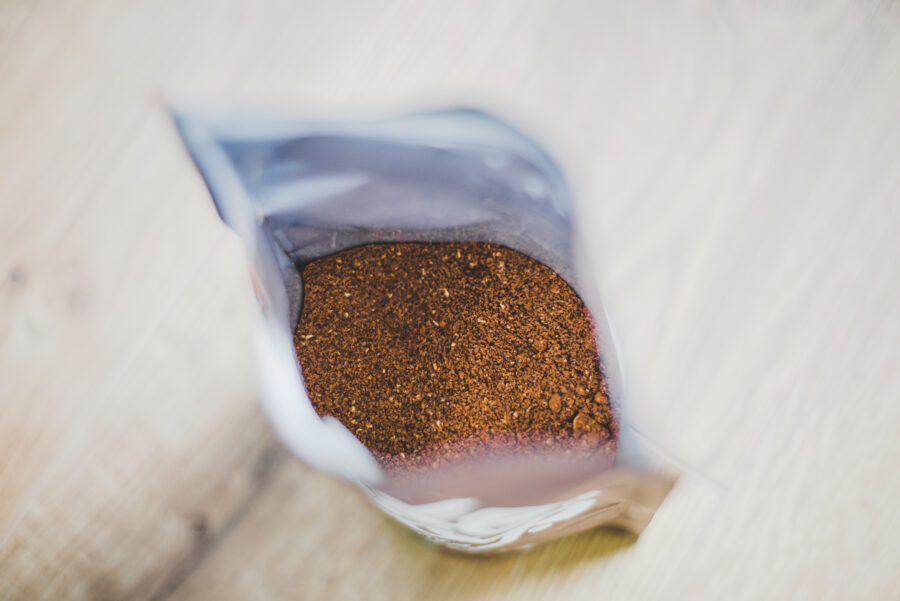
Now that we’re talking storage, what’s the best thing to store coffee grounds in? As we’ve said, you want to minimize coffee grounds’ exposure to oxygen and moisture.
What you store it in should reflect those ideal conditions. They actually sell coffee canisters specifically for storing purposes, though buying one isn’t necessary.
The container needs to be airtight and preferably opaque. Metal works well. You can also use vacuum-sealed bags, as long as you keep them in a dark place.
Is plunger coffee better than pour-over?
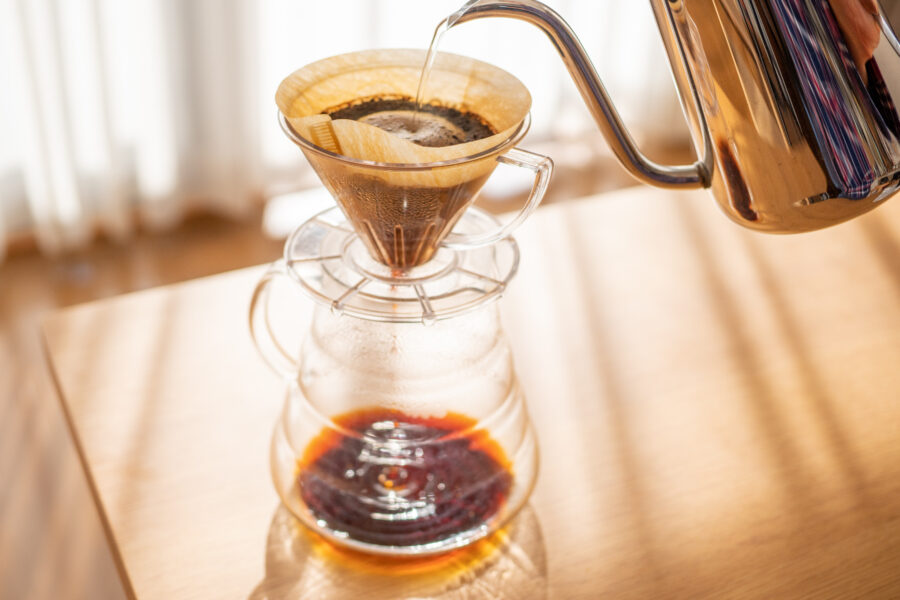
It all comes down to preference. Plunger coffee is best for those who like richer coffee, since the grounds have more time to steep in the water.
Pour-over coffee is the opposite. This method is more compatible with light and blonde roasts. People who like a light coffee will gravitate towards it.
With pour-over coffee, you pour hot water over the grounds, which sit inside of a filter on top of the carafe. The brew drips down into the carafe.
Turns Out Using a Coffee Plunger Isn’t So Hard!
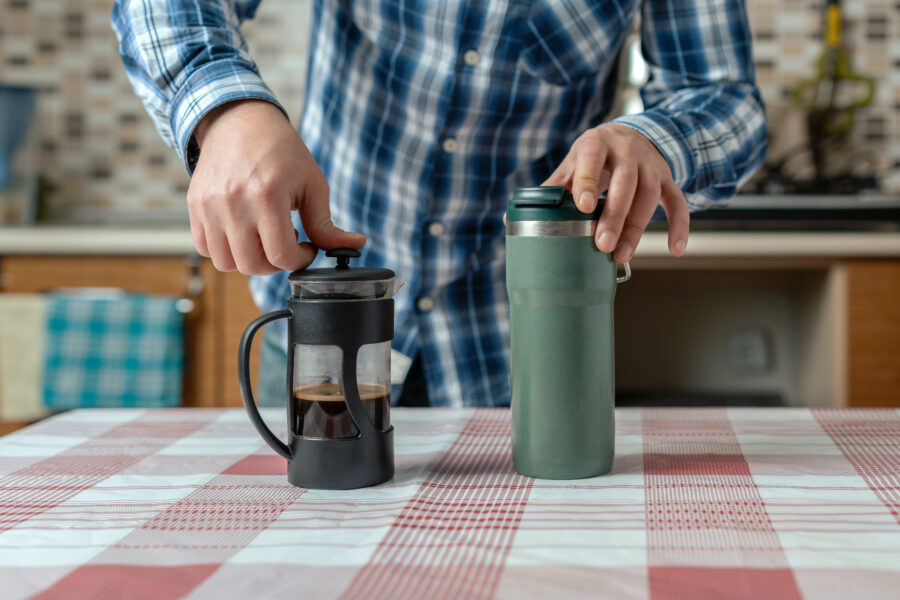
We know, there’s lots of different steps that can go into making plunger coffee. However, when you strip it down to the bare bones, it’s not so difficult.
While you can add different steps to make the process more complex, it’s not necessary. It can be as elaborate or as simple as you want.
Regardless of how simple or complicated you make the process, you’re guaranteed a delicious cup of coffee every morning. Just have fun with it!

