Ready to take your pizza game to the next level? If you’re thinking of using a pizza stone to create some toasty, crispy ‘za, here’s what you need to know.
Preheat Your Pizza Stone in the Oven
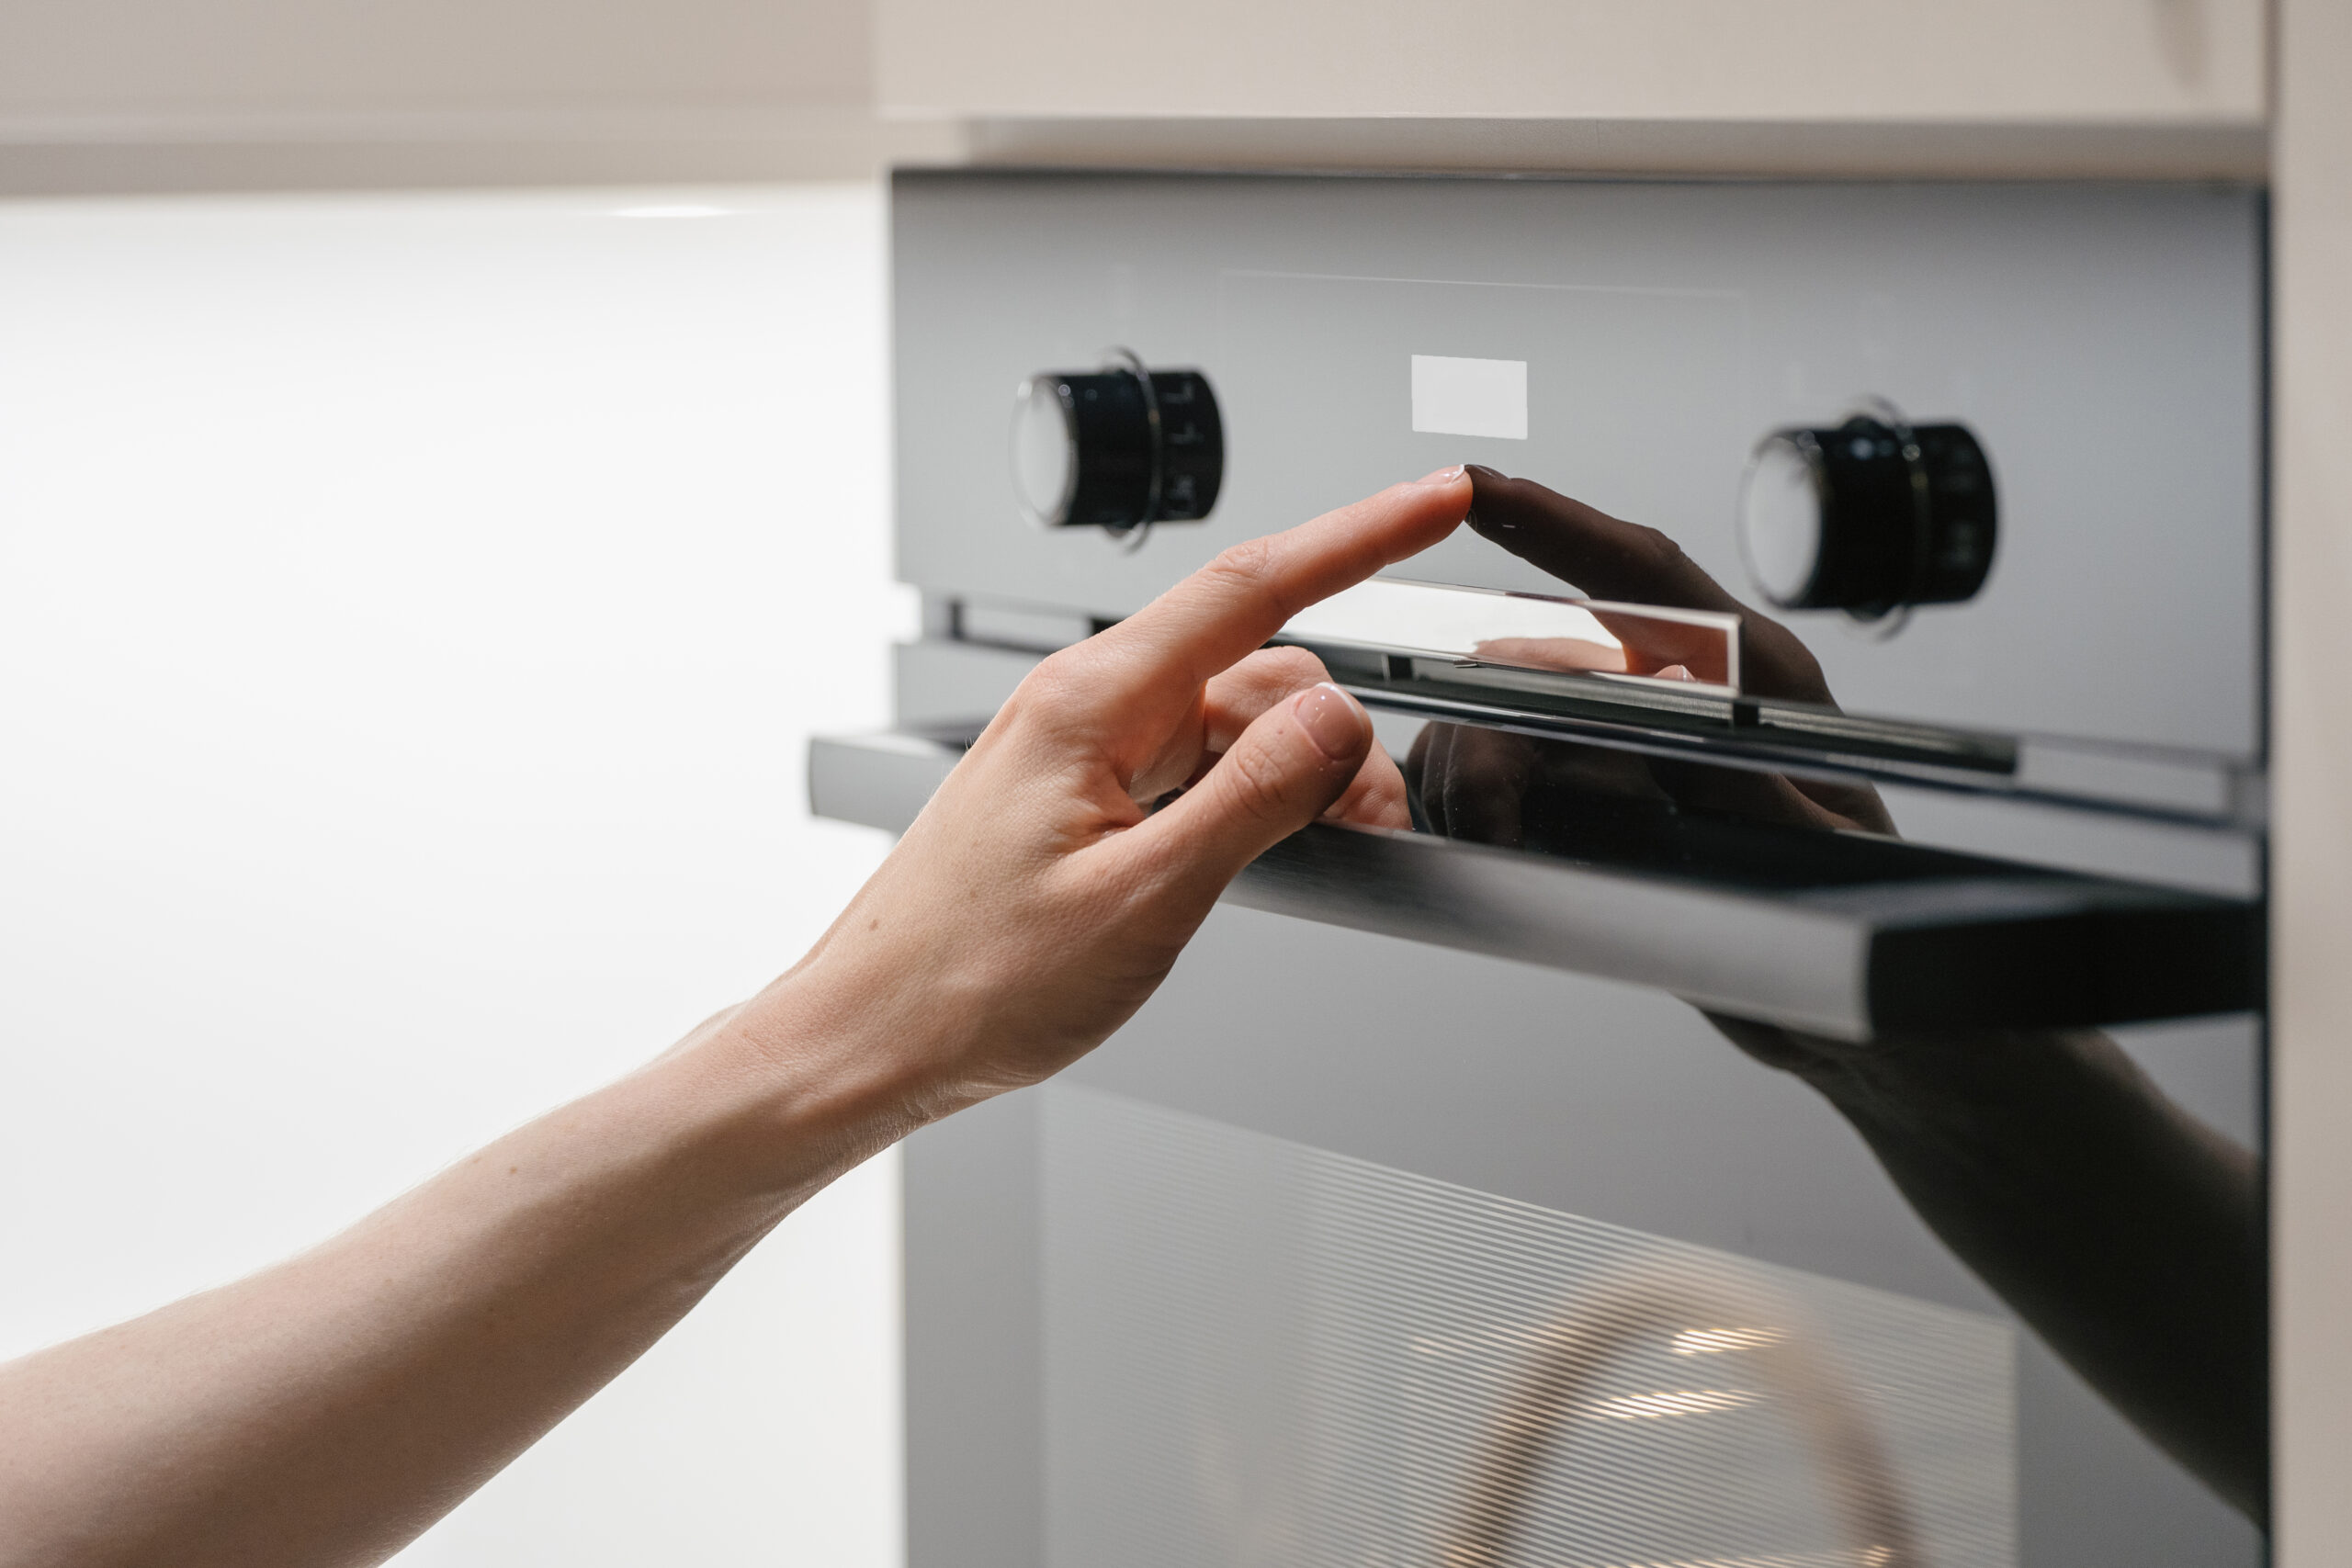
Preheating your pizza stone is an essential first step in achieving the perfect, crispy crust on your homemade pizza. It’s how you get professional pizzeria results.
First, place the stone in a cold oven. Then preheat your oven to the highest temperature — typically 450-500°F — for 30 to 60 minutes before baking.
This process ensures the stone is evenly heated, eliminating hot and cold spots. A thoroughly preheated stone simulates the conditions of a brick pizza oven.
Place the Stone on the Lowest Rack
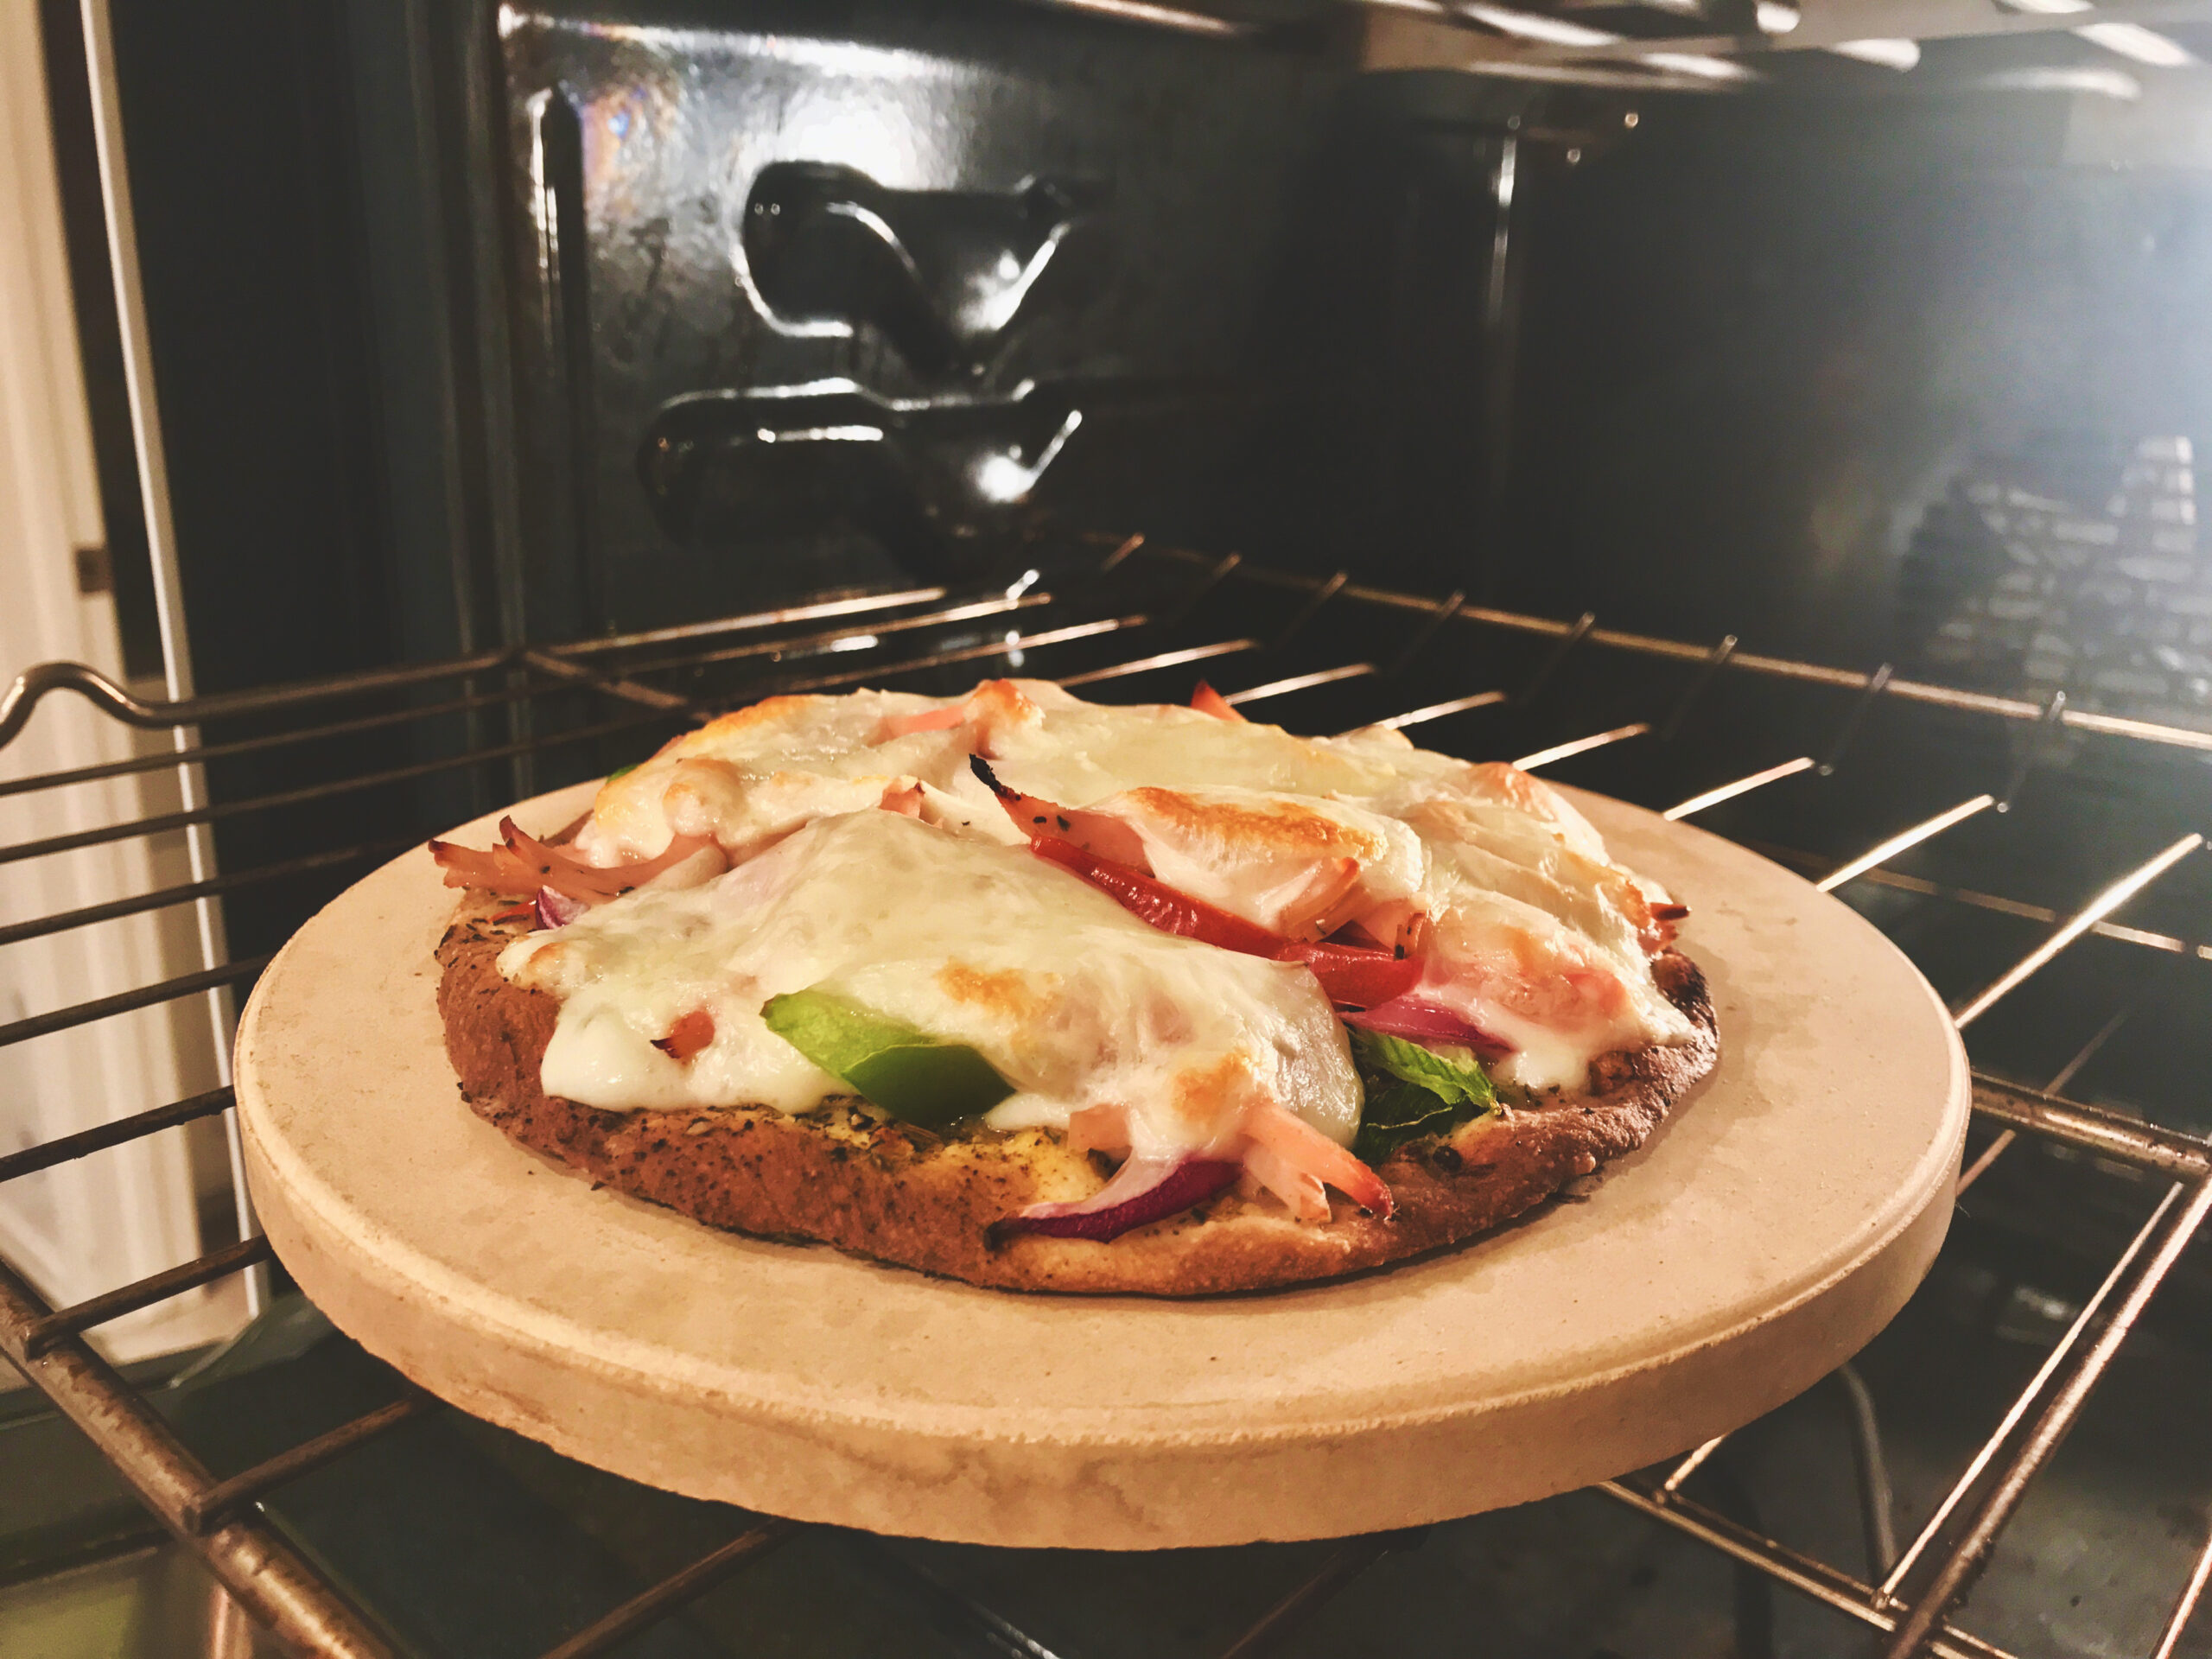
Placing the pizza stone on the lowest rack of your oven is the key to baking a perfectly cooked pizza with a beautifully browned, crispy bottom.
This position allows the stone to absorb and radiate intense heat directly from the oven’s bottom element. This replicates the heat distribution found in traditional pizza ovens.
The closer proximity to the heat source helps the pizza crust cook evenly and quickly. And that means a professional-quality pizza with a deliciously crunchy crust.
Avoid Sudden Temperature Changes
Avoiding sudden temperature changes is absolutely vital for preserving the integrity and longevity of your pizza stone. Sudden shifts in temperature can cause thermal shock.
That can lead to cracks or breakage of your pizza stone — not something you want. To prevent this, always place the stone in a cold oven.
Allow the stone to heat gradually in the oven. Similarly, let the stone cool down naturally before cleaning or storing it. This helps your pizza stone last.
Dust the Pizza Stone with Cornmeal or Flour
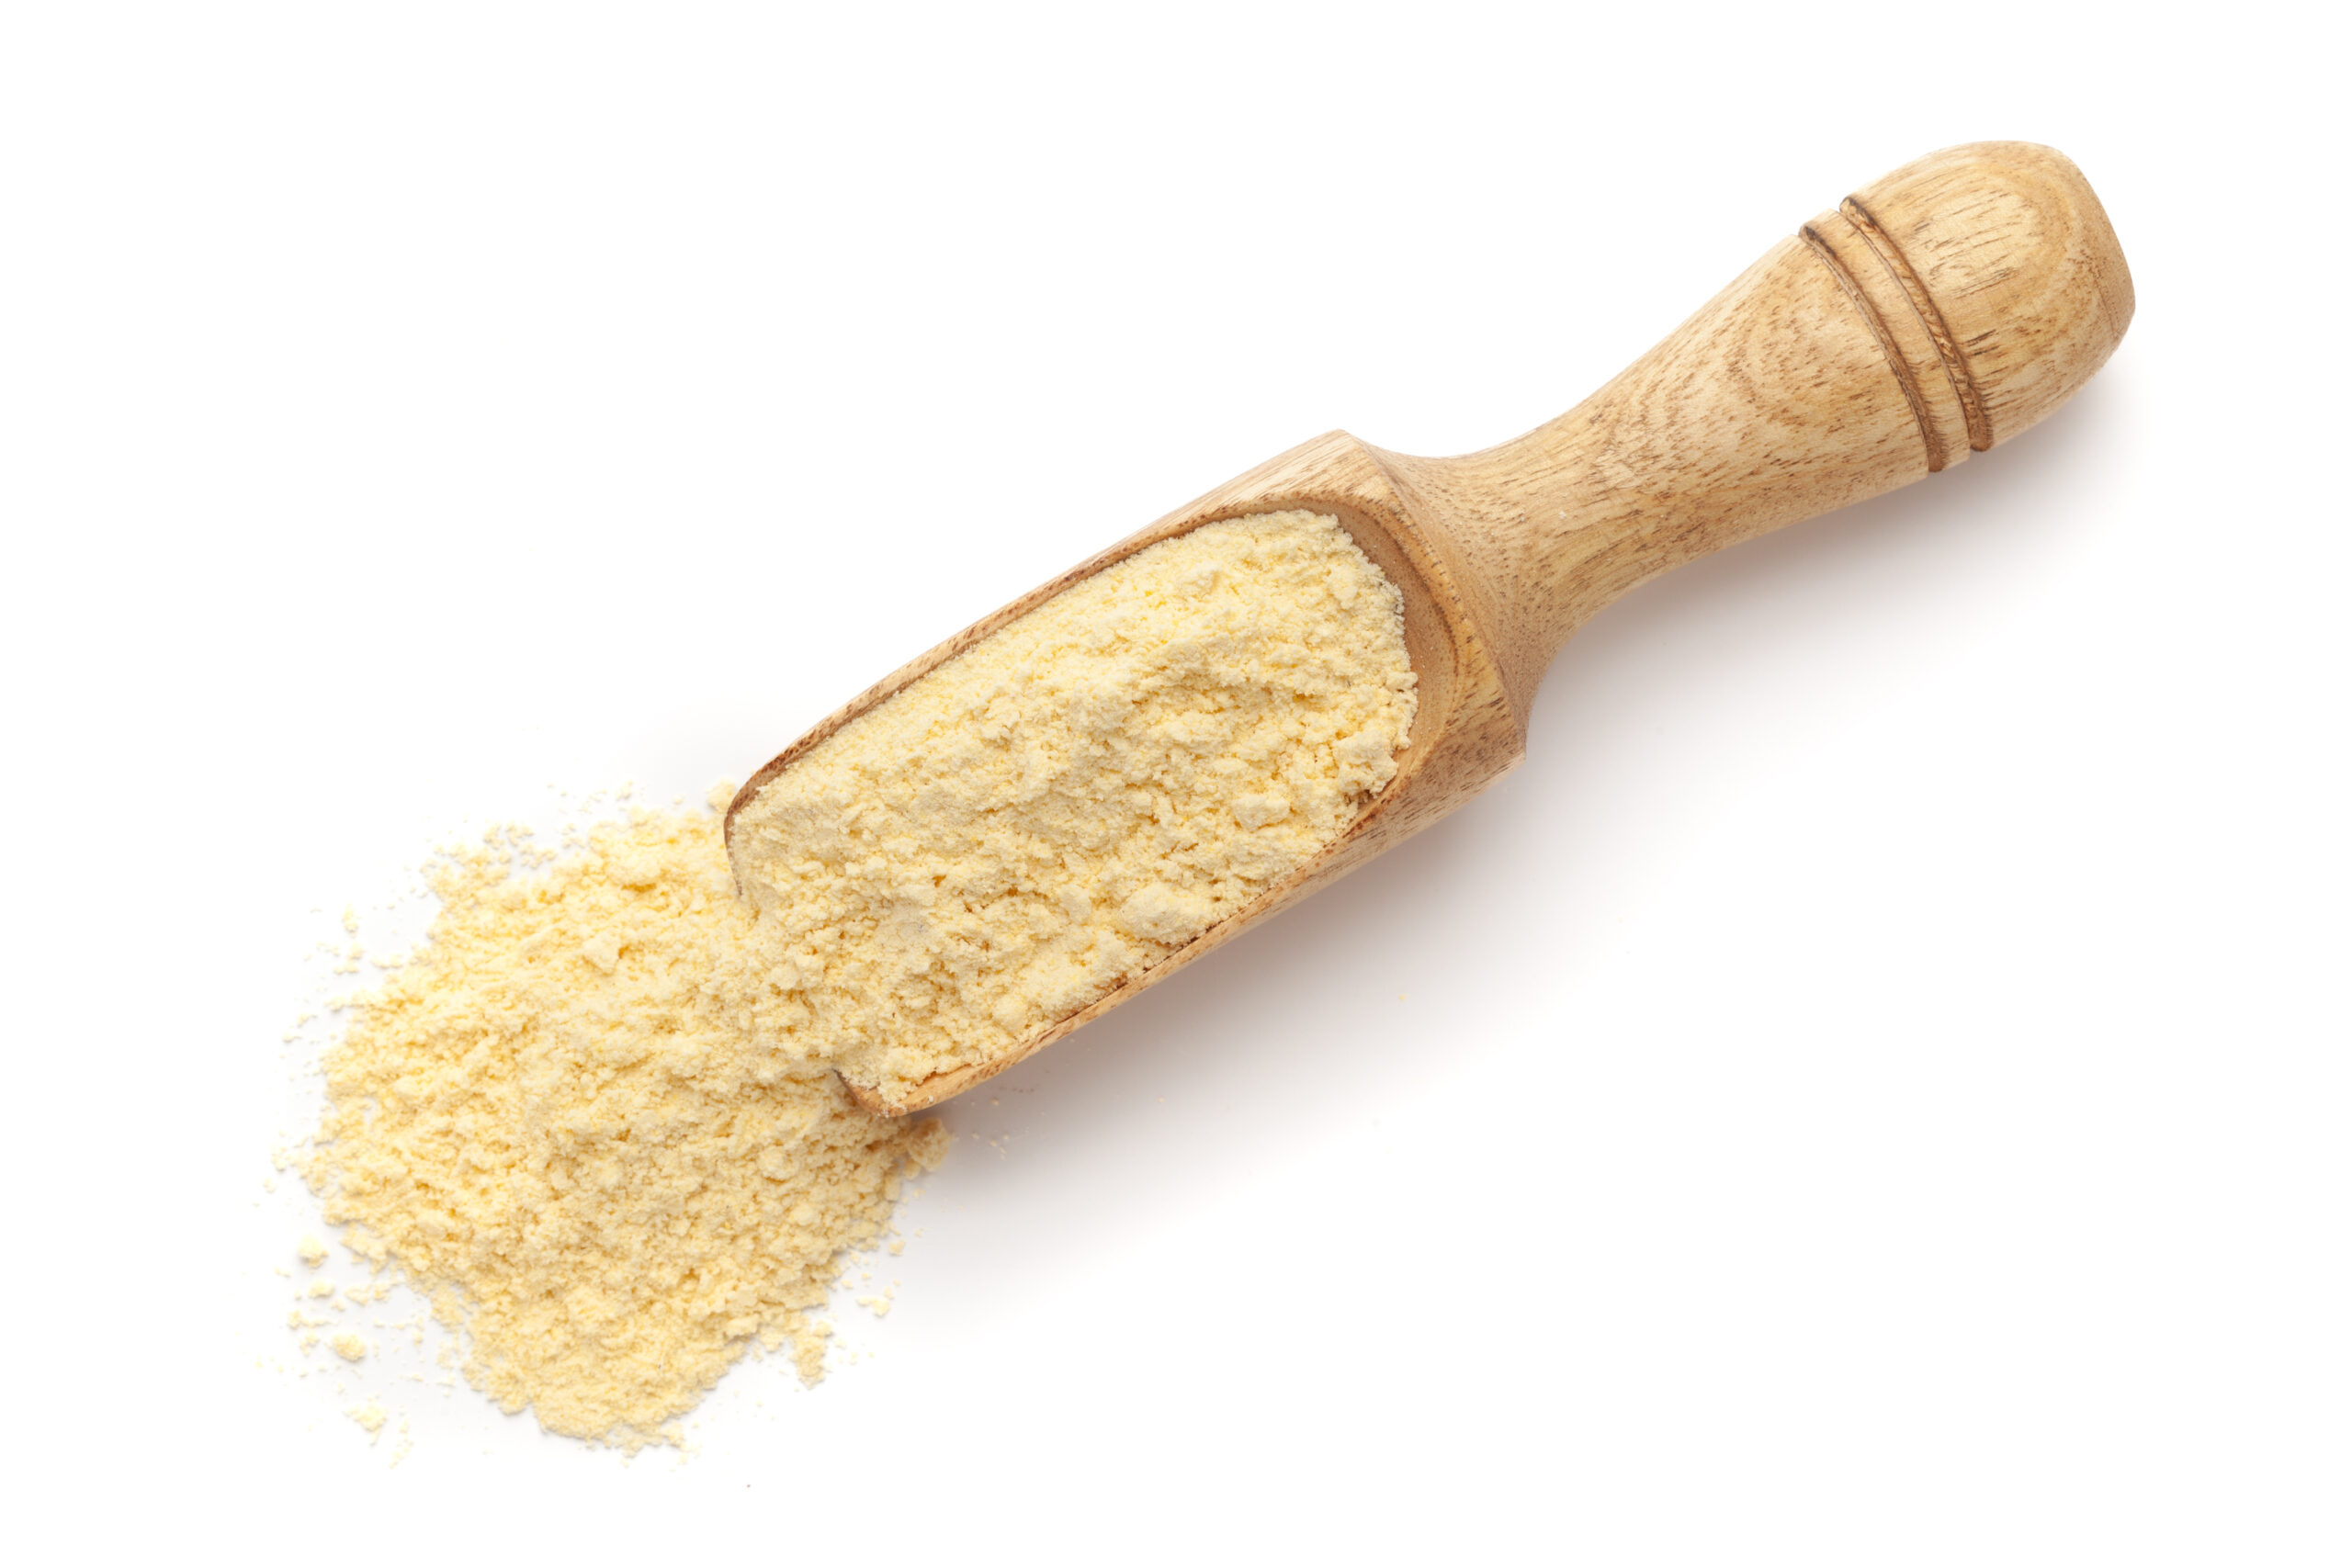
Dusting your pizza stone with cornmeal or flour before baking is a simple but effective way to prevent the dough from sticking. Don’t skip this step!
This technique creates a thin barrier between the hot stone and the dough. That means it’s easier to release from the stone once the pizza is cooked.
The cornmeal also adds a subtle crunch and flavor to the bottom of your pizza crust. Opt for coarse cornmeal for a better texture and minimal sticking.
Assemble Your Pizza on a Paddle or Parchment Paper
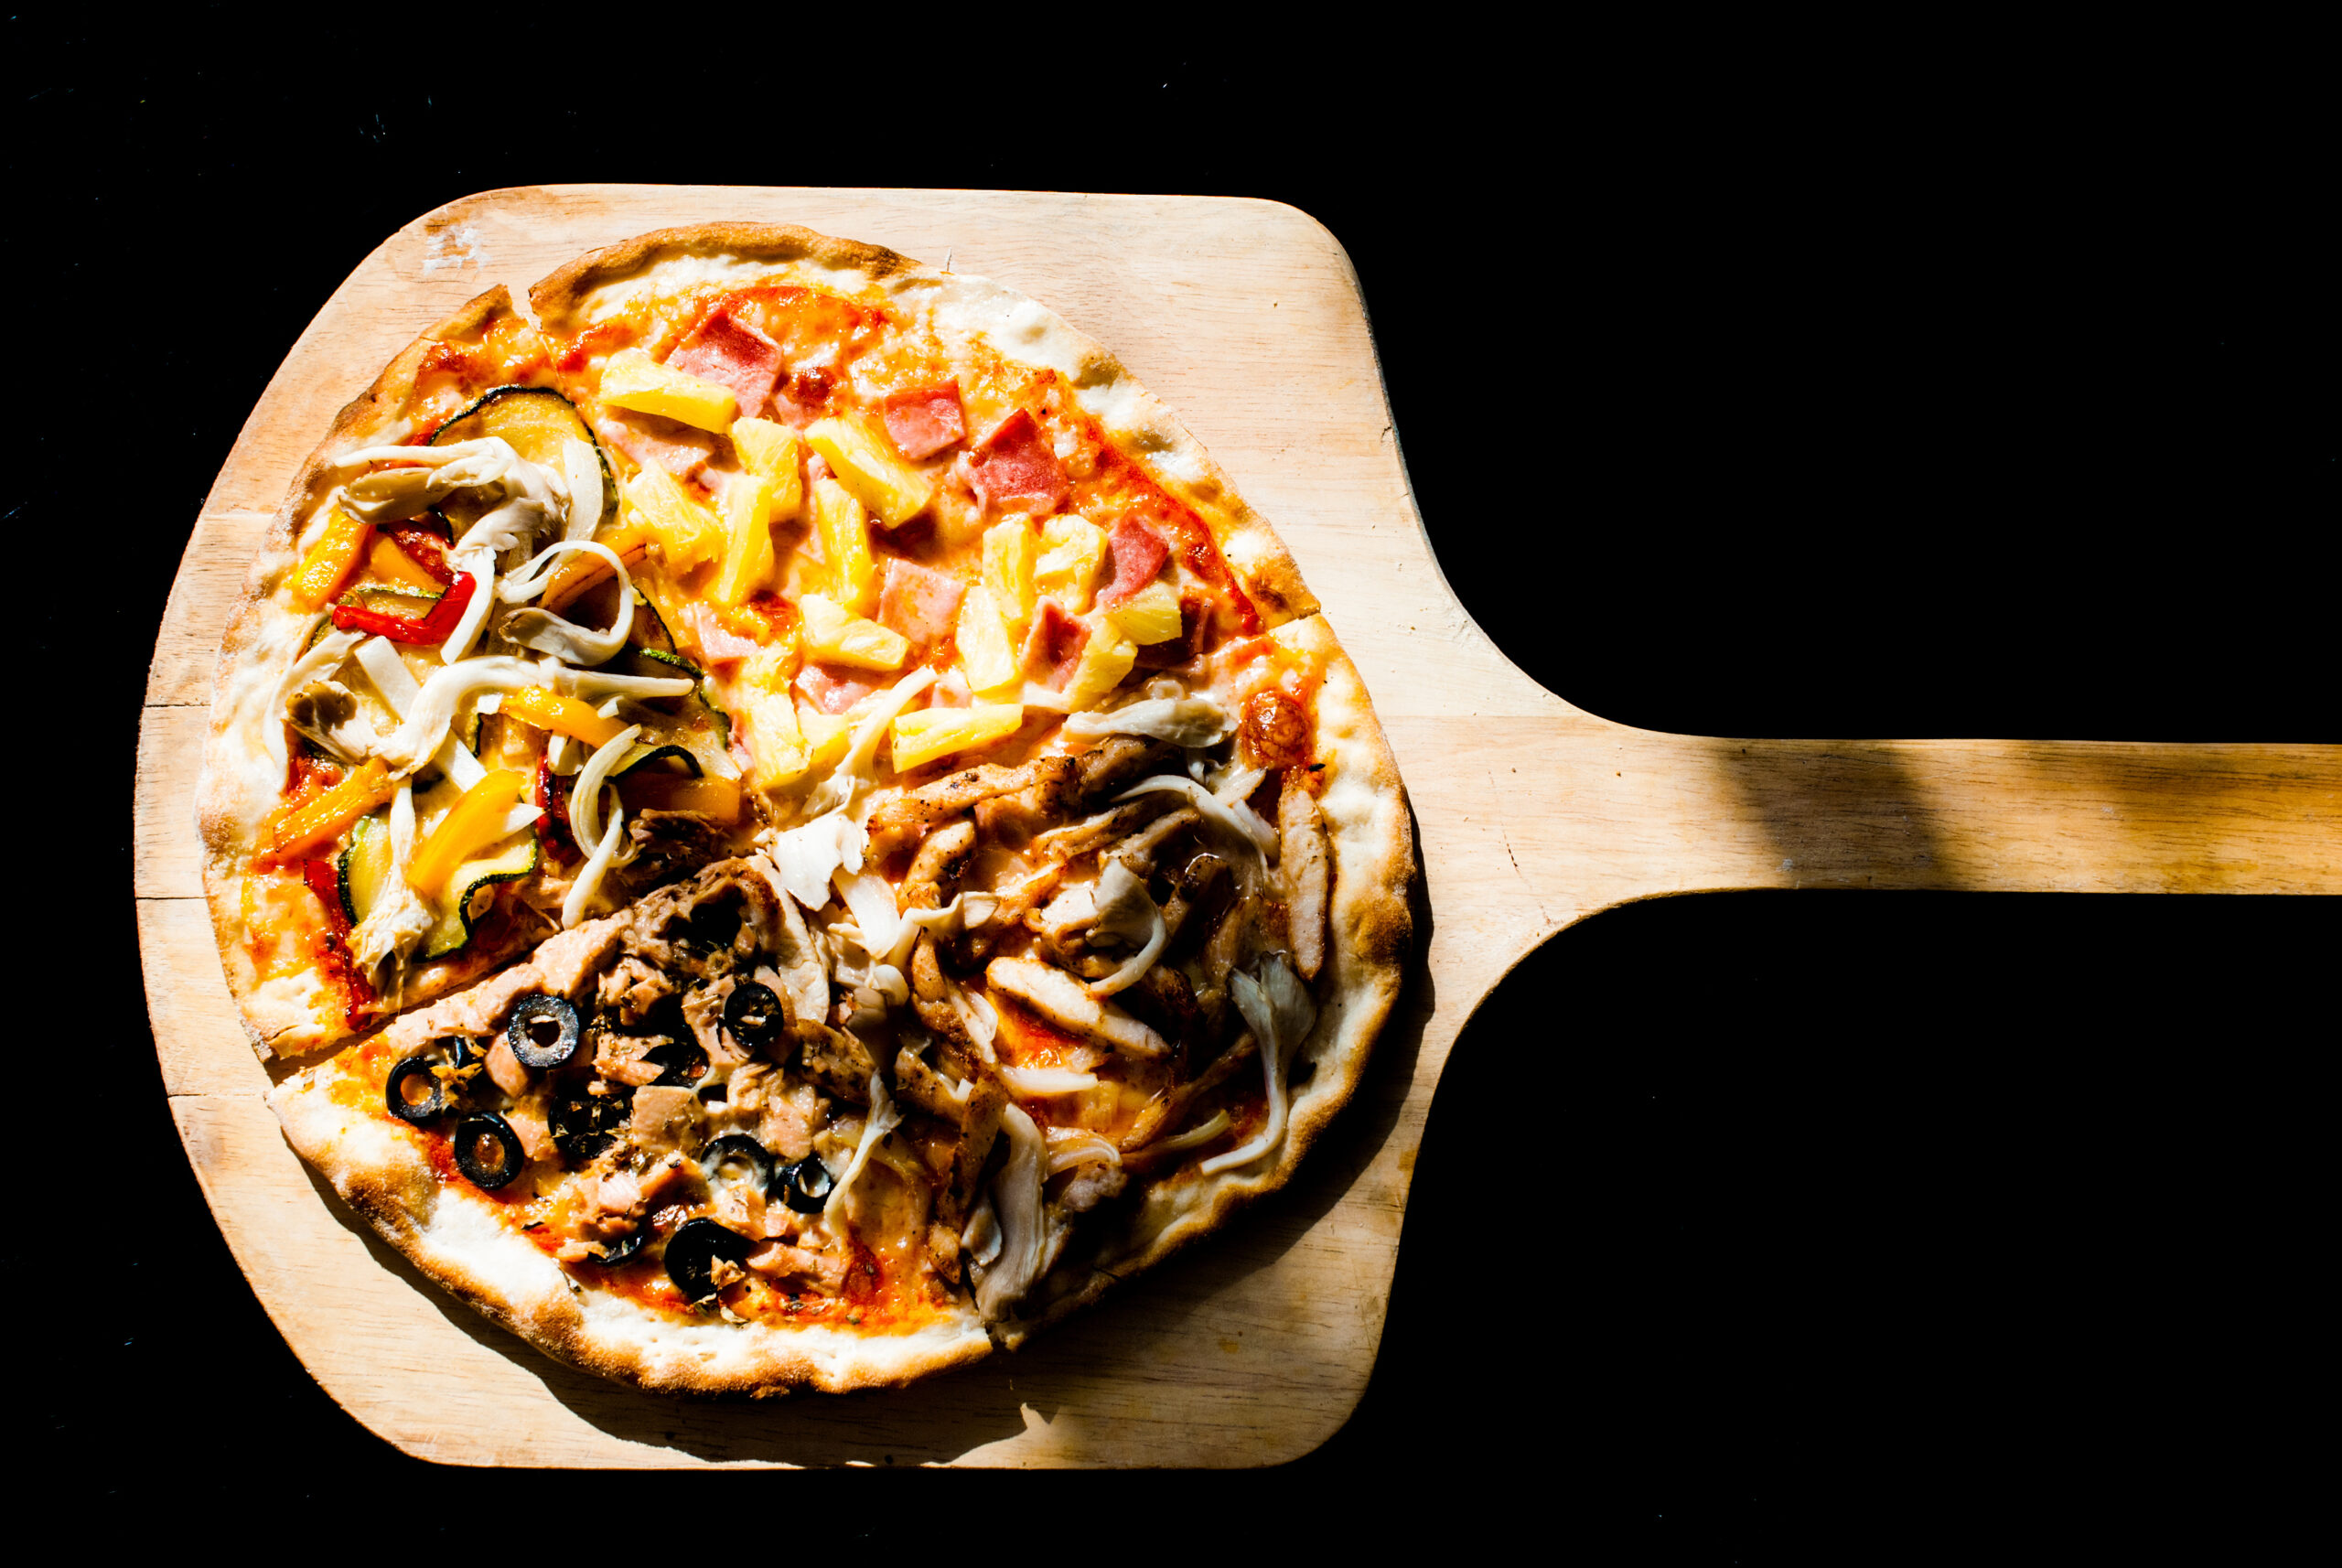
Assembling your pizza on a paddle or parchment paper is a game-changer for easily transferring your pizza to the hot stone. And it helps prevent tearing.
Parchment paper offers the additional benefit of easy clean-up. It can withstand the oven’s heat for the full amount of time needed to bake the pizza.
This method doesn’t just simplify the baking process and speed things up. It also helps achieve a uniformly cooked, delicious pizza with minimal fuss and mess!
Use a Pizza Peel to Slide the Pizza Directly Onto the Stone
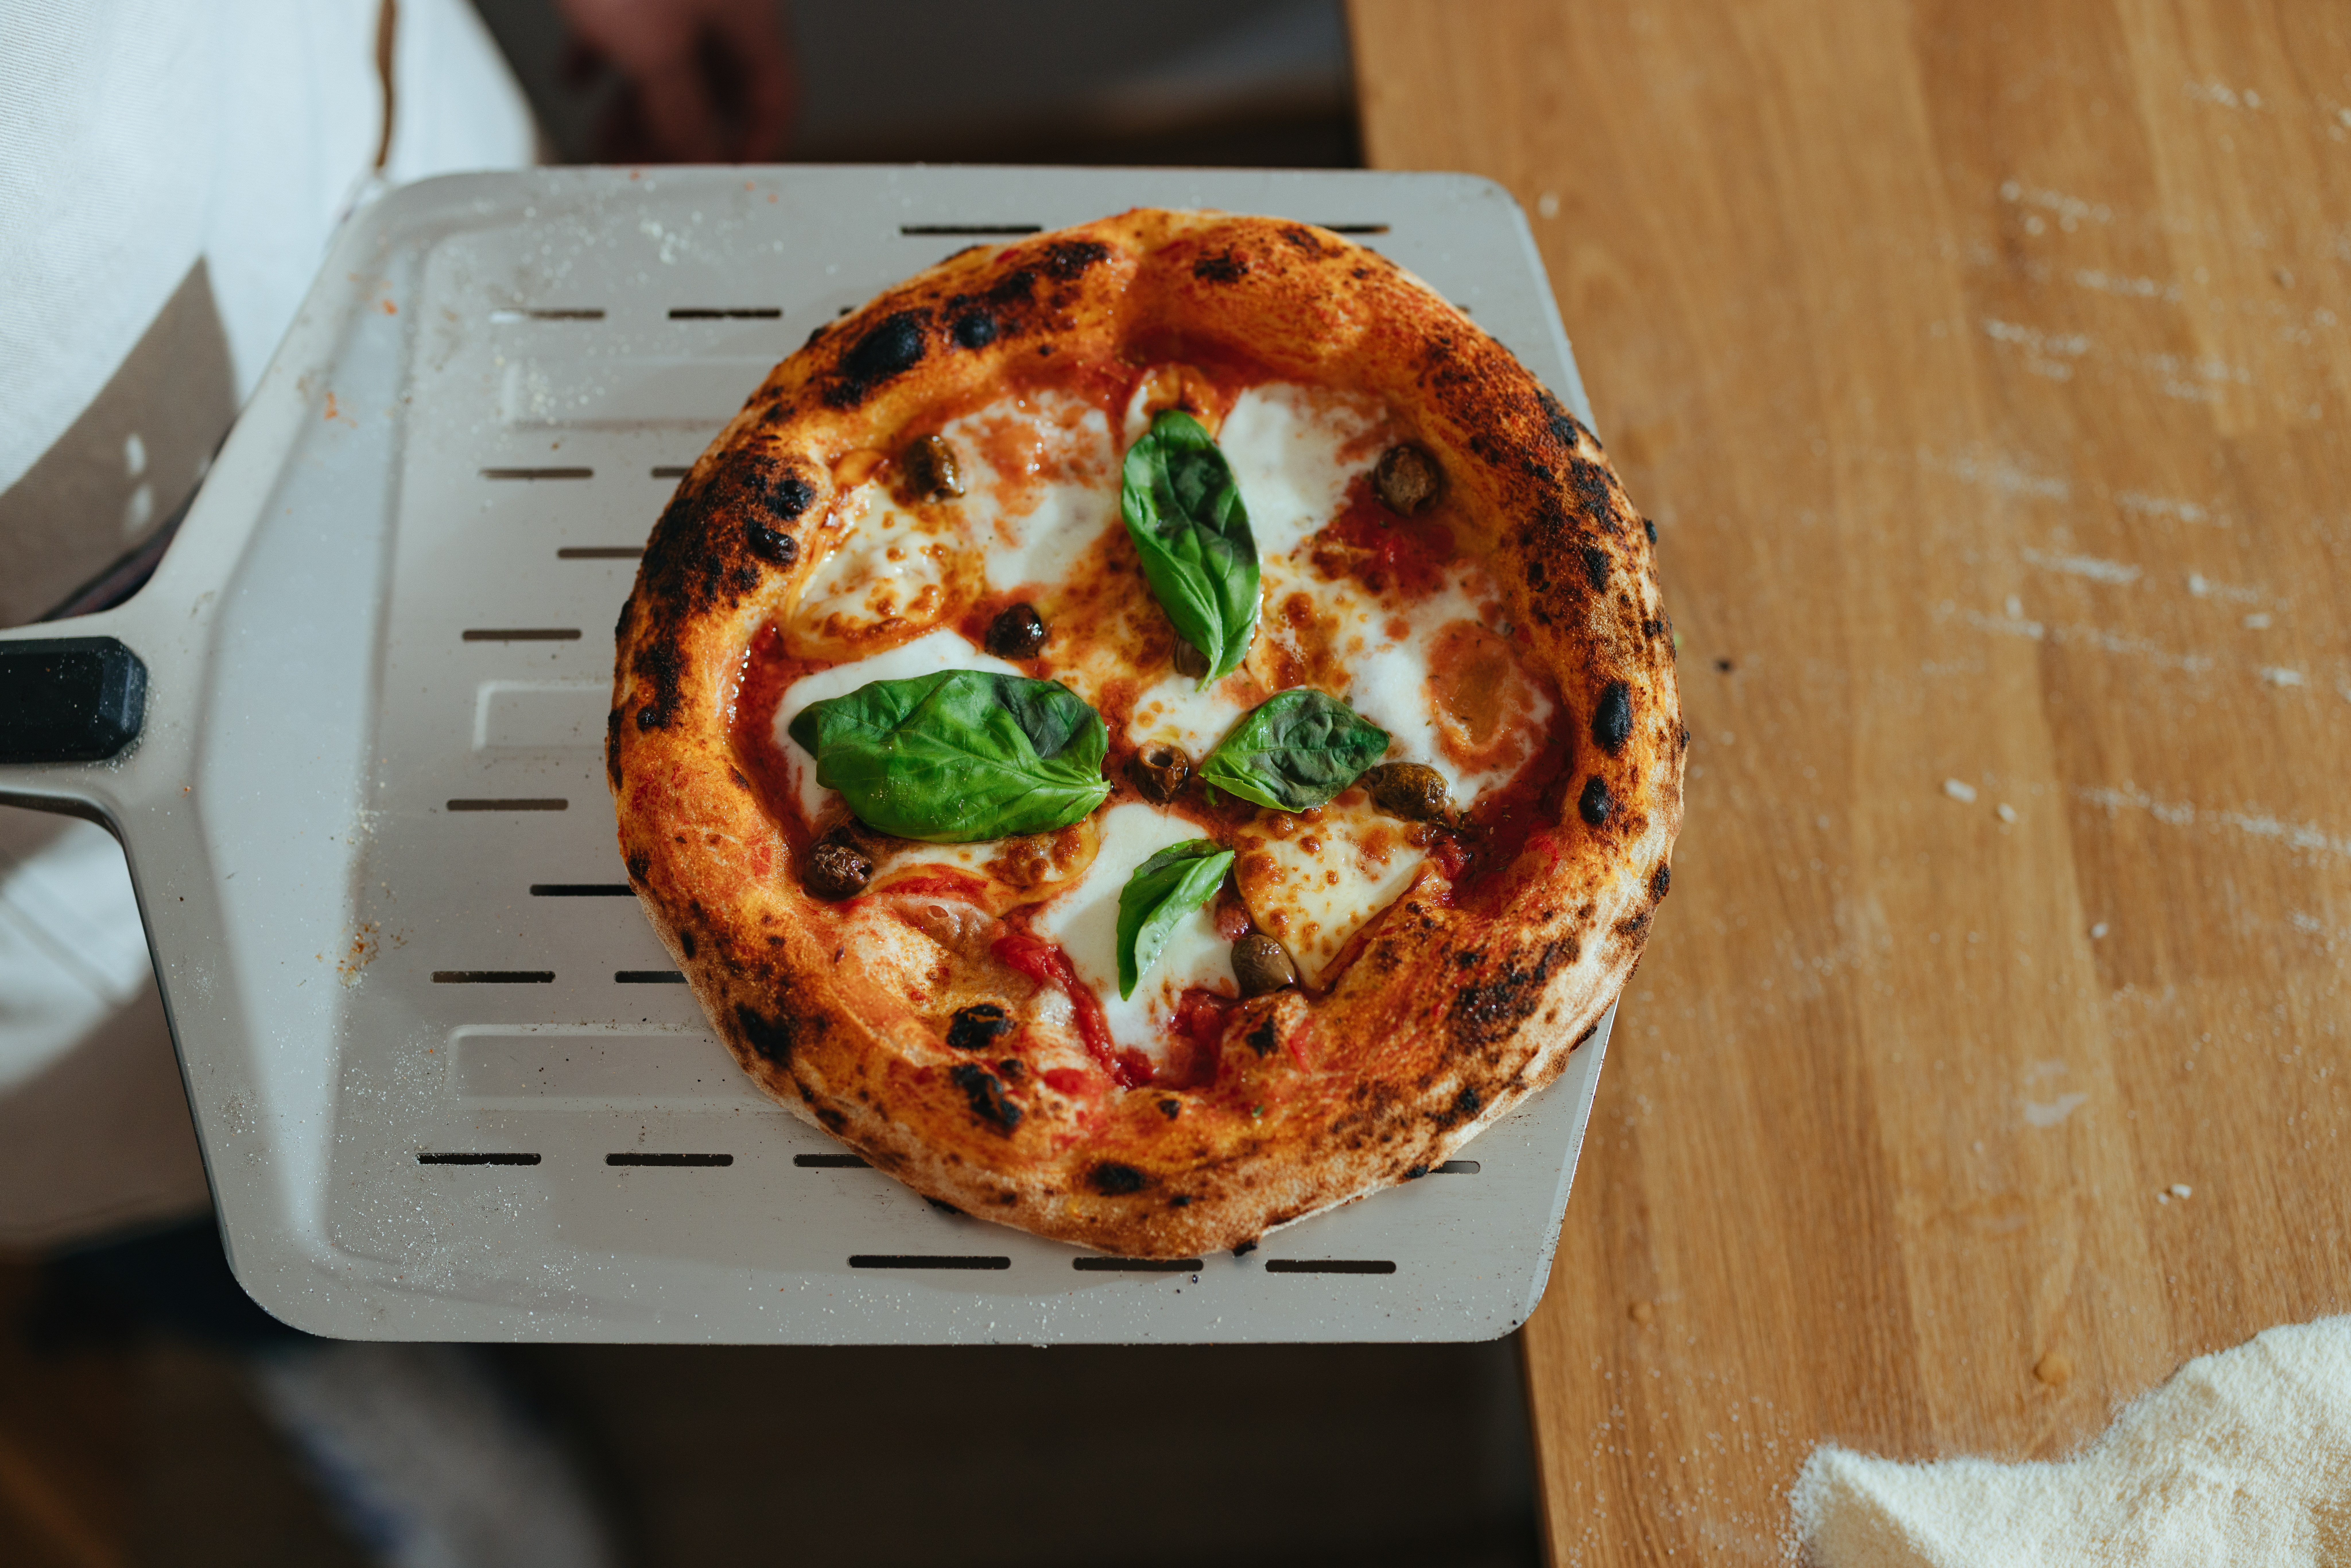
To slide your pizza directly onto the stone, you can also use a pizza peel. This lets you gently scoop up your pizza from wherever you assembled it.
A pizza peel is a thing, flat tool that allows for quick pizza transfer. Doing the transfer quickly helps reduce heat loss in the oven.
Pizza peels are thinner than paddles, and they’re useful throughout the process. For example, you can also use them to rotate the pizza while it cooks.
Do Not Grease the Pizza Stone
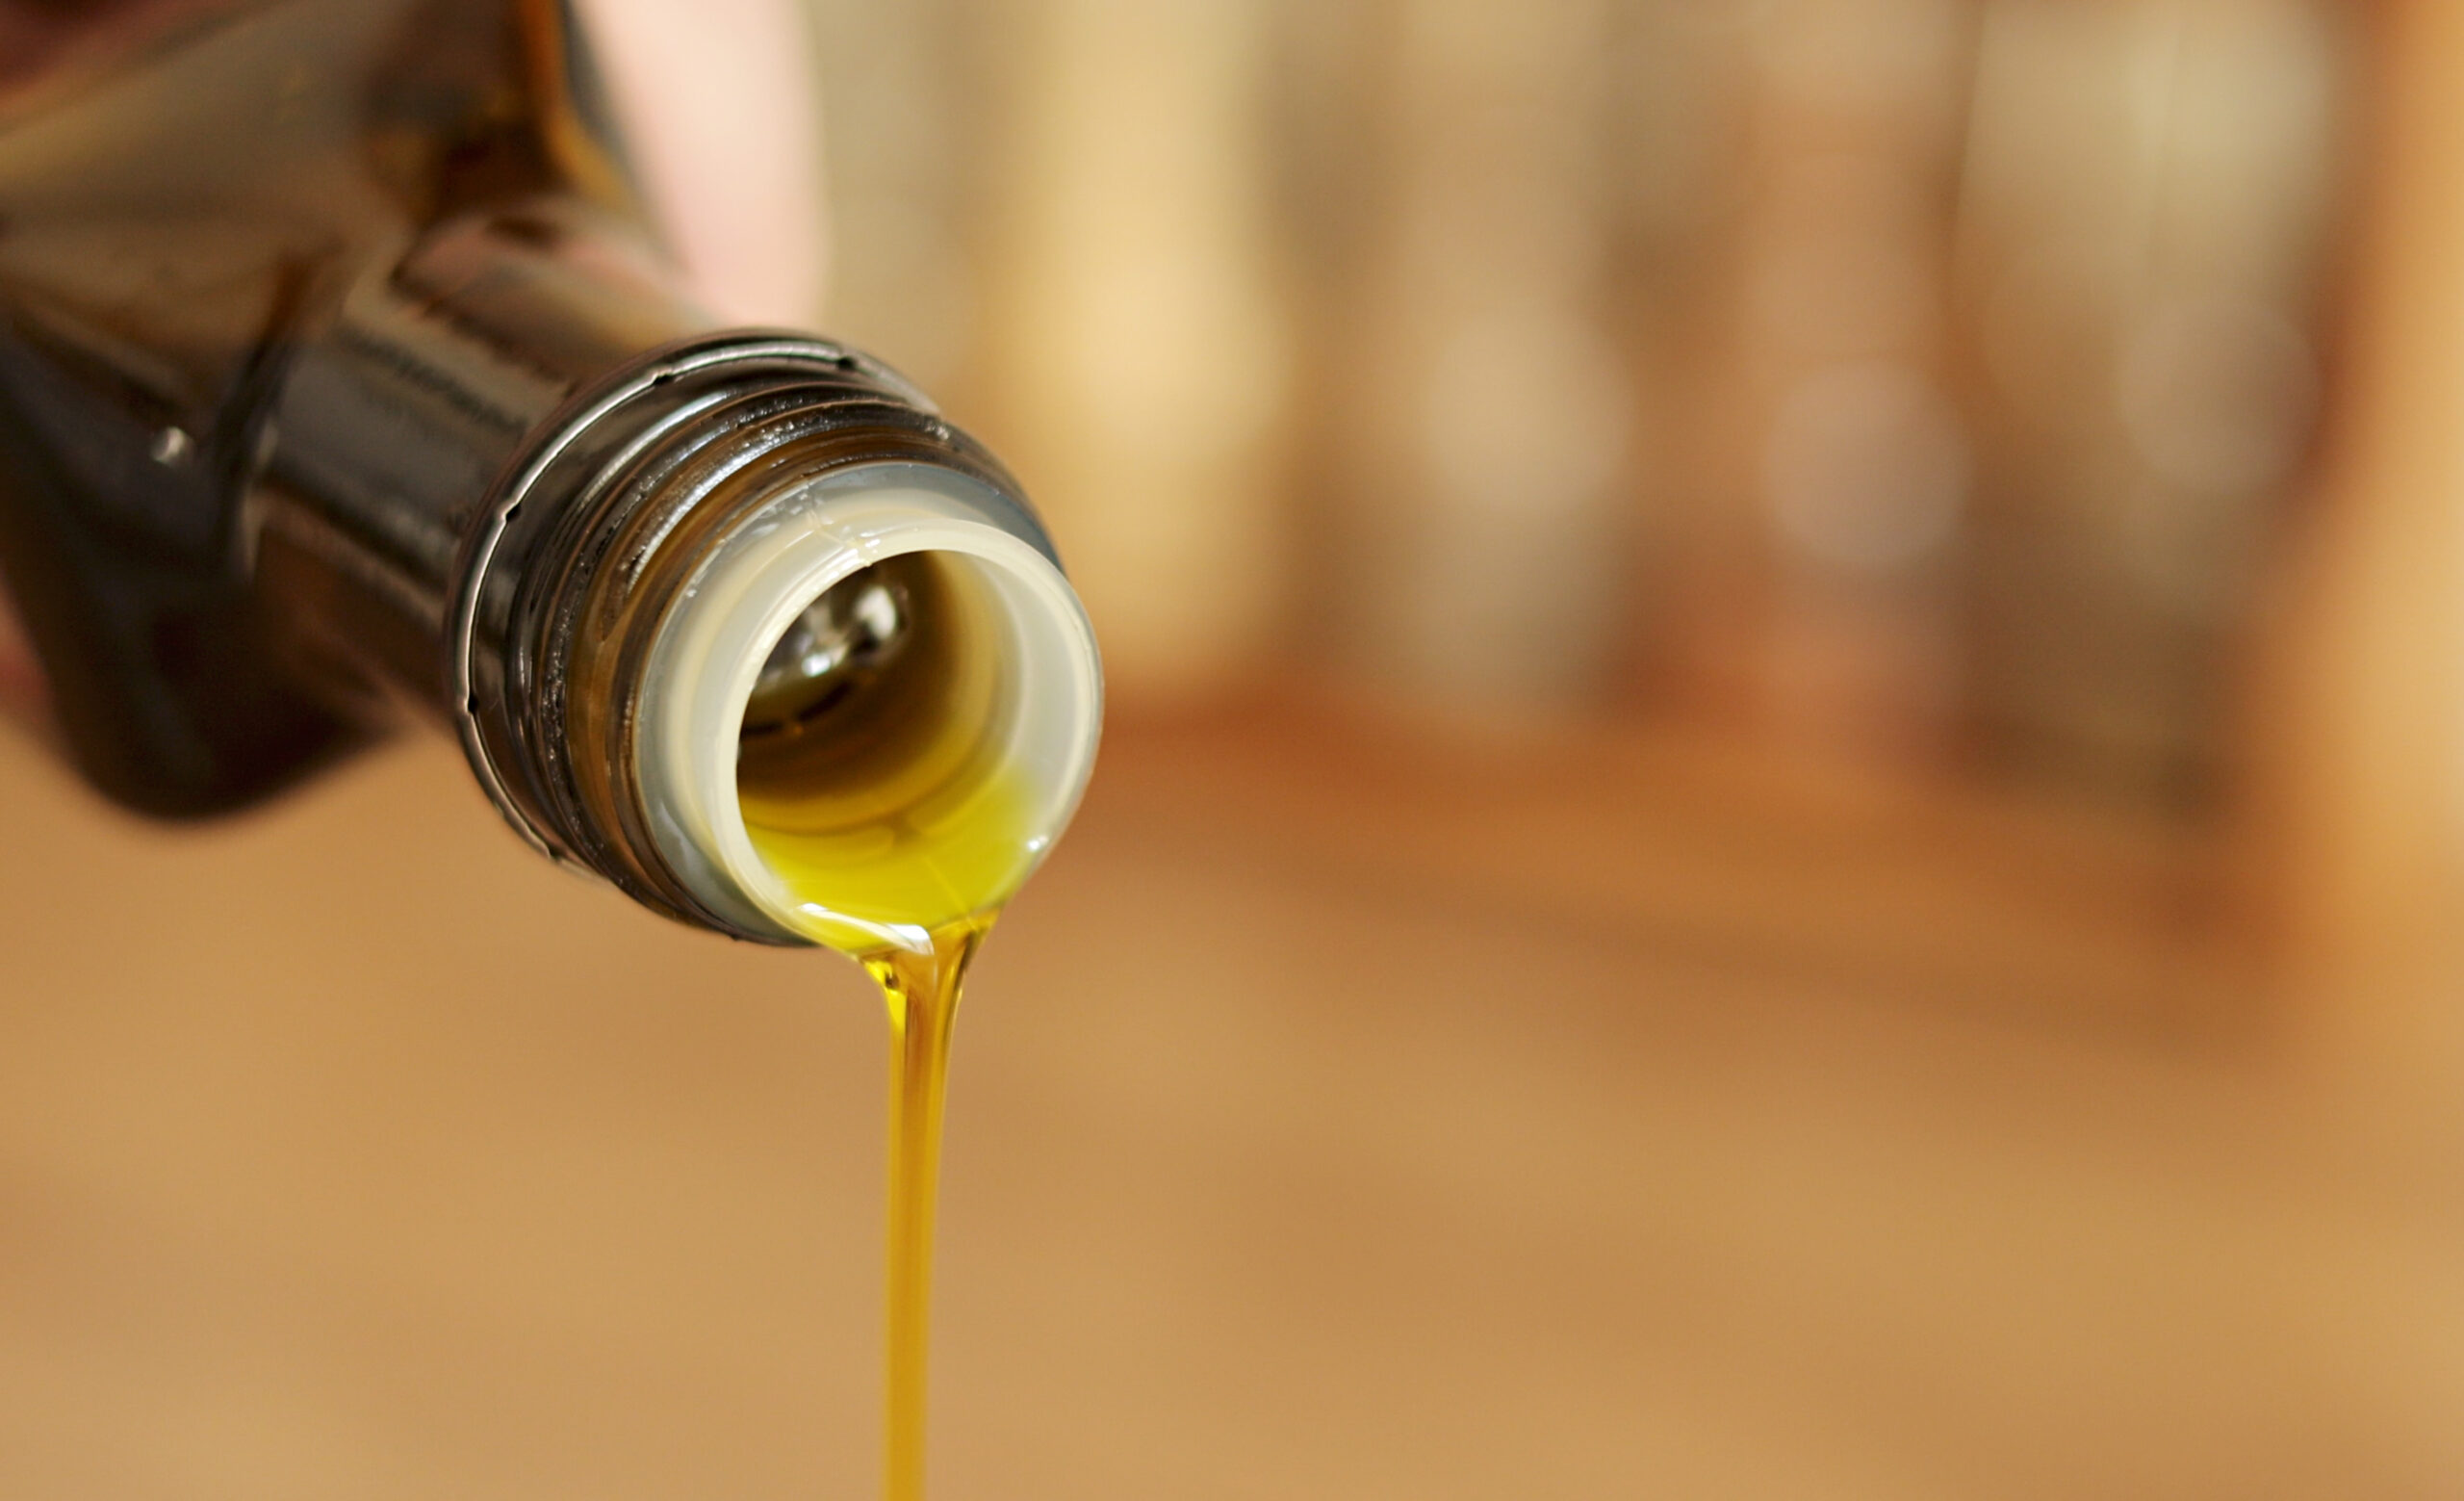
You might be tempted to grease your pizza stone to prevent sticking, just like you might with a baking pan. But this isn’t the best idea.
Oils can soak into the stone and create smoke and odors that carry over to future uses. And unlike pans, pizza stones are meant to absorb moisture.
They take in moisture from the dough, which helps create a crispier crust. Instead, you should rely on cornmeal or flour, or use parchment paper.
Make Sure Your Dough is Room Temperature
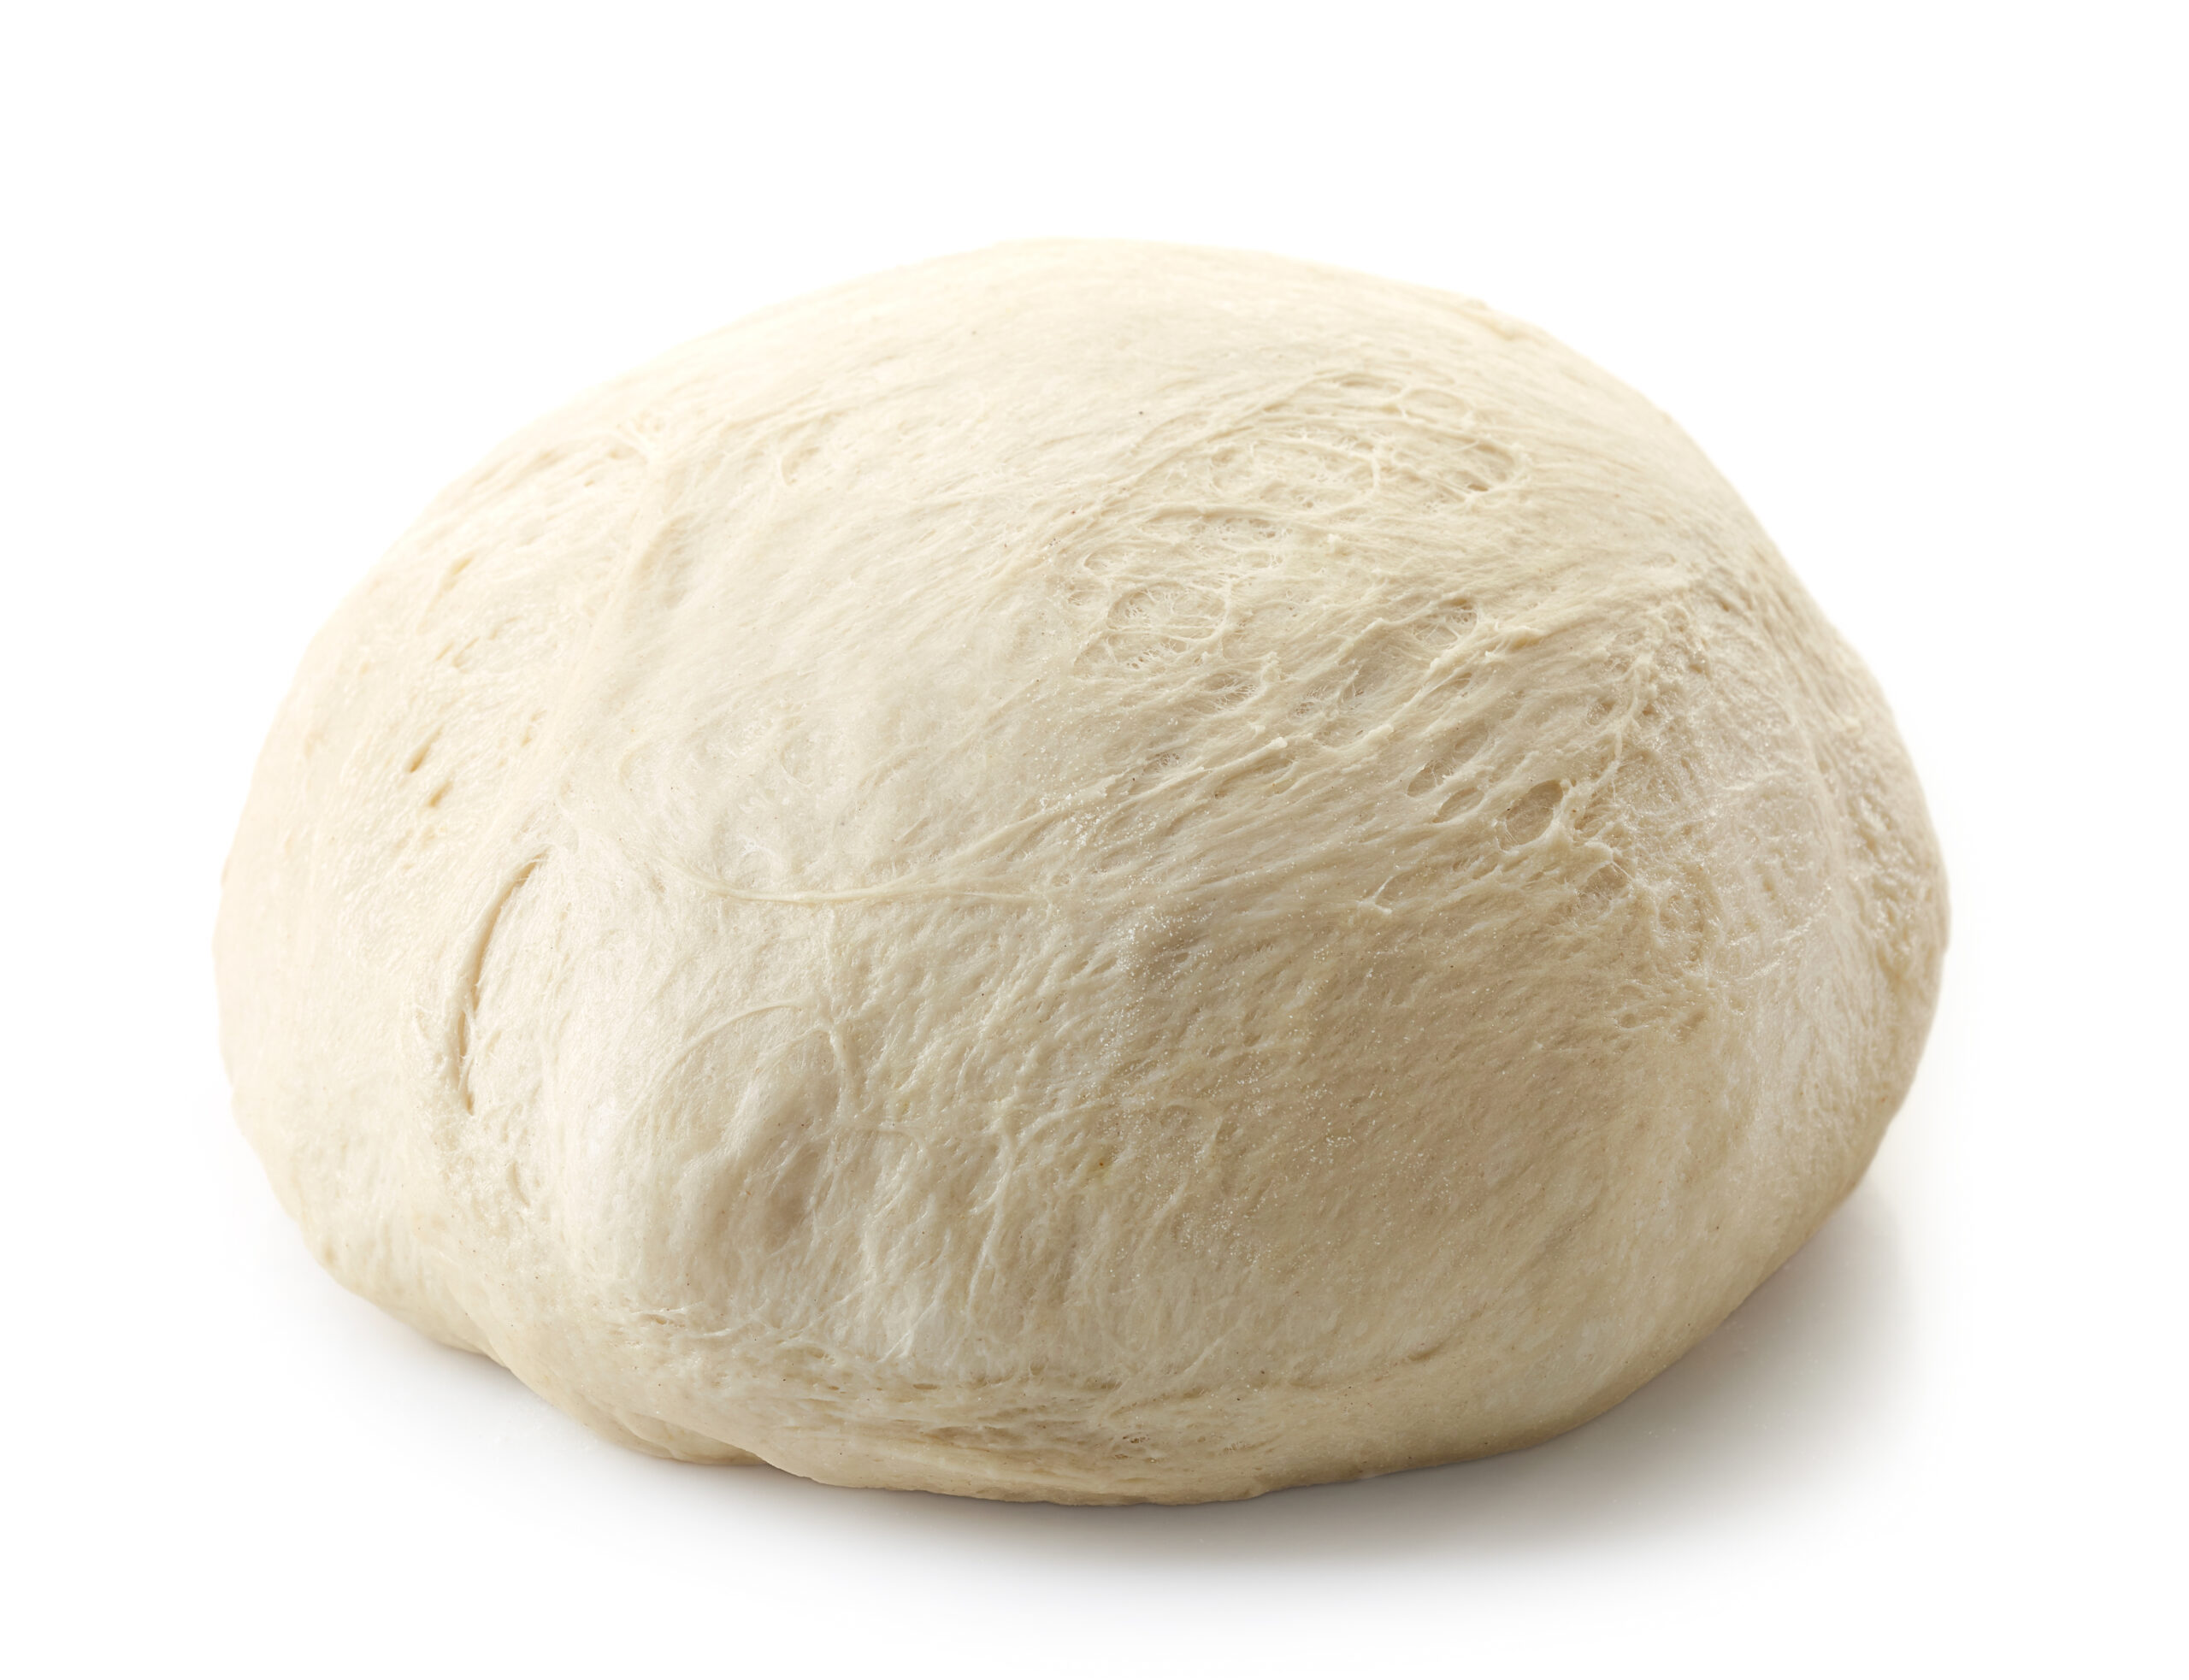
Rather than taking your dough straight out of the fridge before baking, you should make sure it’s at room temperature. This is important for the optimal texture.
Cold dough can contract when it’s exposed to the heat of a preheated pizza stone. And that can lead to uneven cooking and a less-than-desirable texture.
Room-temperature dough is also more pliable and easier to shape, so it’s easier to build your crust and pizza. Plus, it creates a crispier, chewier crust.
Precook Your Toppings to Avoid Sogginess
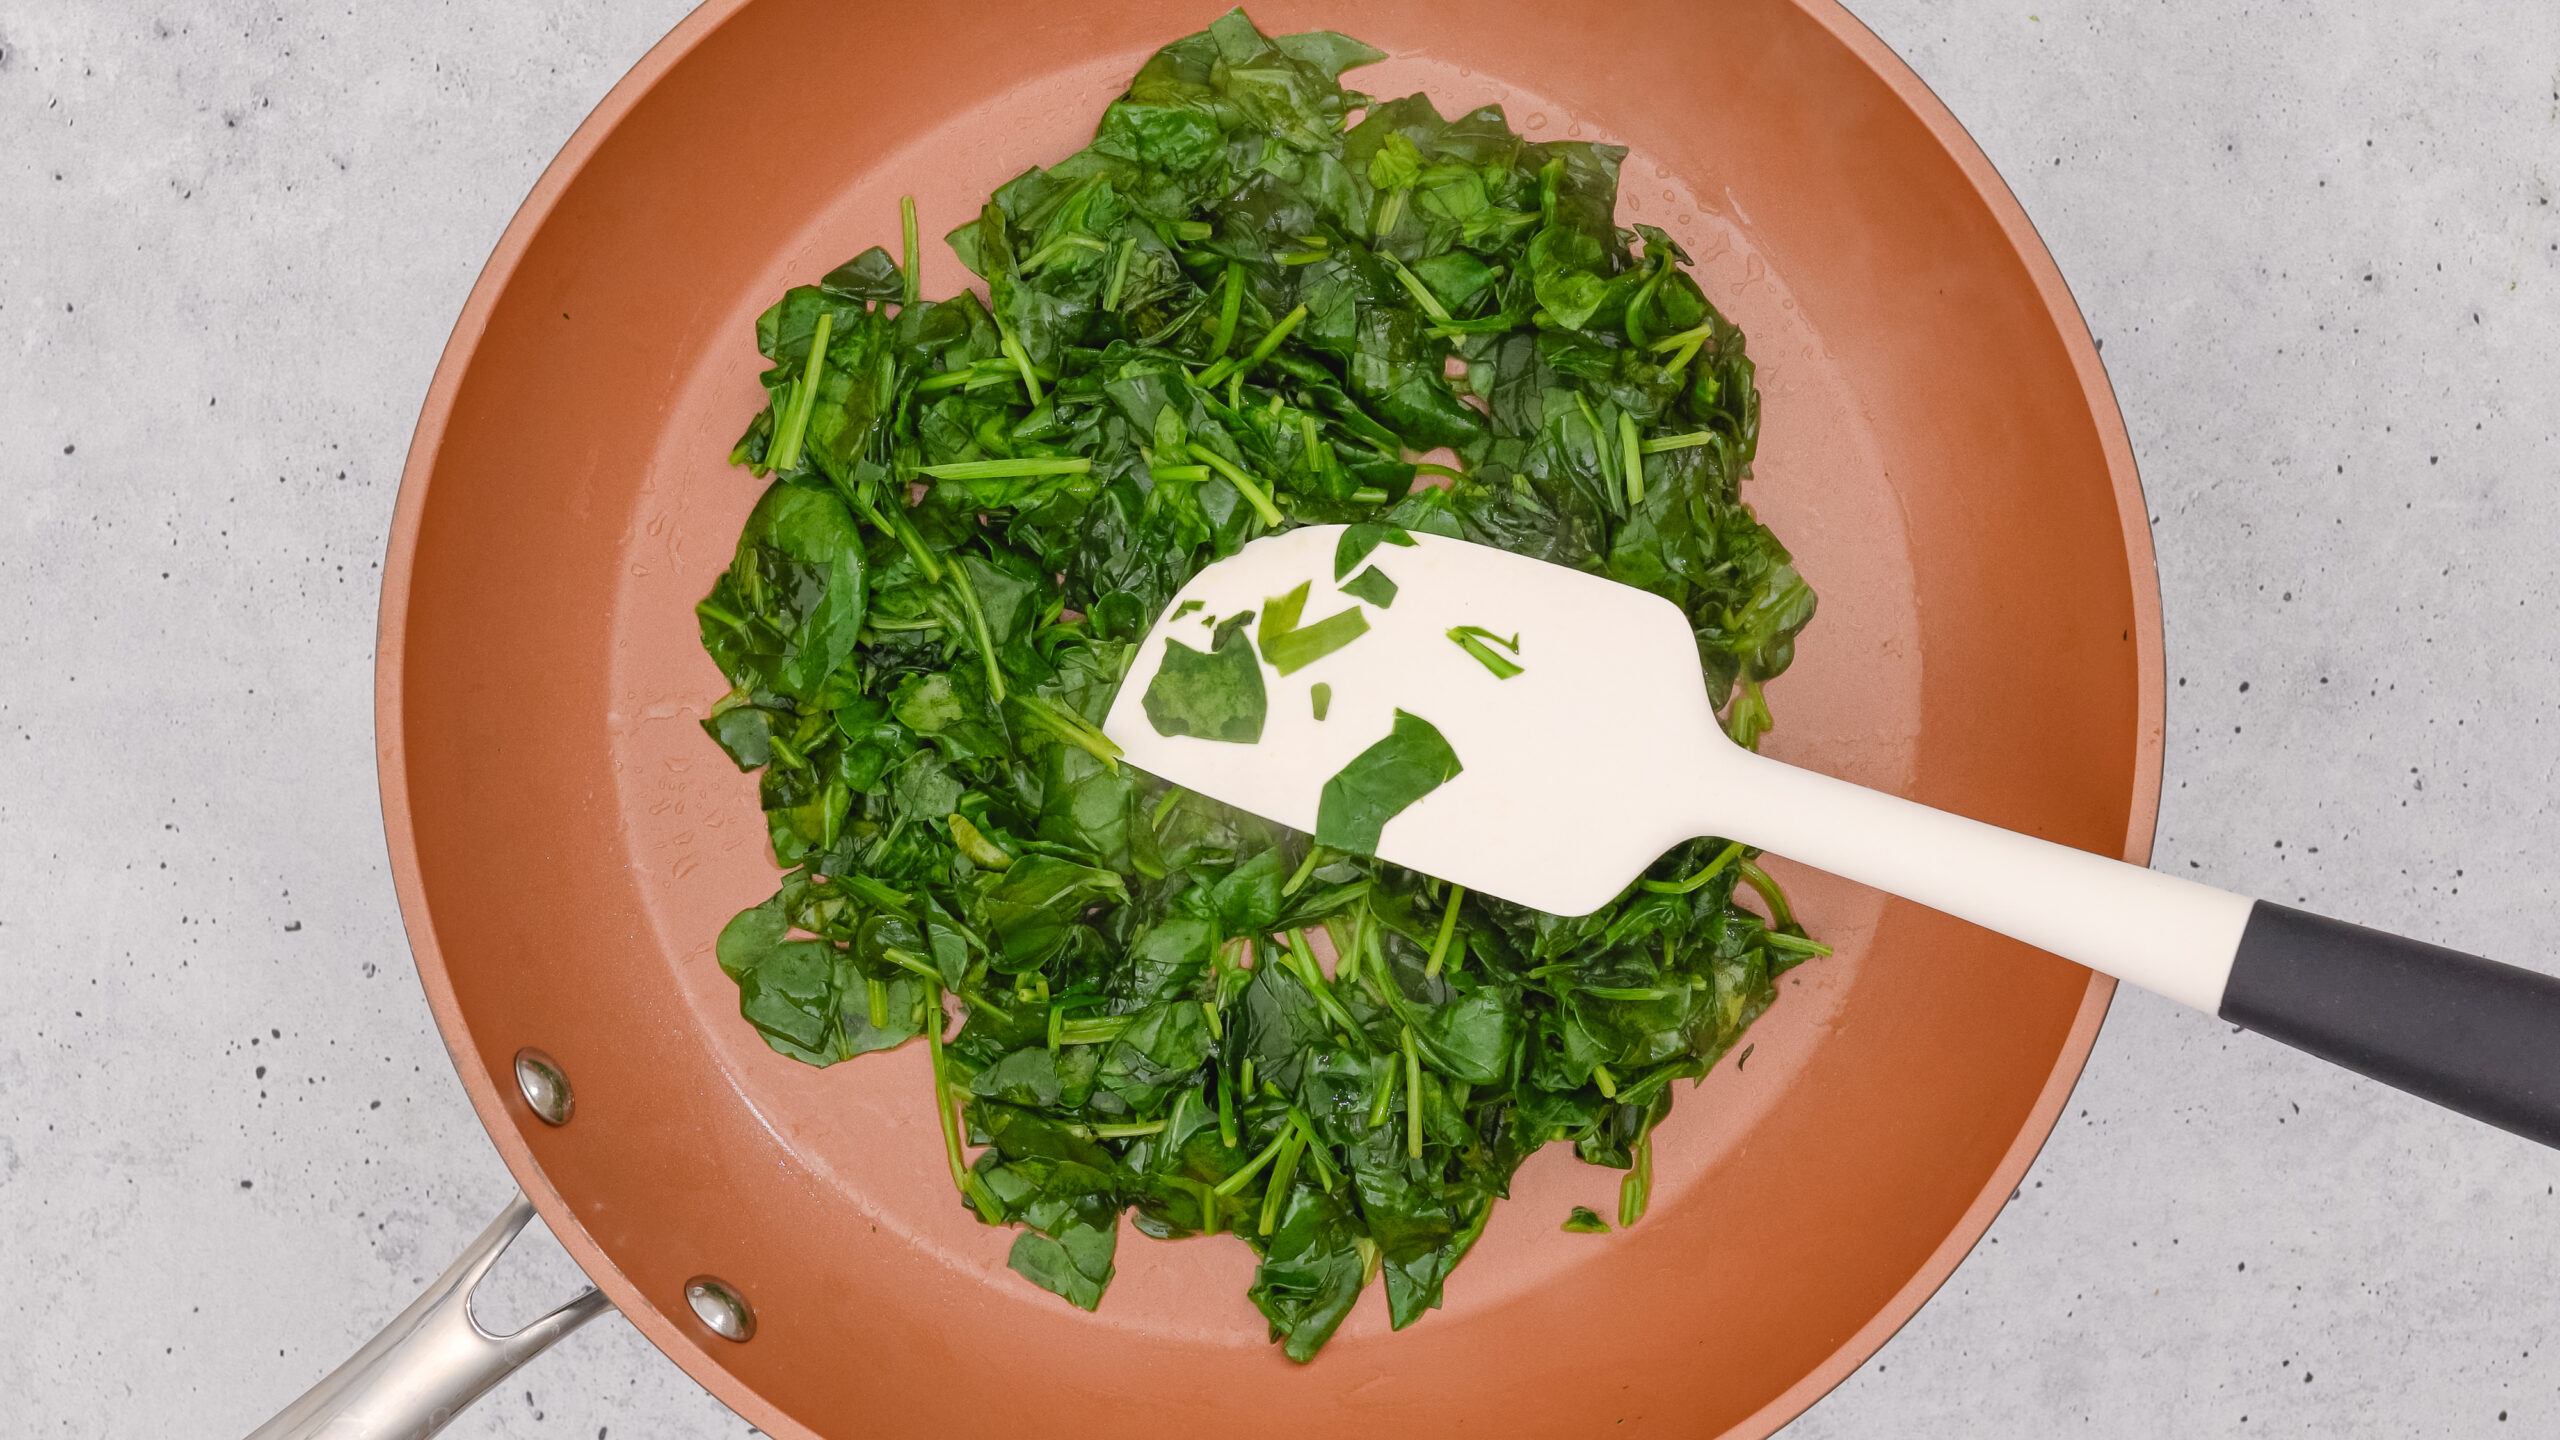
If you’re using moisture-rich pizza toppings like mushrooms, spinach, or fresh mozzarella, piling them on fresh can lead to a soggy crust. How do you avoid it?
The trick is precooking your ingredients slightly to dry them out beforehand. To do this, you can simply sautee or gently bake vegetables until softened.
With fresh mozzarella, press the cheese to remove as much of the moisture as you can before putting it on your pizza. Soggy crust, be gone!
Keep the Oven Door Closed
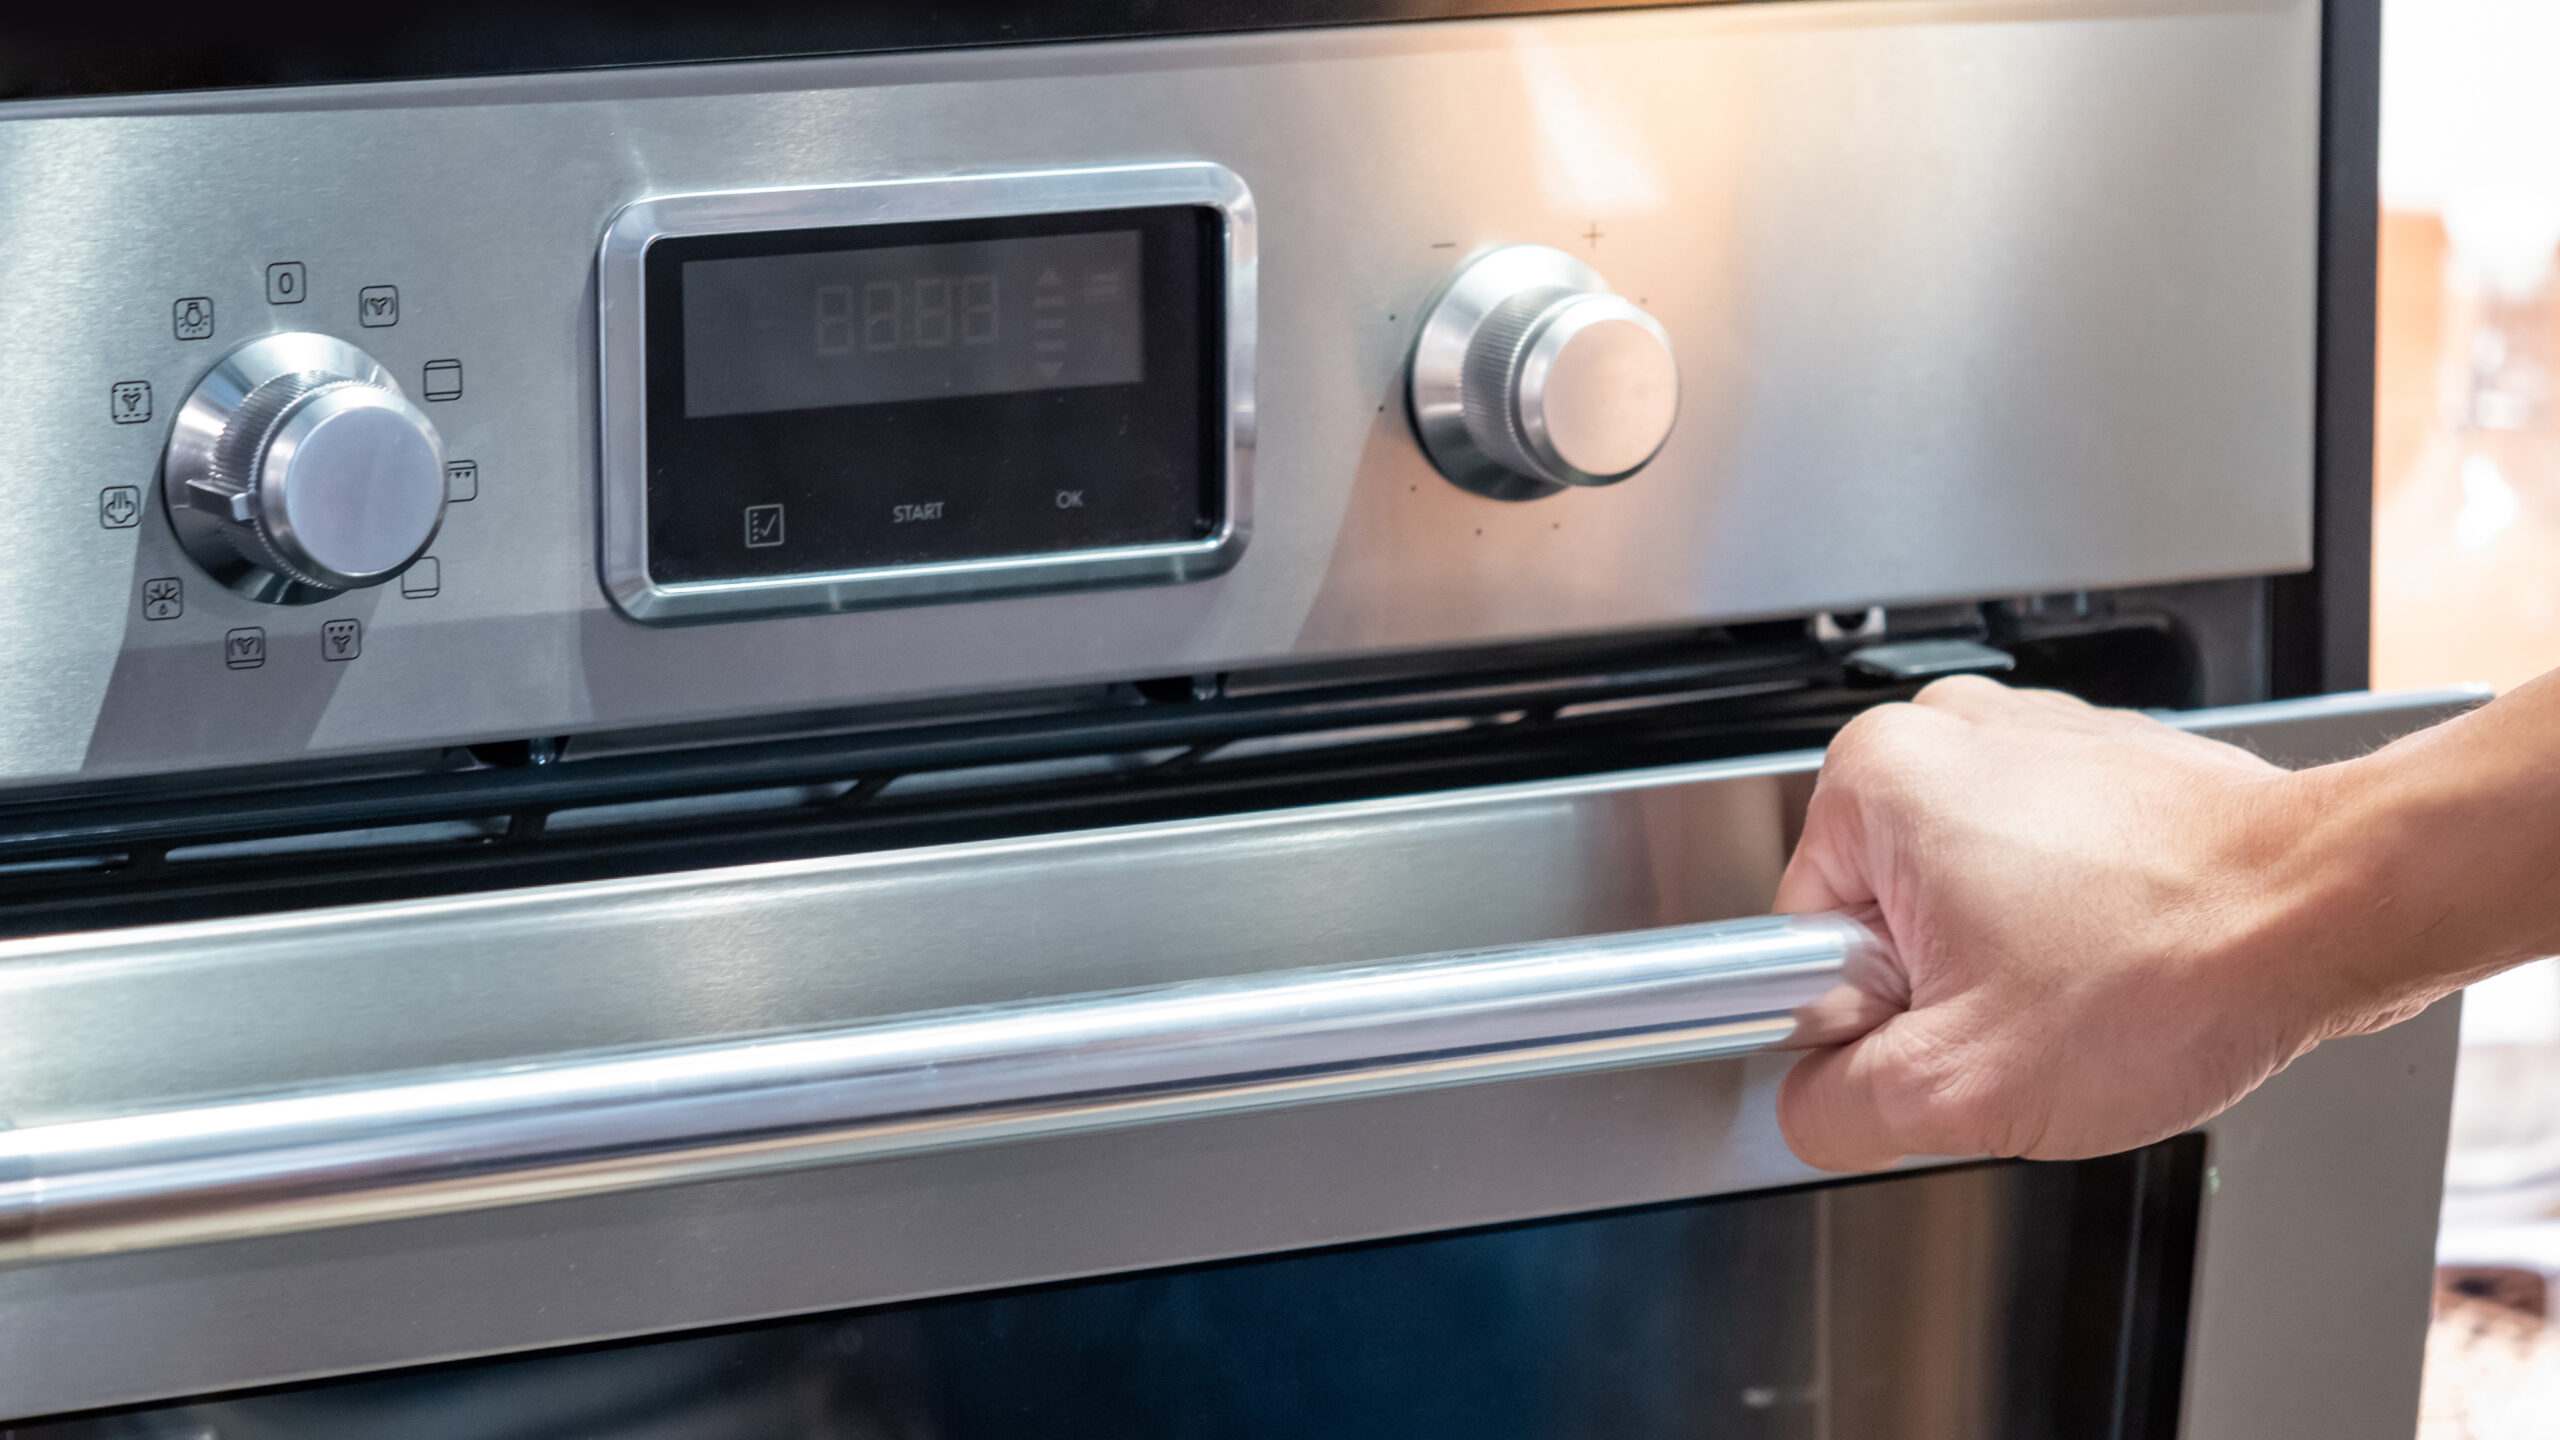
When you’re baking on a pizza stone, it’s important to keep the oven at a stable temperature. Unfortunately, this means no peaking (or at least very little)!
Each time you open that oven door, heat escapes, causing fluctuations that can affect the pizza’s baking process. This can lead to not-so-ideal textures and flavors.
A consistent, high heat is essential for a crispy crust and perfectly melted cheese. Use the oven light and window to check on your pizza’s progress.
Rotate the Pizza Halfway Through Baking
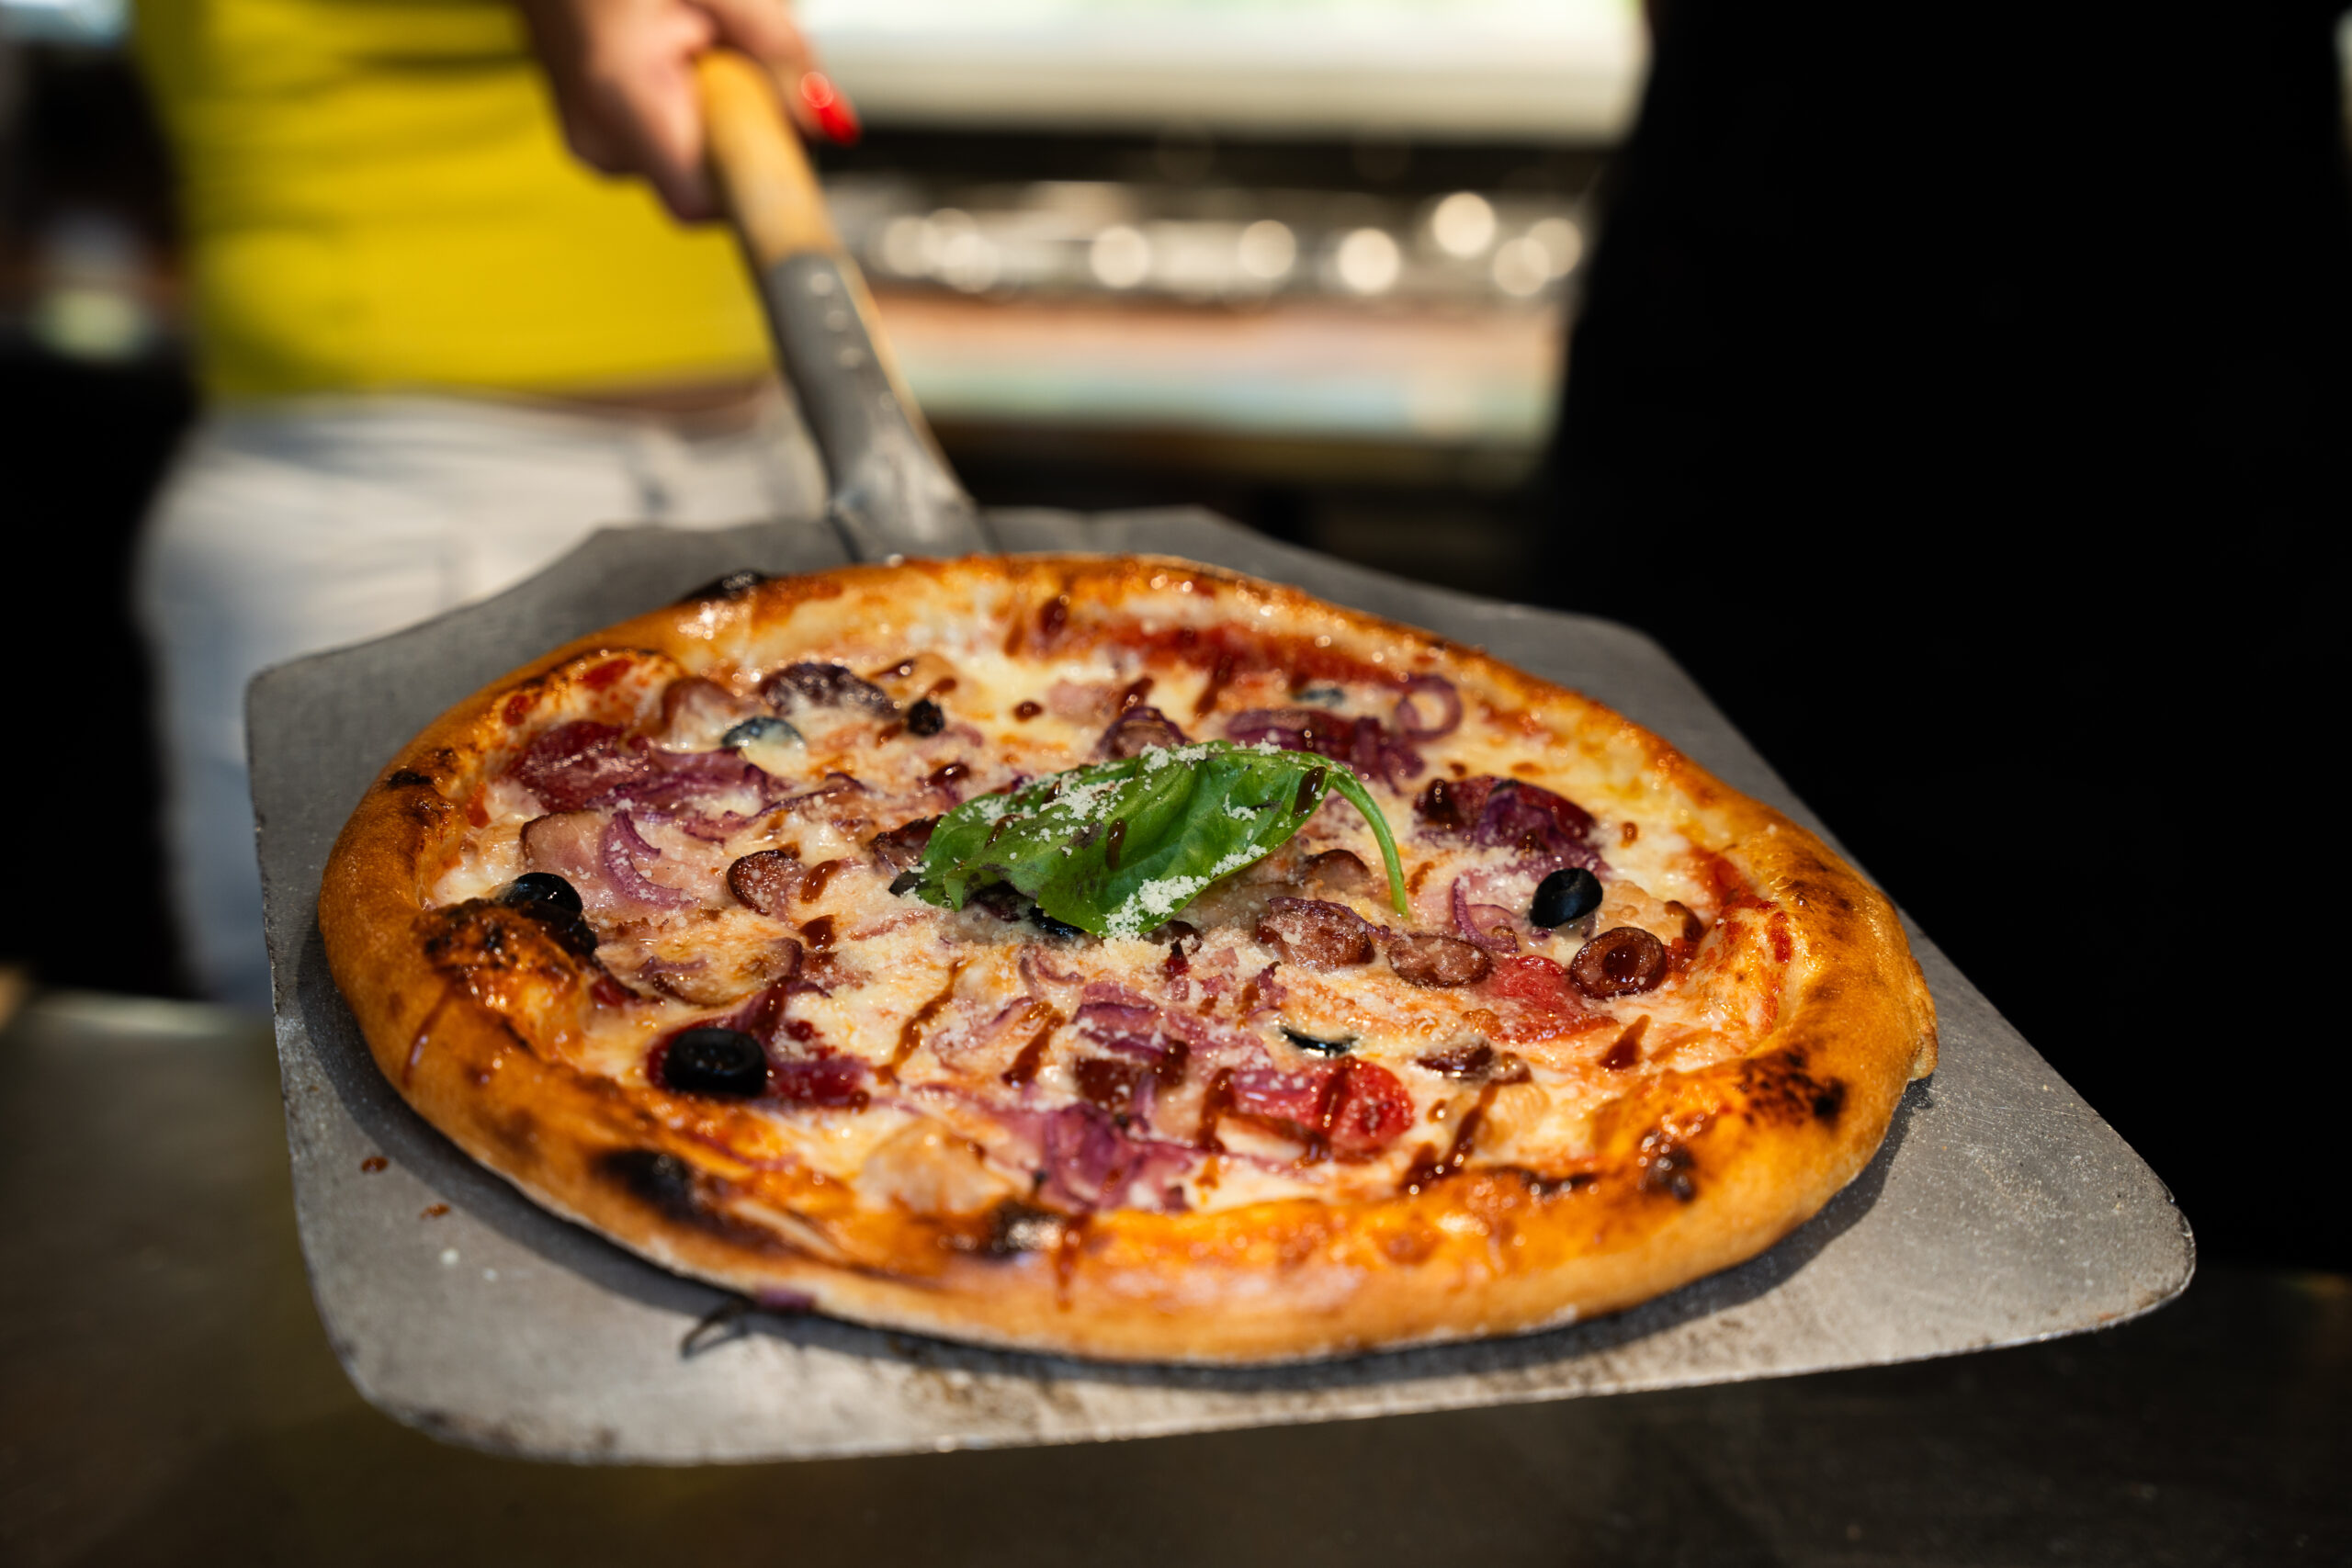
With that said, it’s also important to rotate your pizza about halfway through cooking. This helps eliminate inconsistencies in texture that are caused by uneven baking.
By carefully rotating the pizza 180 degrees, you ensure that all parts of the pizza receive equal exposure to the hottest parts of the oven.
It’s a simple yet effective technique to take homemade pizza to the next level. Just remember to do this quickly to avoid heat loss from the oven!
Use a Pizza Peel to Carefully Remove the Pizza
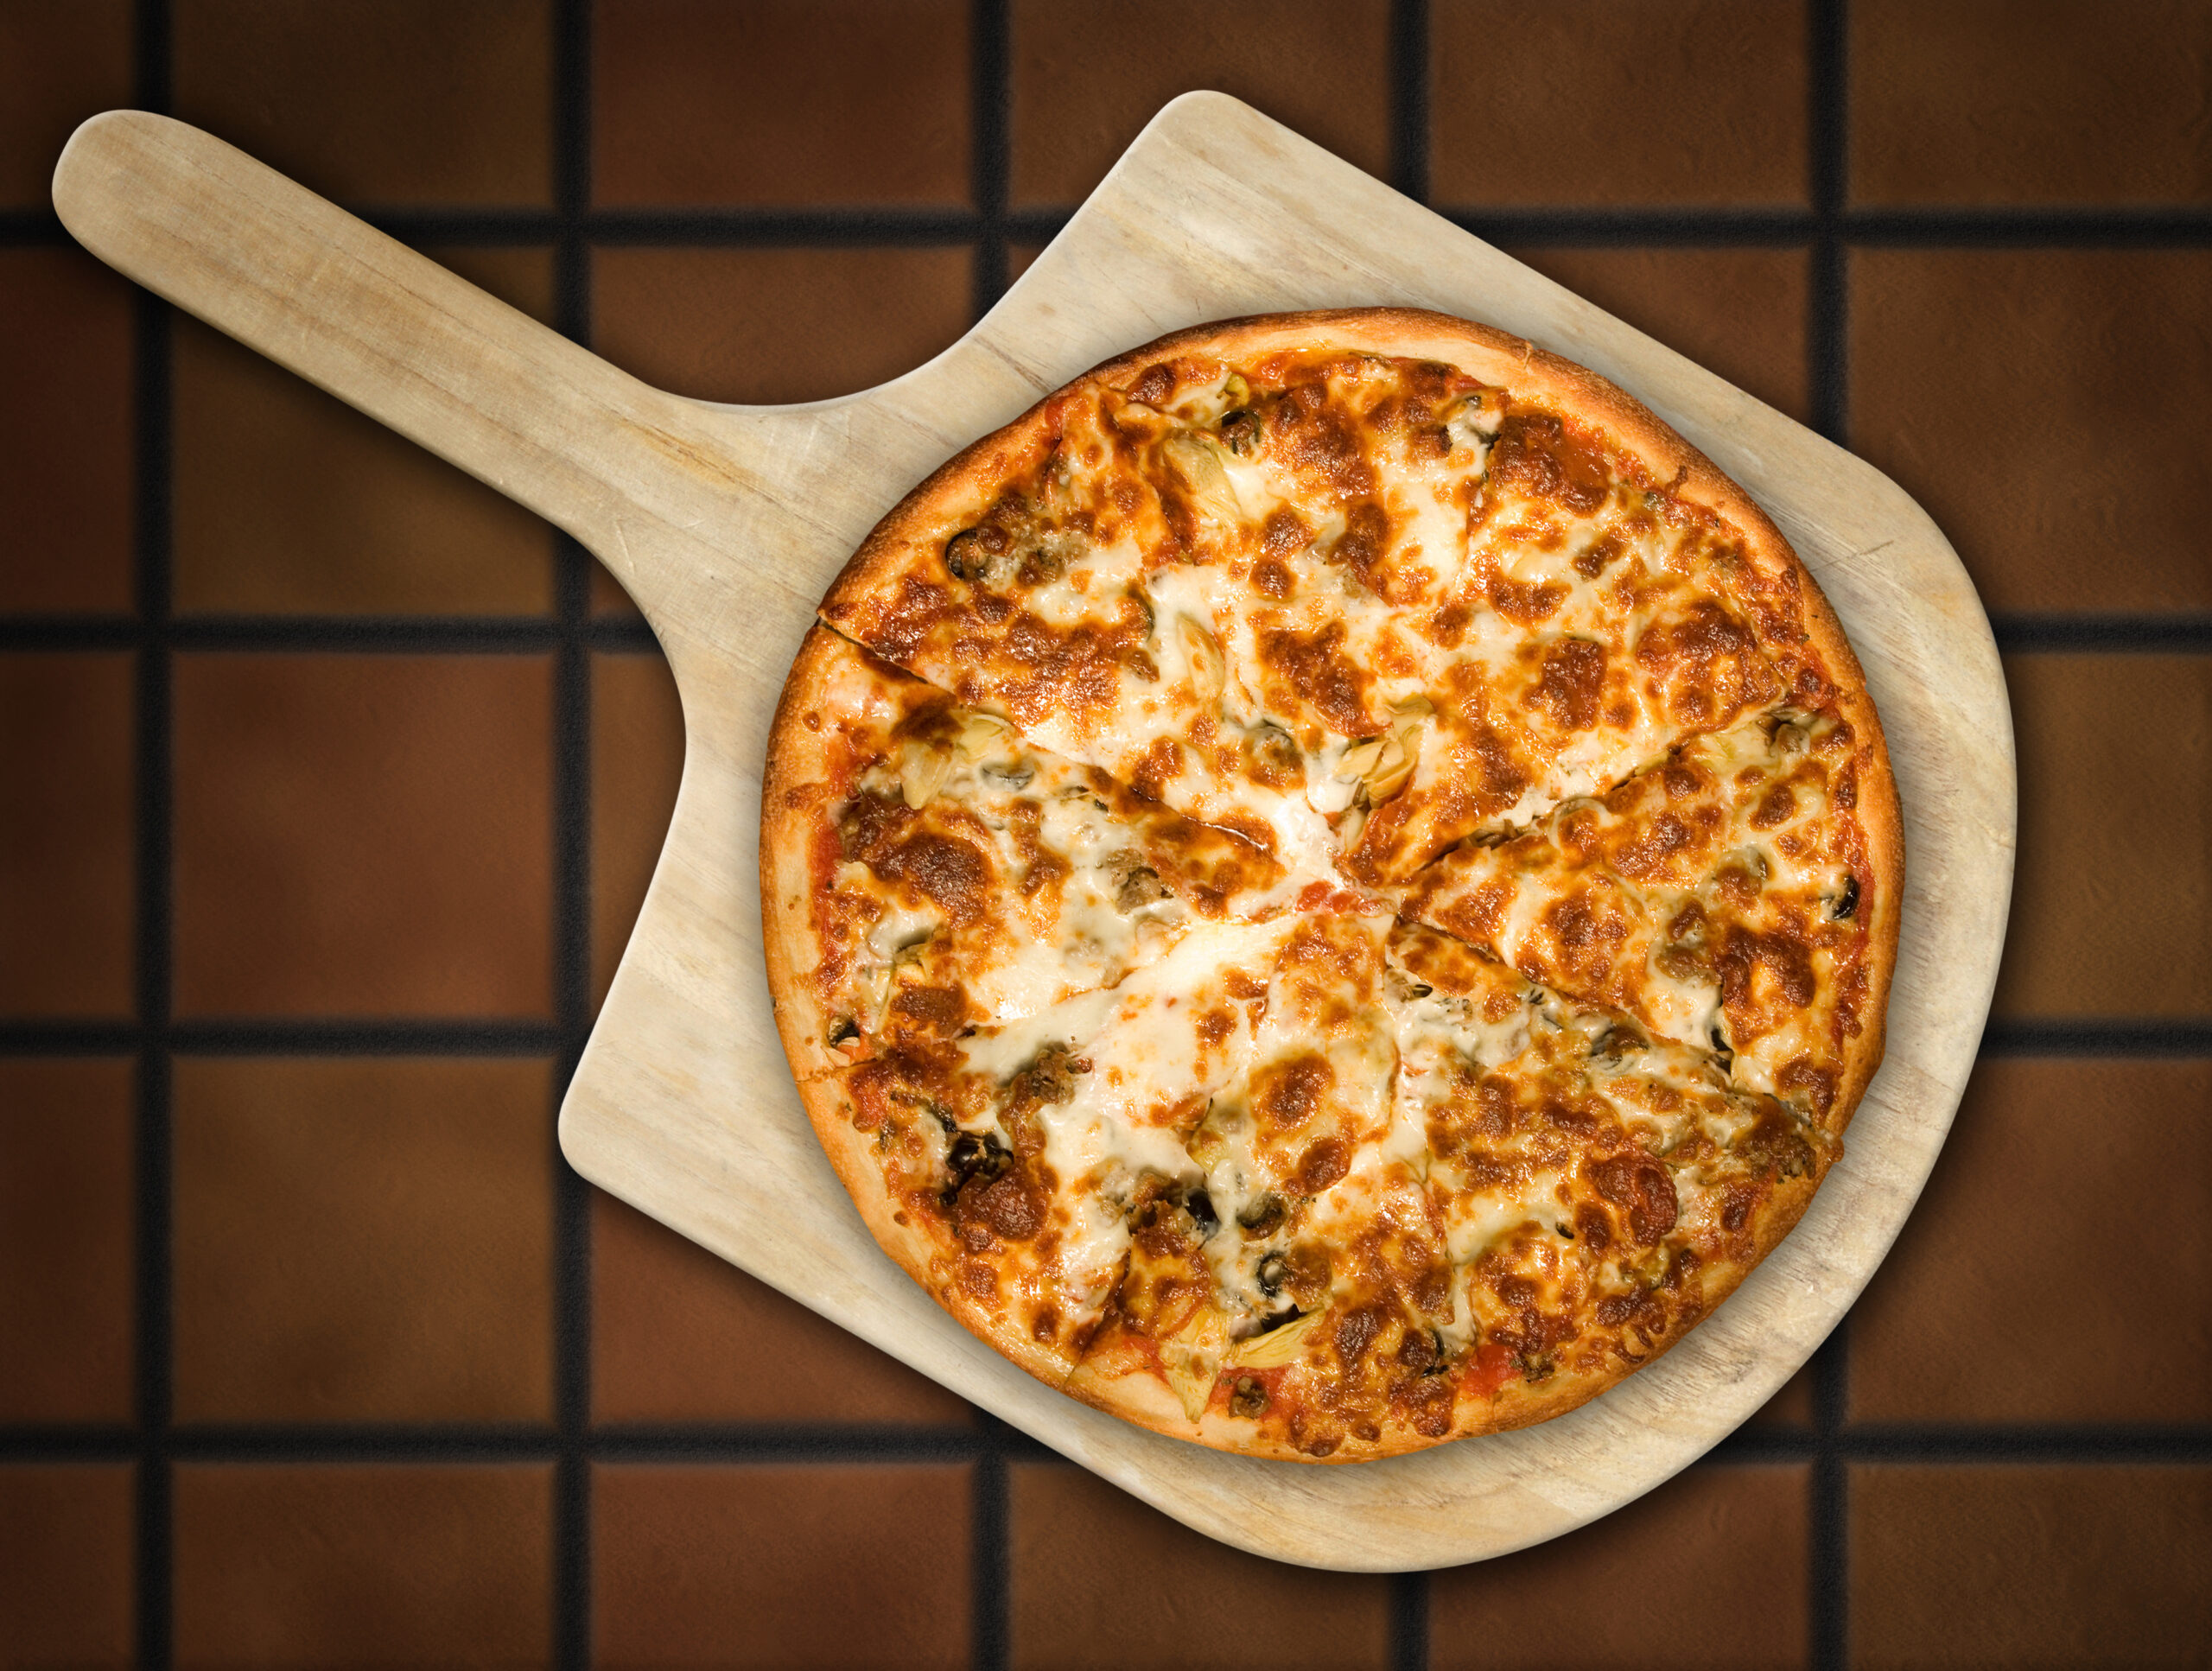
When your pizza is done cooking, it’s time to carefully remove it from the oven. To do this, you’ll need either oven mitts or a pizza peel.
Oven mitts can allow you to remove the pizza if it’s on parchment paper and easy to lift. Never remove the pizza stone immediately after baking.
Instead, you can use a pizza peel to gently lift the pizza out and transfer it to a dish or cutting board. Leave the stone where it is.
Allow the Stone to Cool Completely
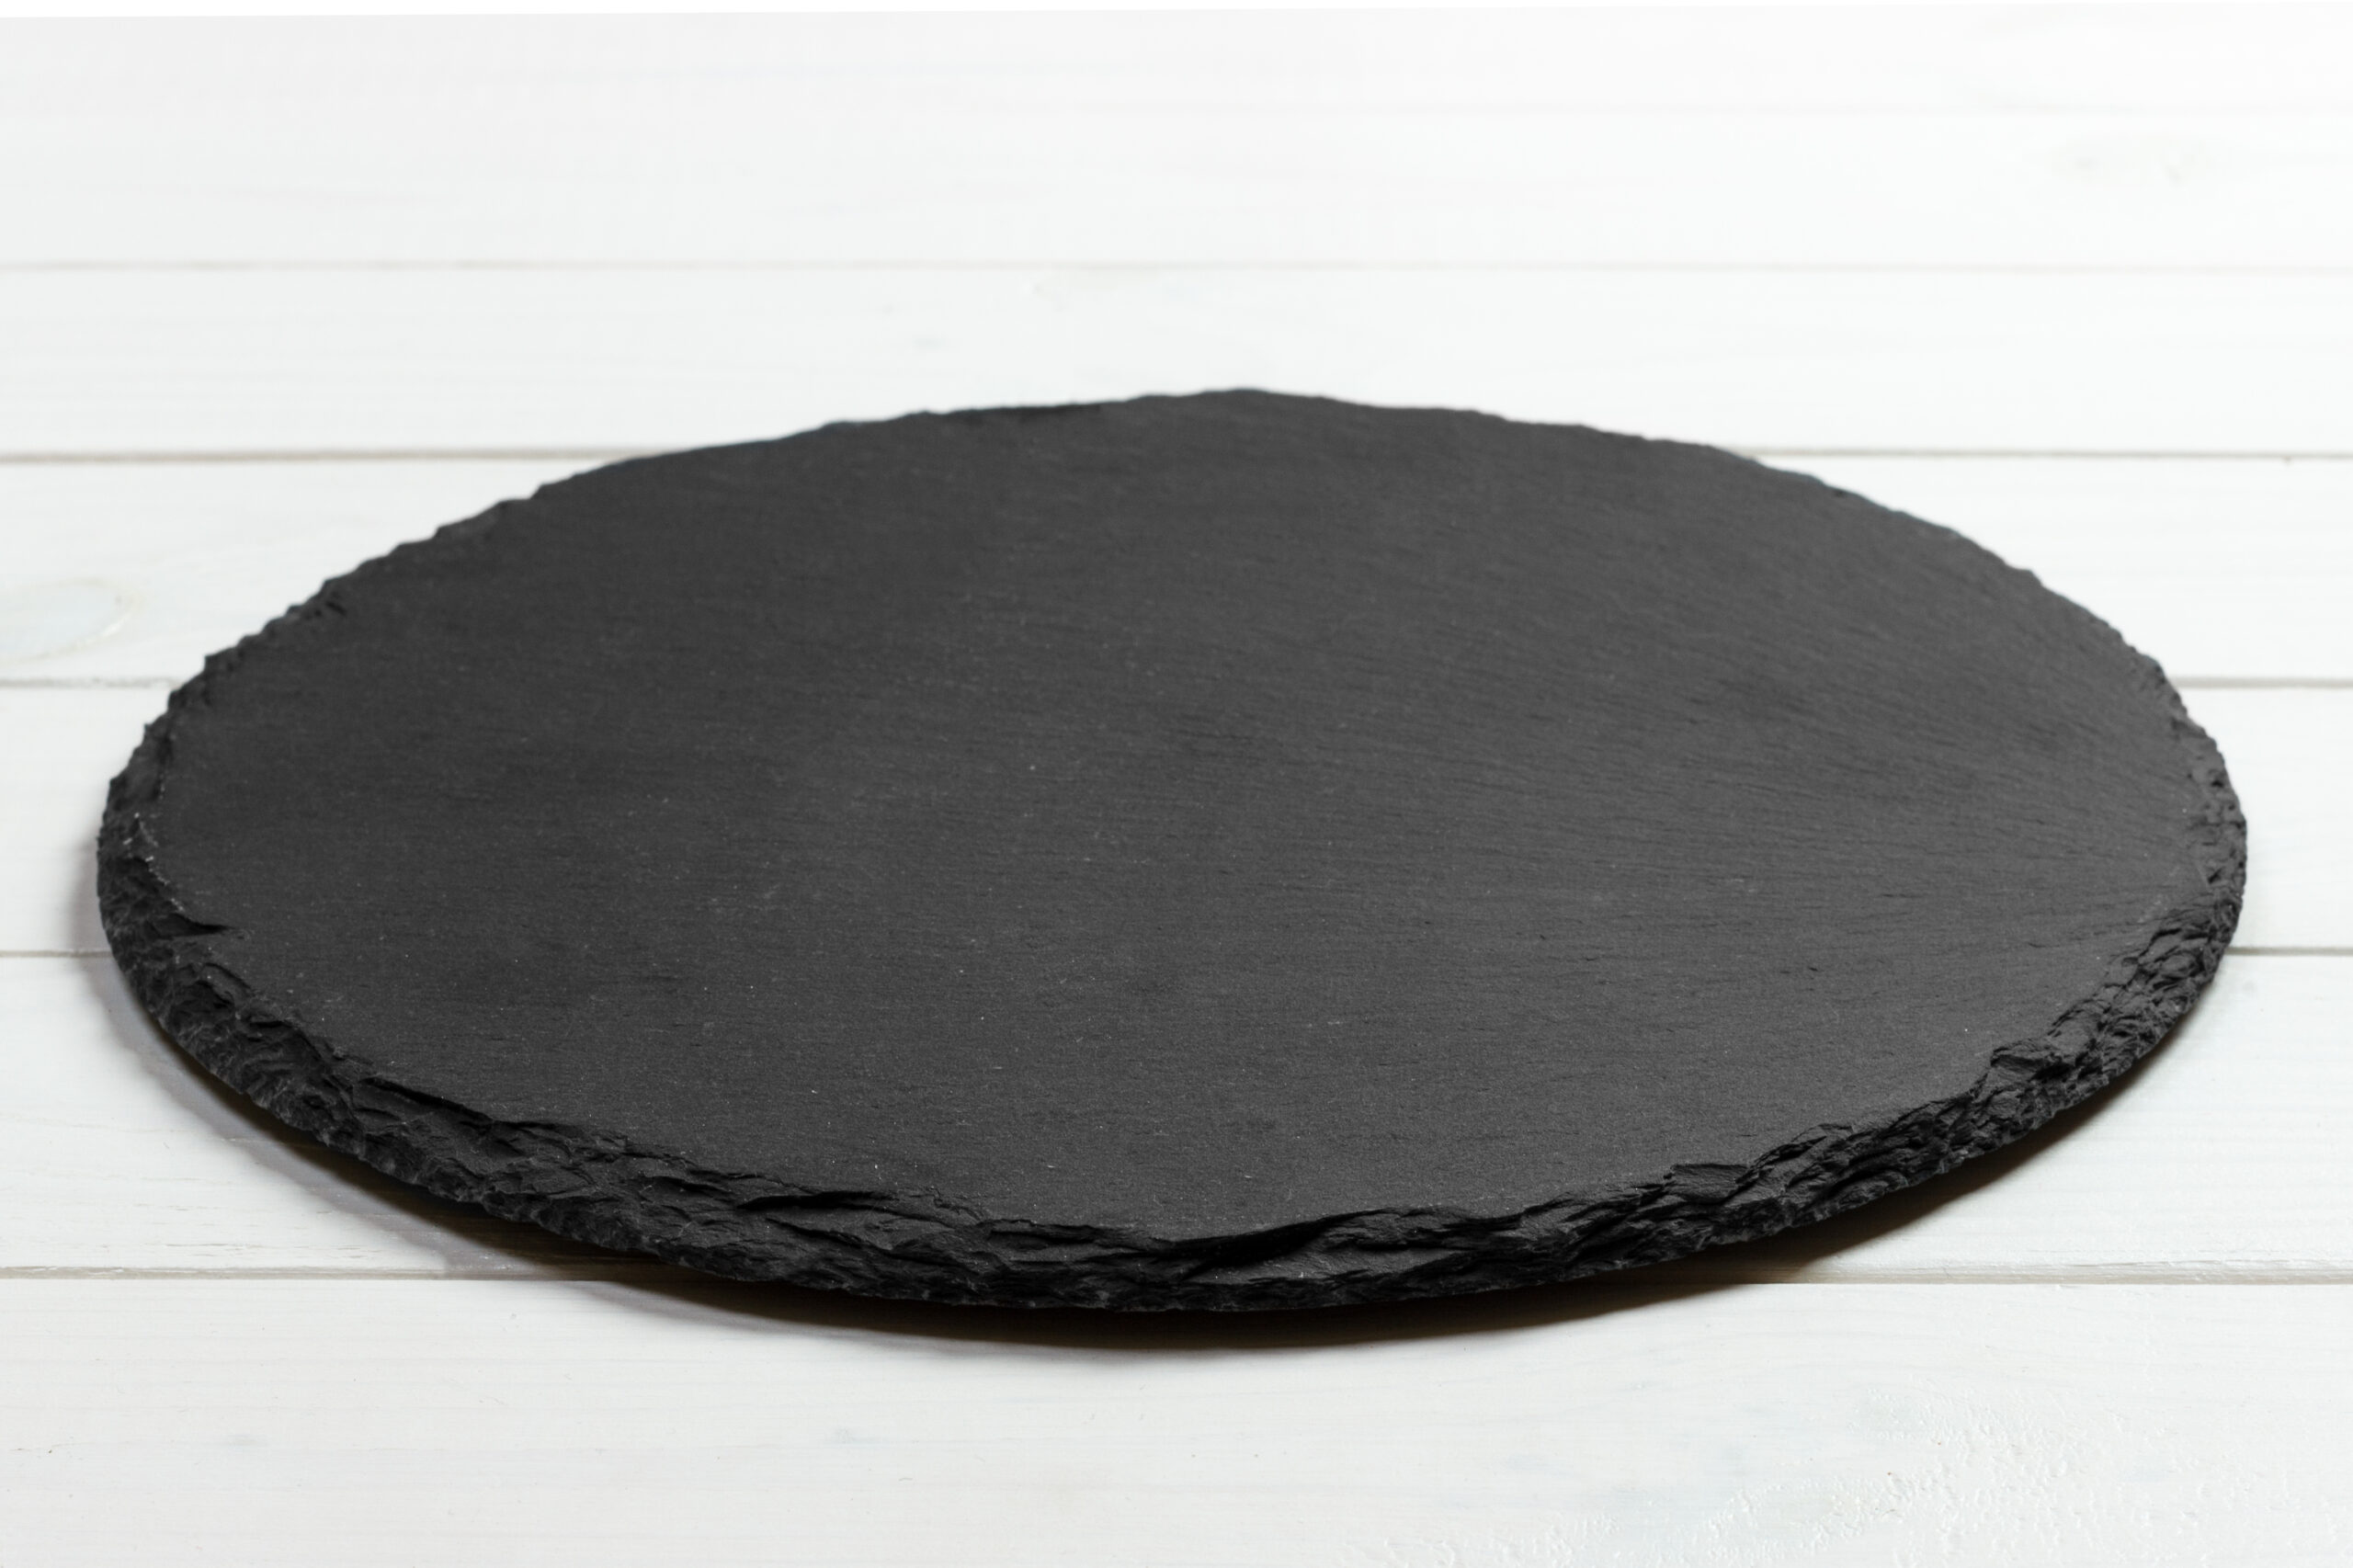
As mentioned, you shouldn’t just remove the pizza stone from the oven right away. This can result in a sudden temperature change, causing damage to the stone.
Instead, leave the pizza stone in the oven after you turn off the heat. As the heat in the oven drops, the stone will naturally cool down.
This simple step can help you extend the lifespan of your pizza stone, as well as avoid burns from accidental contact with the hot stone.
Avoiding Using Soap or Water to Clean
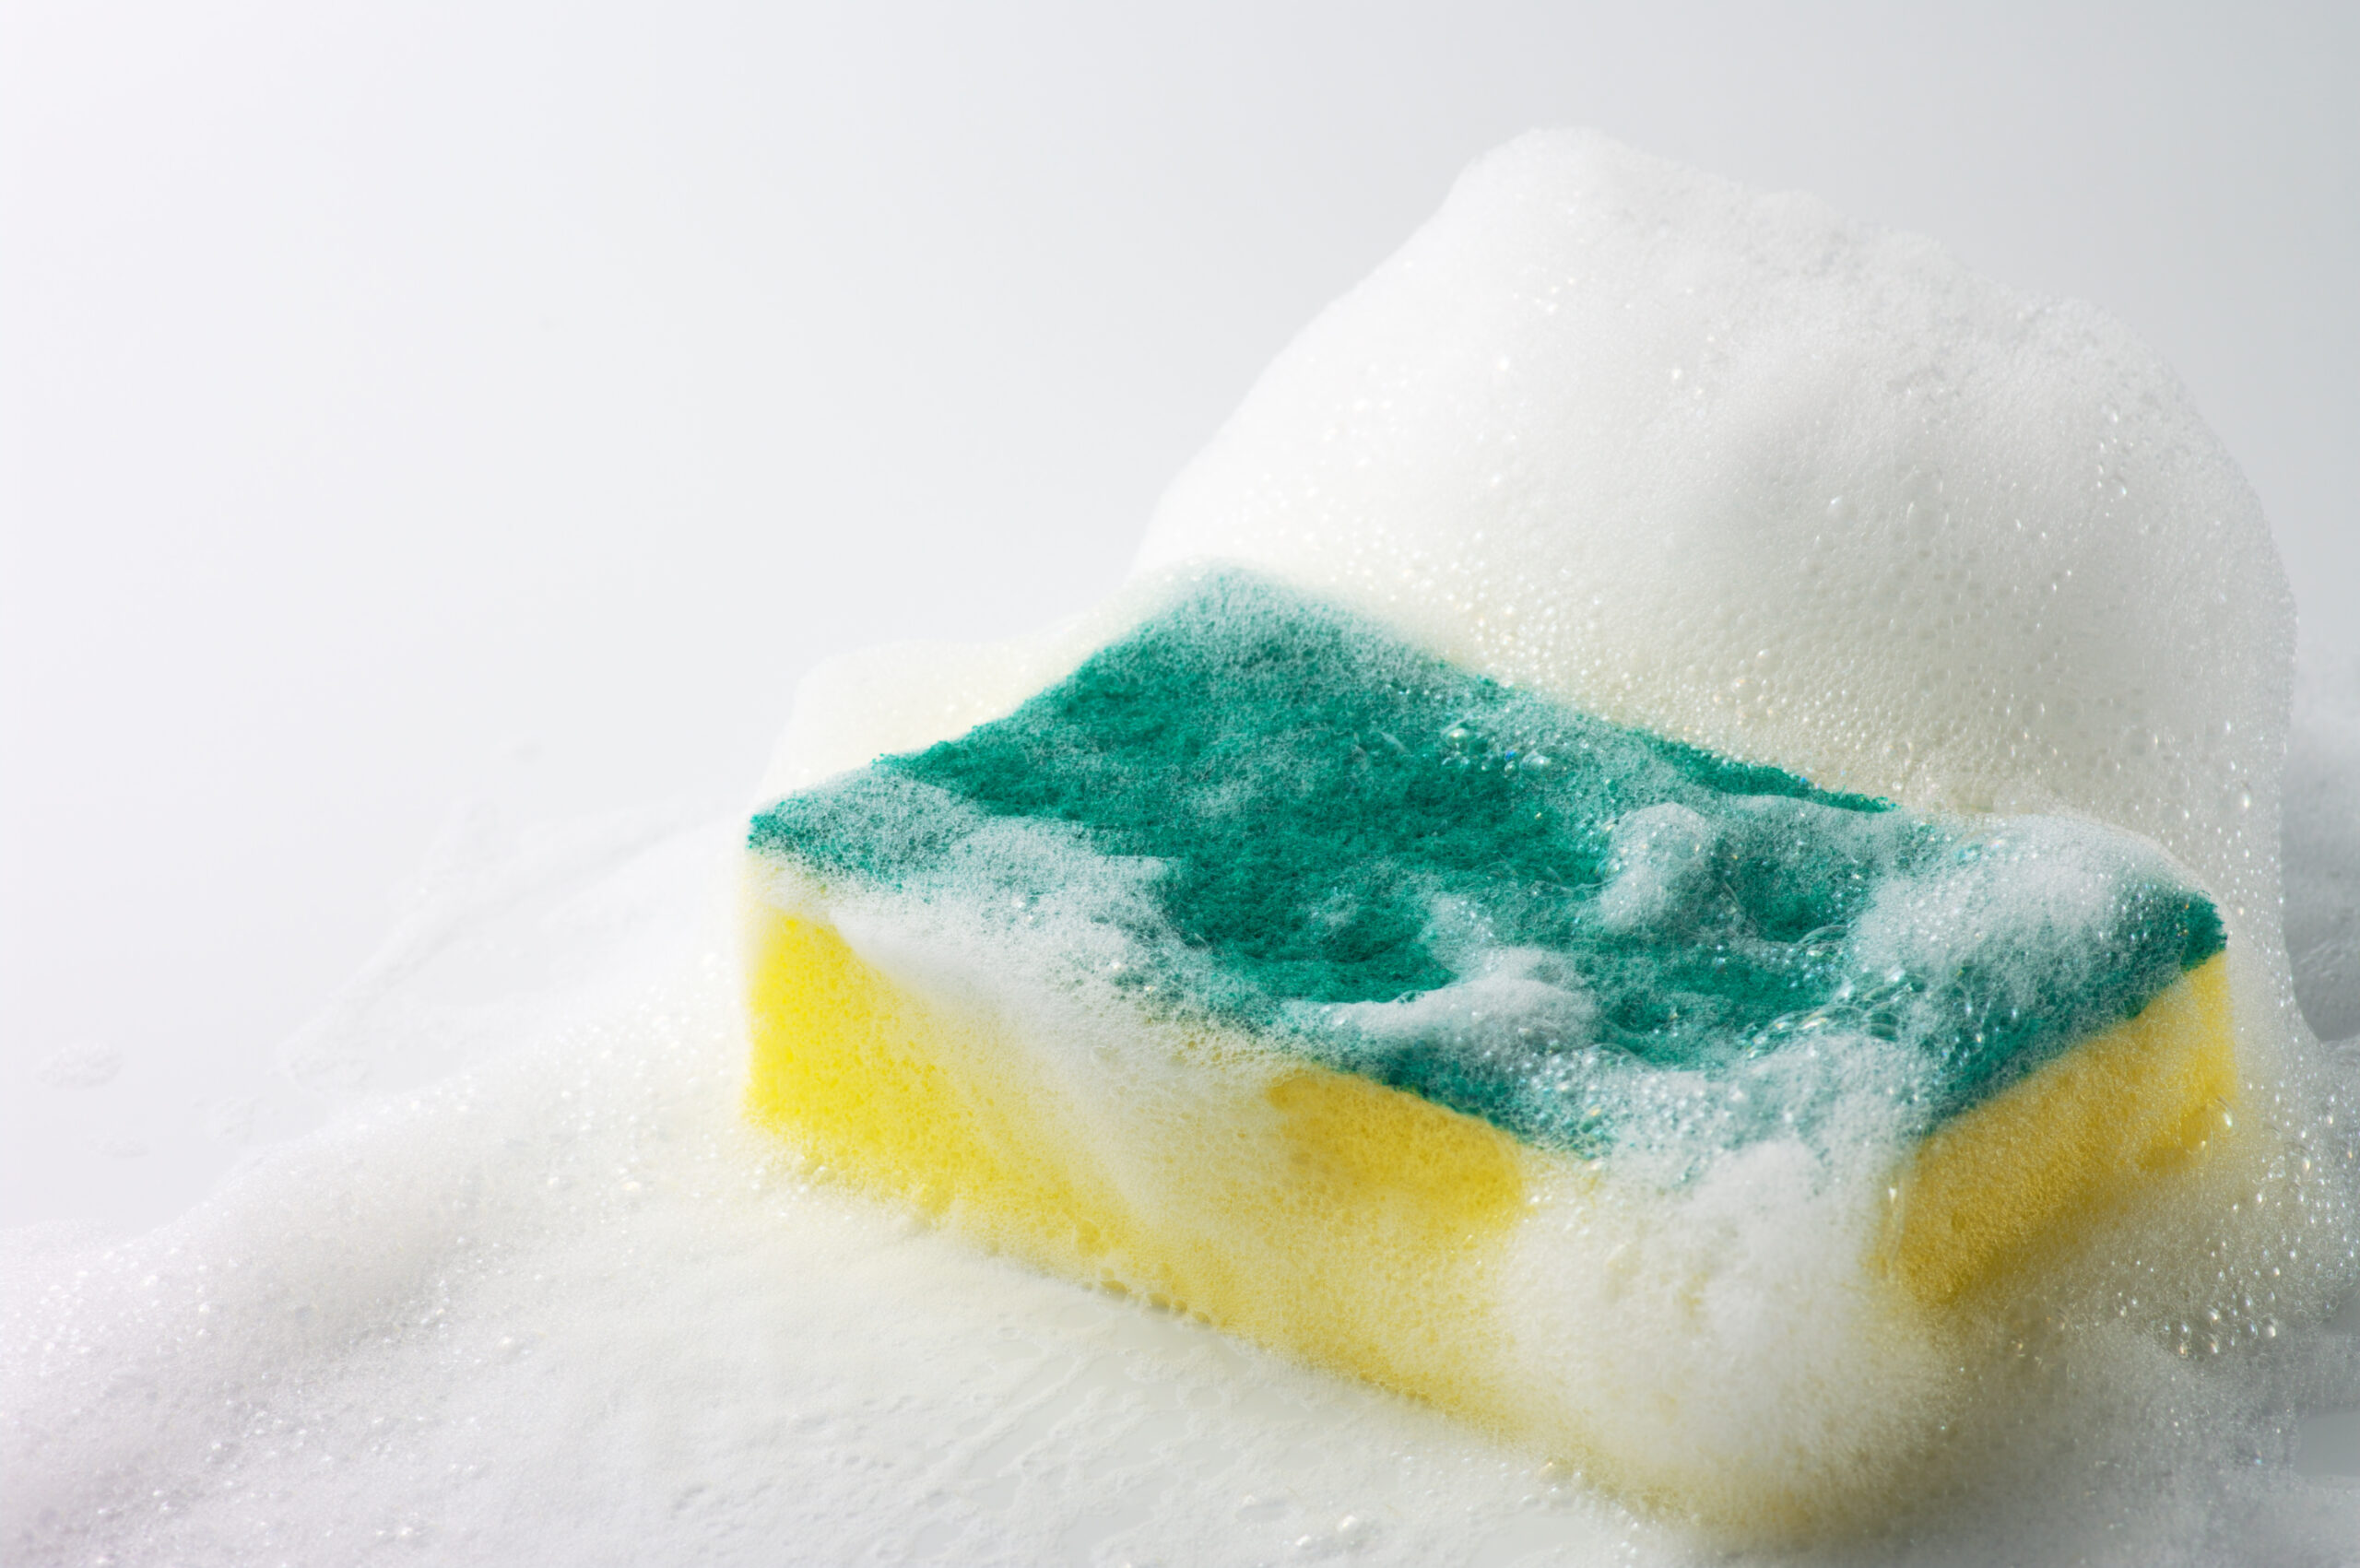
It’s not wise to use soap or water to clean your pizza stone. The porous material can absorb them, leading to a soapy taste in your future pizzas.
Instead, wait for the stone to cool completely, as mentioned. Then, take the time to scrape off any stuck-on food with a stiff brush or plastic scraper.
For stubborn residue, a small amount of warm water and vigorous scrubbing should suffice. Make sure the stone is thoroughly dried afterward, before using again.
Bake the Stone to Remove Stains and Odors
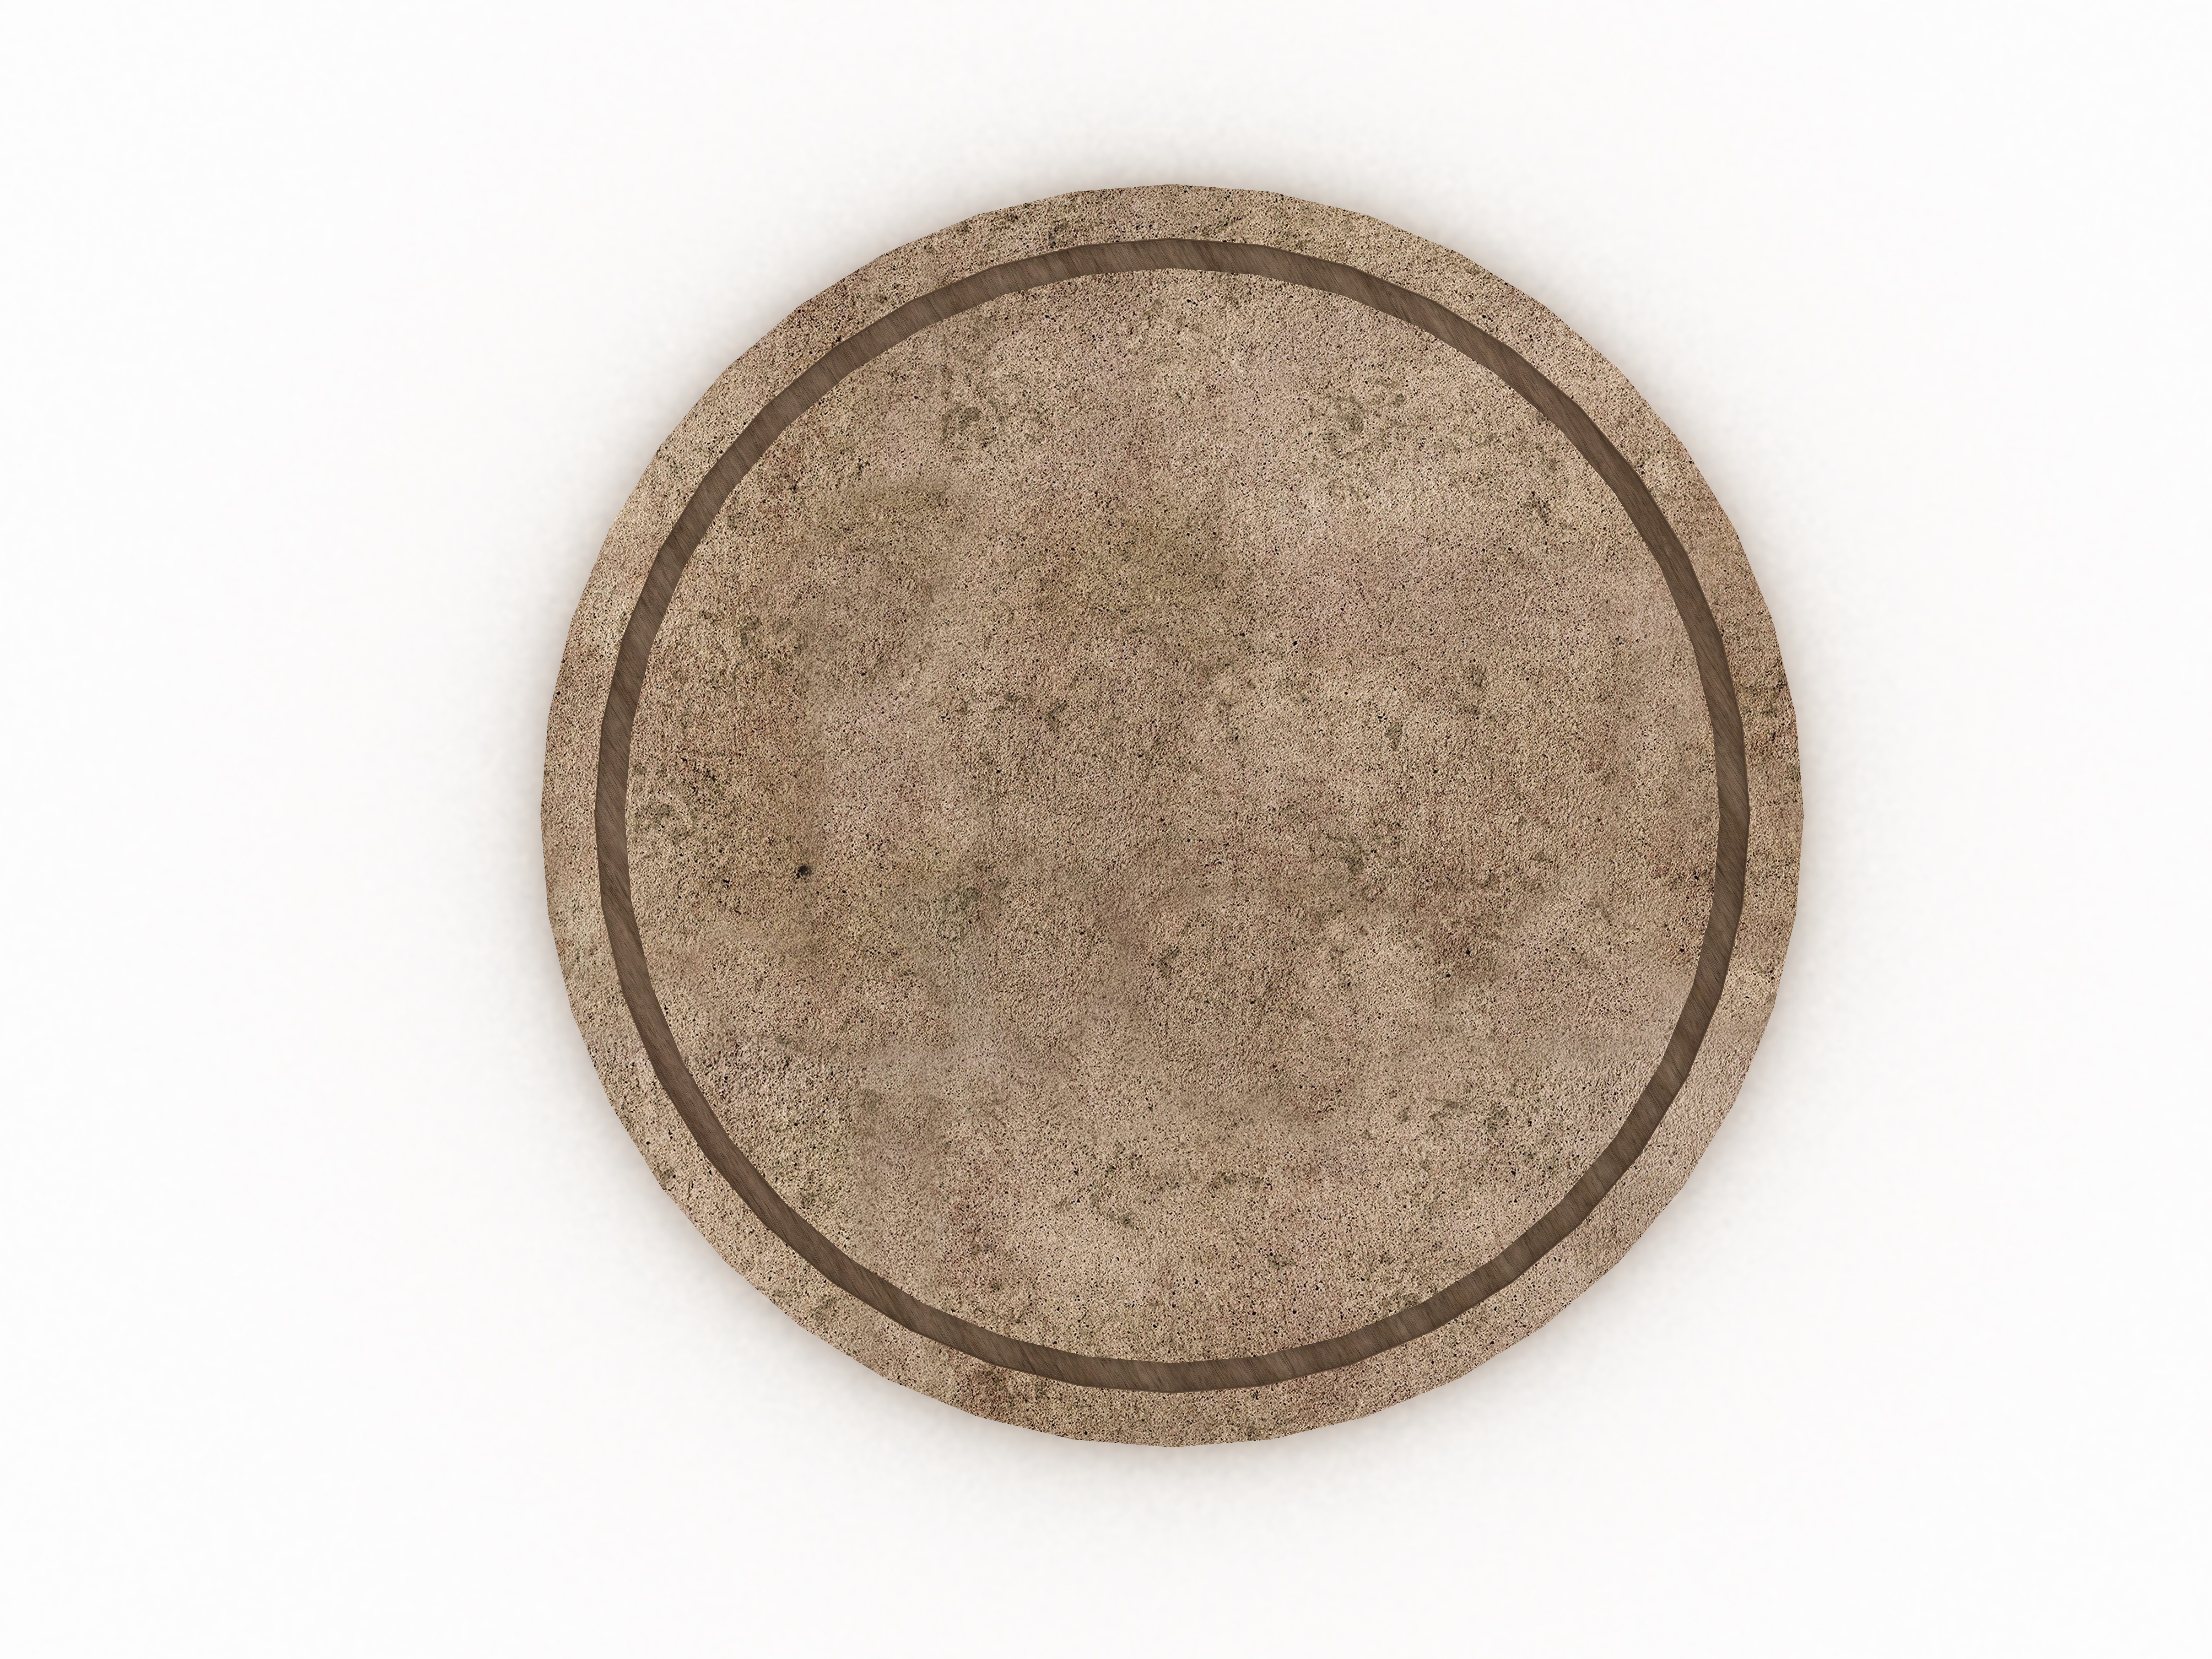
Over time, a pizza stone can pick up stains and odors. And these accumulated scents and stains can impart unwanted flavors to your pizzas.
The best way to remove these is to bake the pizza stone. After removing the baked-on residue, place the completely dry stone in a cold oven.
Set your oven to the highest temperature possible, typically around 500°F. Then let the stone bake for about an hour, and let it cool as usual.
Store Your Pizza Stone in the Oven
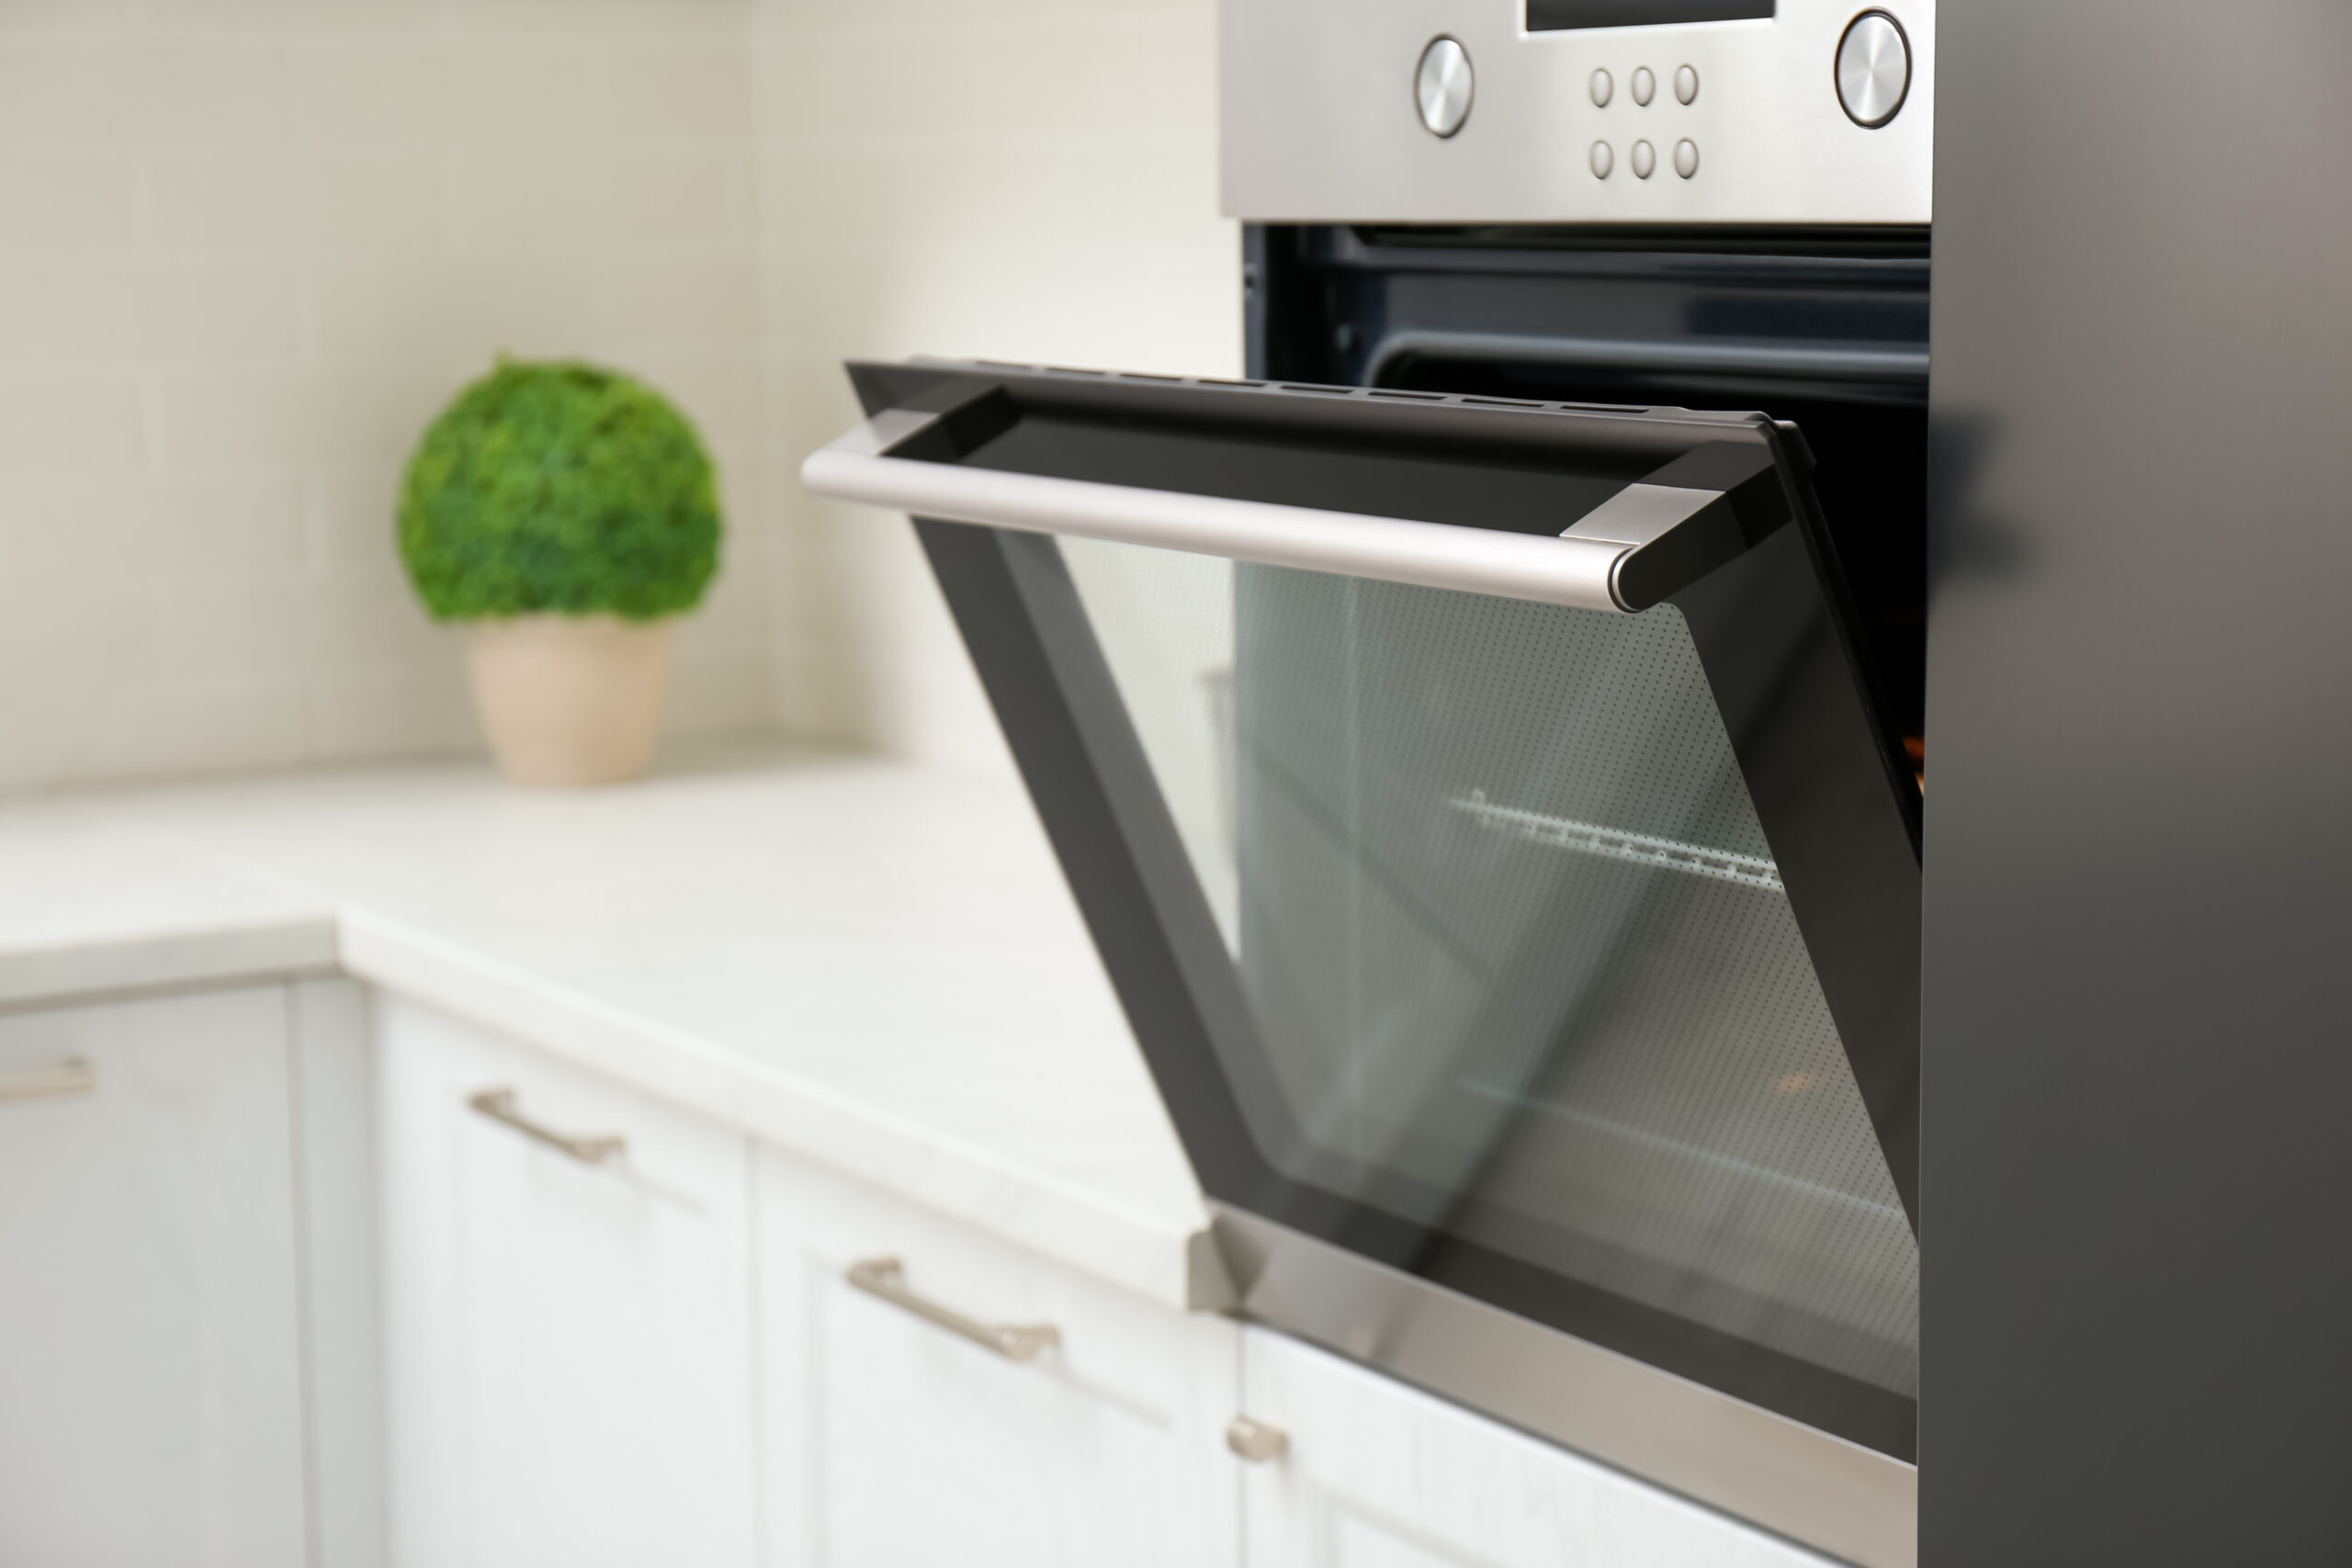
Where should you store a pizza stone? Well, the answer is simple: just leave it where it is in the oven even when not in use.
This tip saves storage space in your kitchen and can improve your oven’s baking efficiency. The stone retains heat and distributes it evenly, stabilizing the oven’s temperature.
This helps minimize hot spots when cooking other dishes. Just be sure to remove any crumbs and debris that might fall onto the pizza stone.
Experiment with Different Doughs and Thicknesses
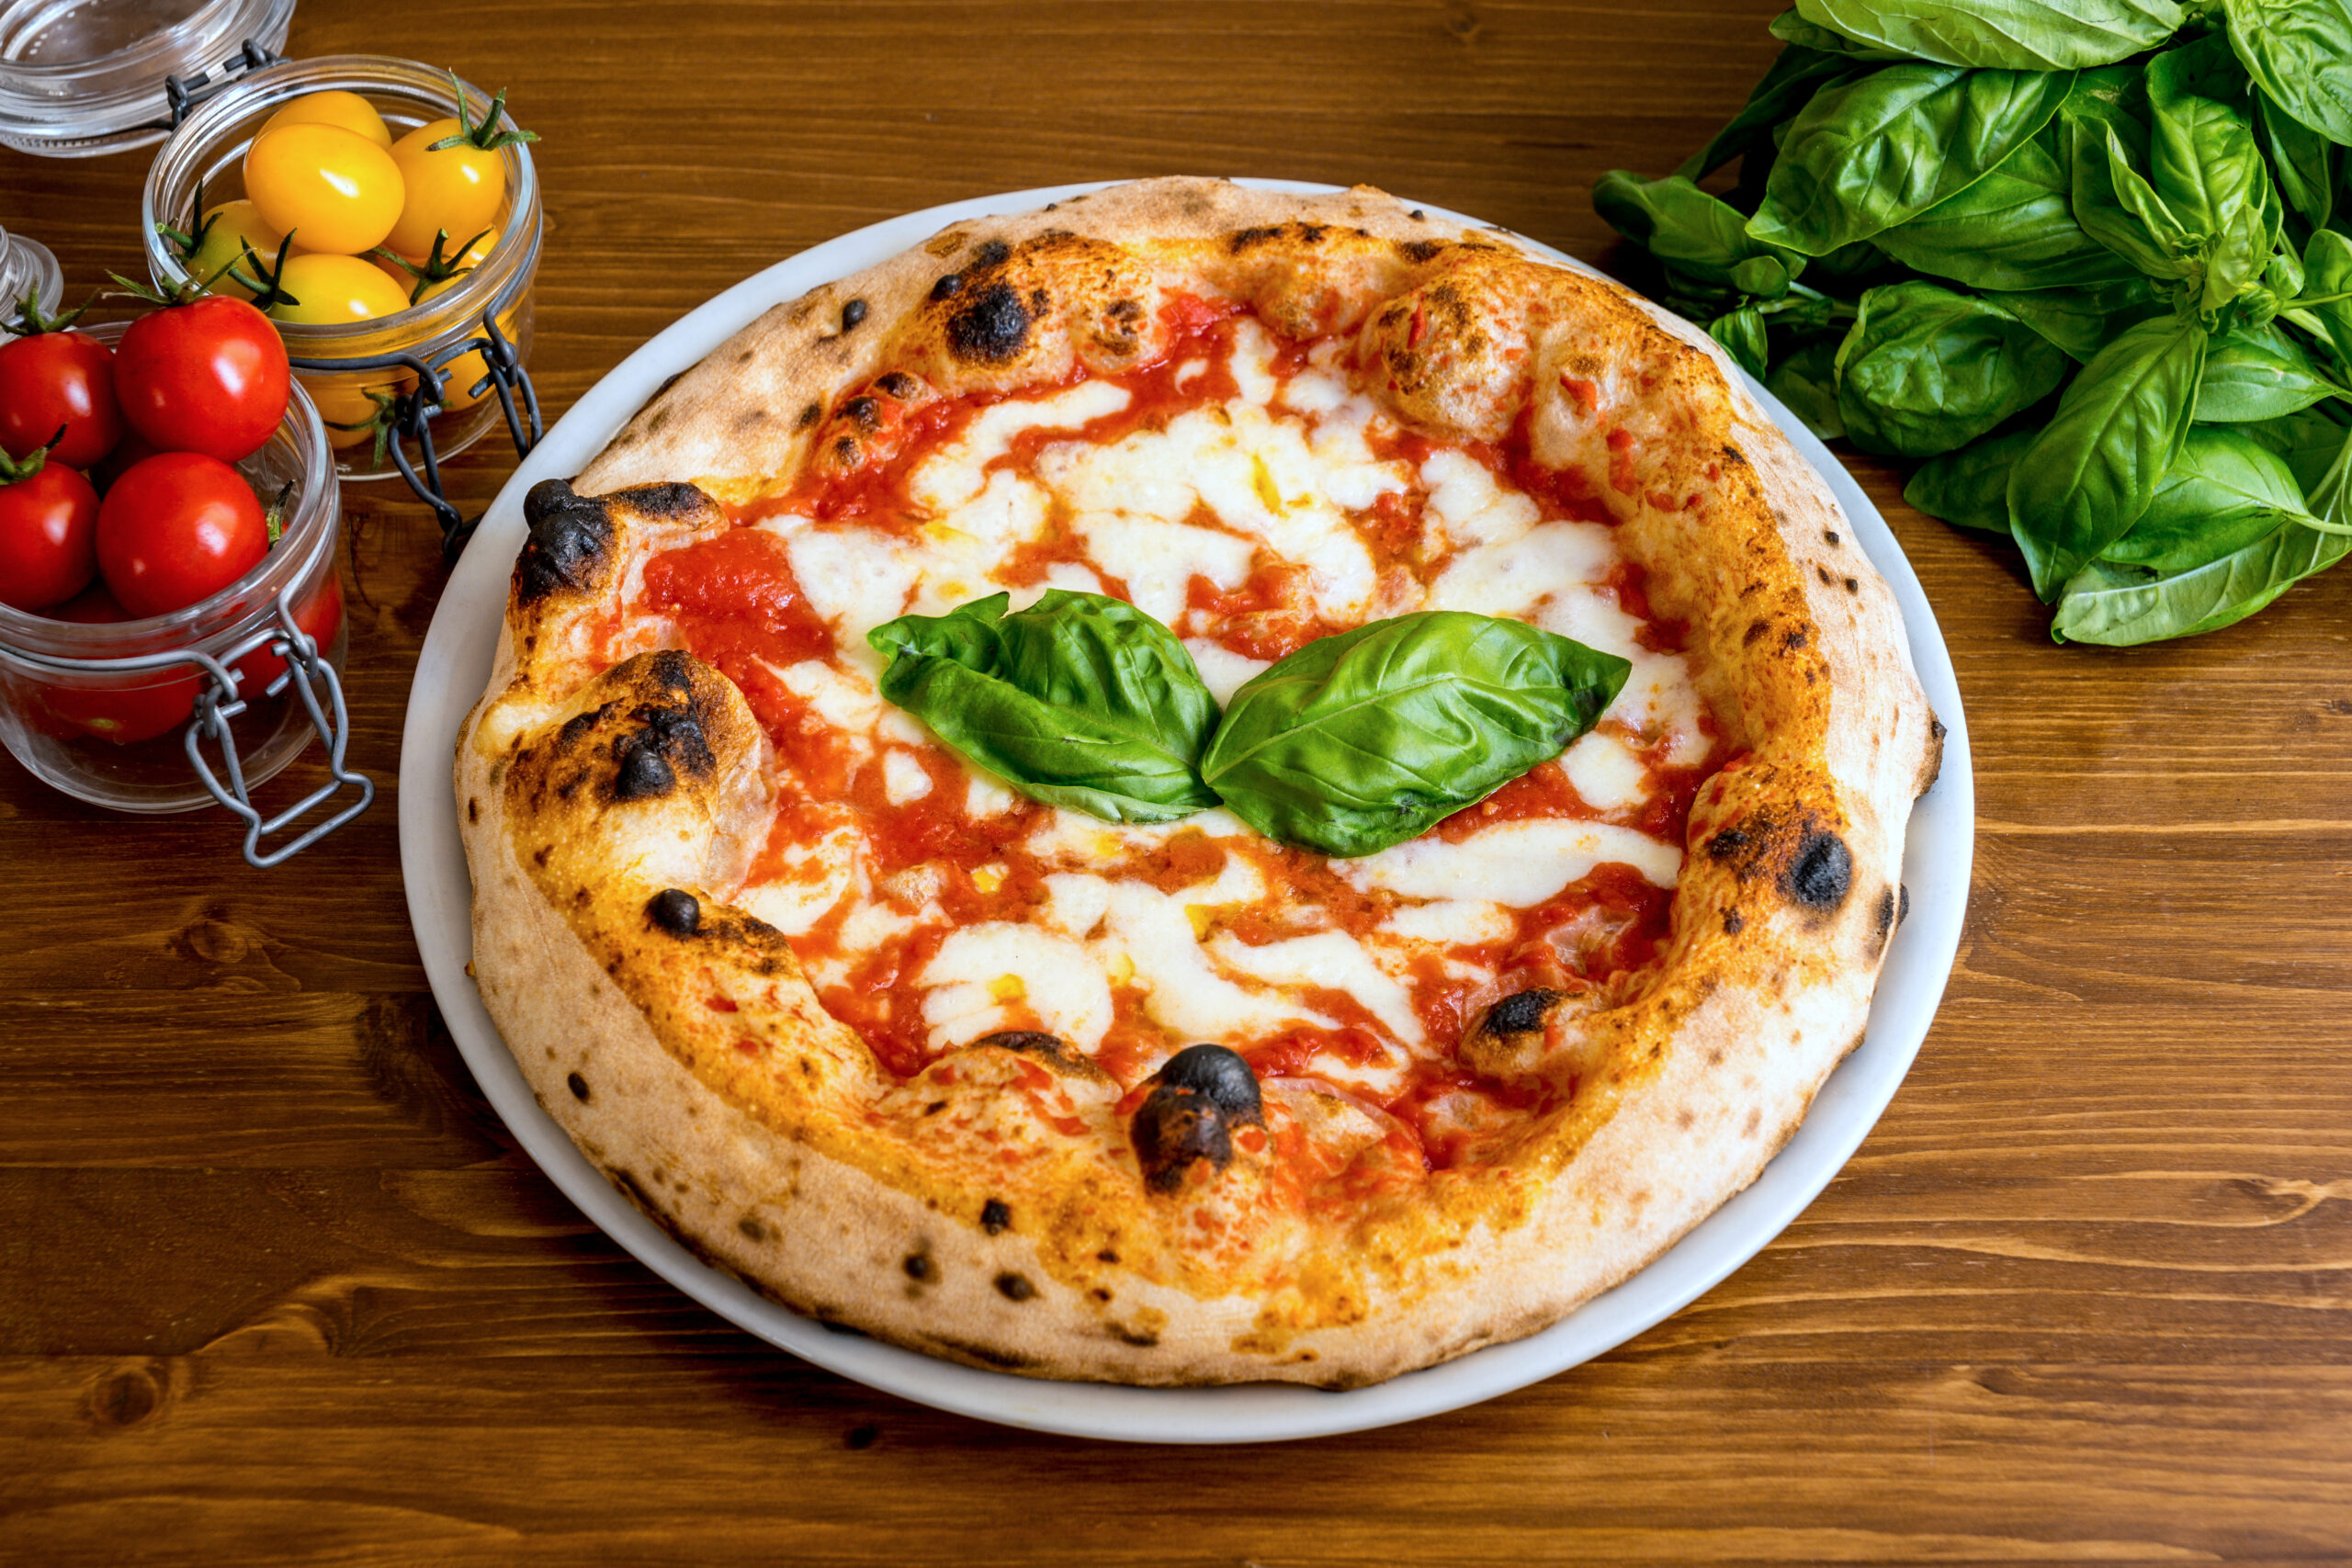
Pizza stones can differ, and so do everyone’s tastes in pizza crusts. Experimenting with different doughs and thicknesses is key to discovering your perfect homemade pizza.
Each type of dough, from classic Neapolitan to hearty whole wheat or even gluten-free alternatives, offers unique flavors and textures. Thickness plays a crucial role, too.
By varying these elements, you can tailor your pizza to match personal preferences or a culinary theme. Enhance your pizza-making adventure with each new creation!
Use Your Pizza Stone for Bread, Cookies, and Pastries
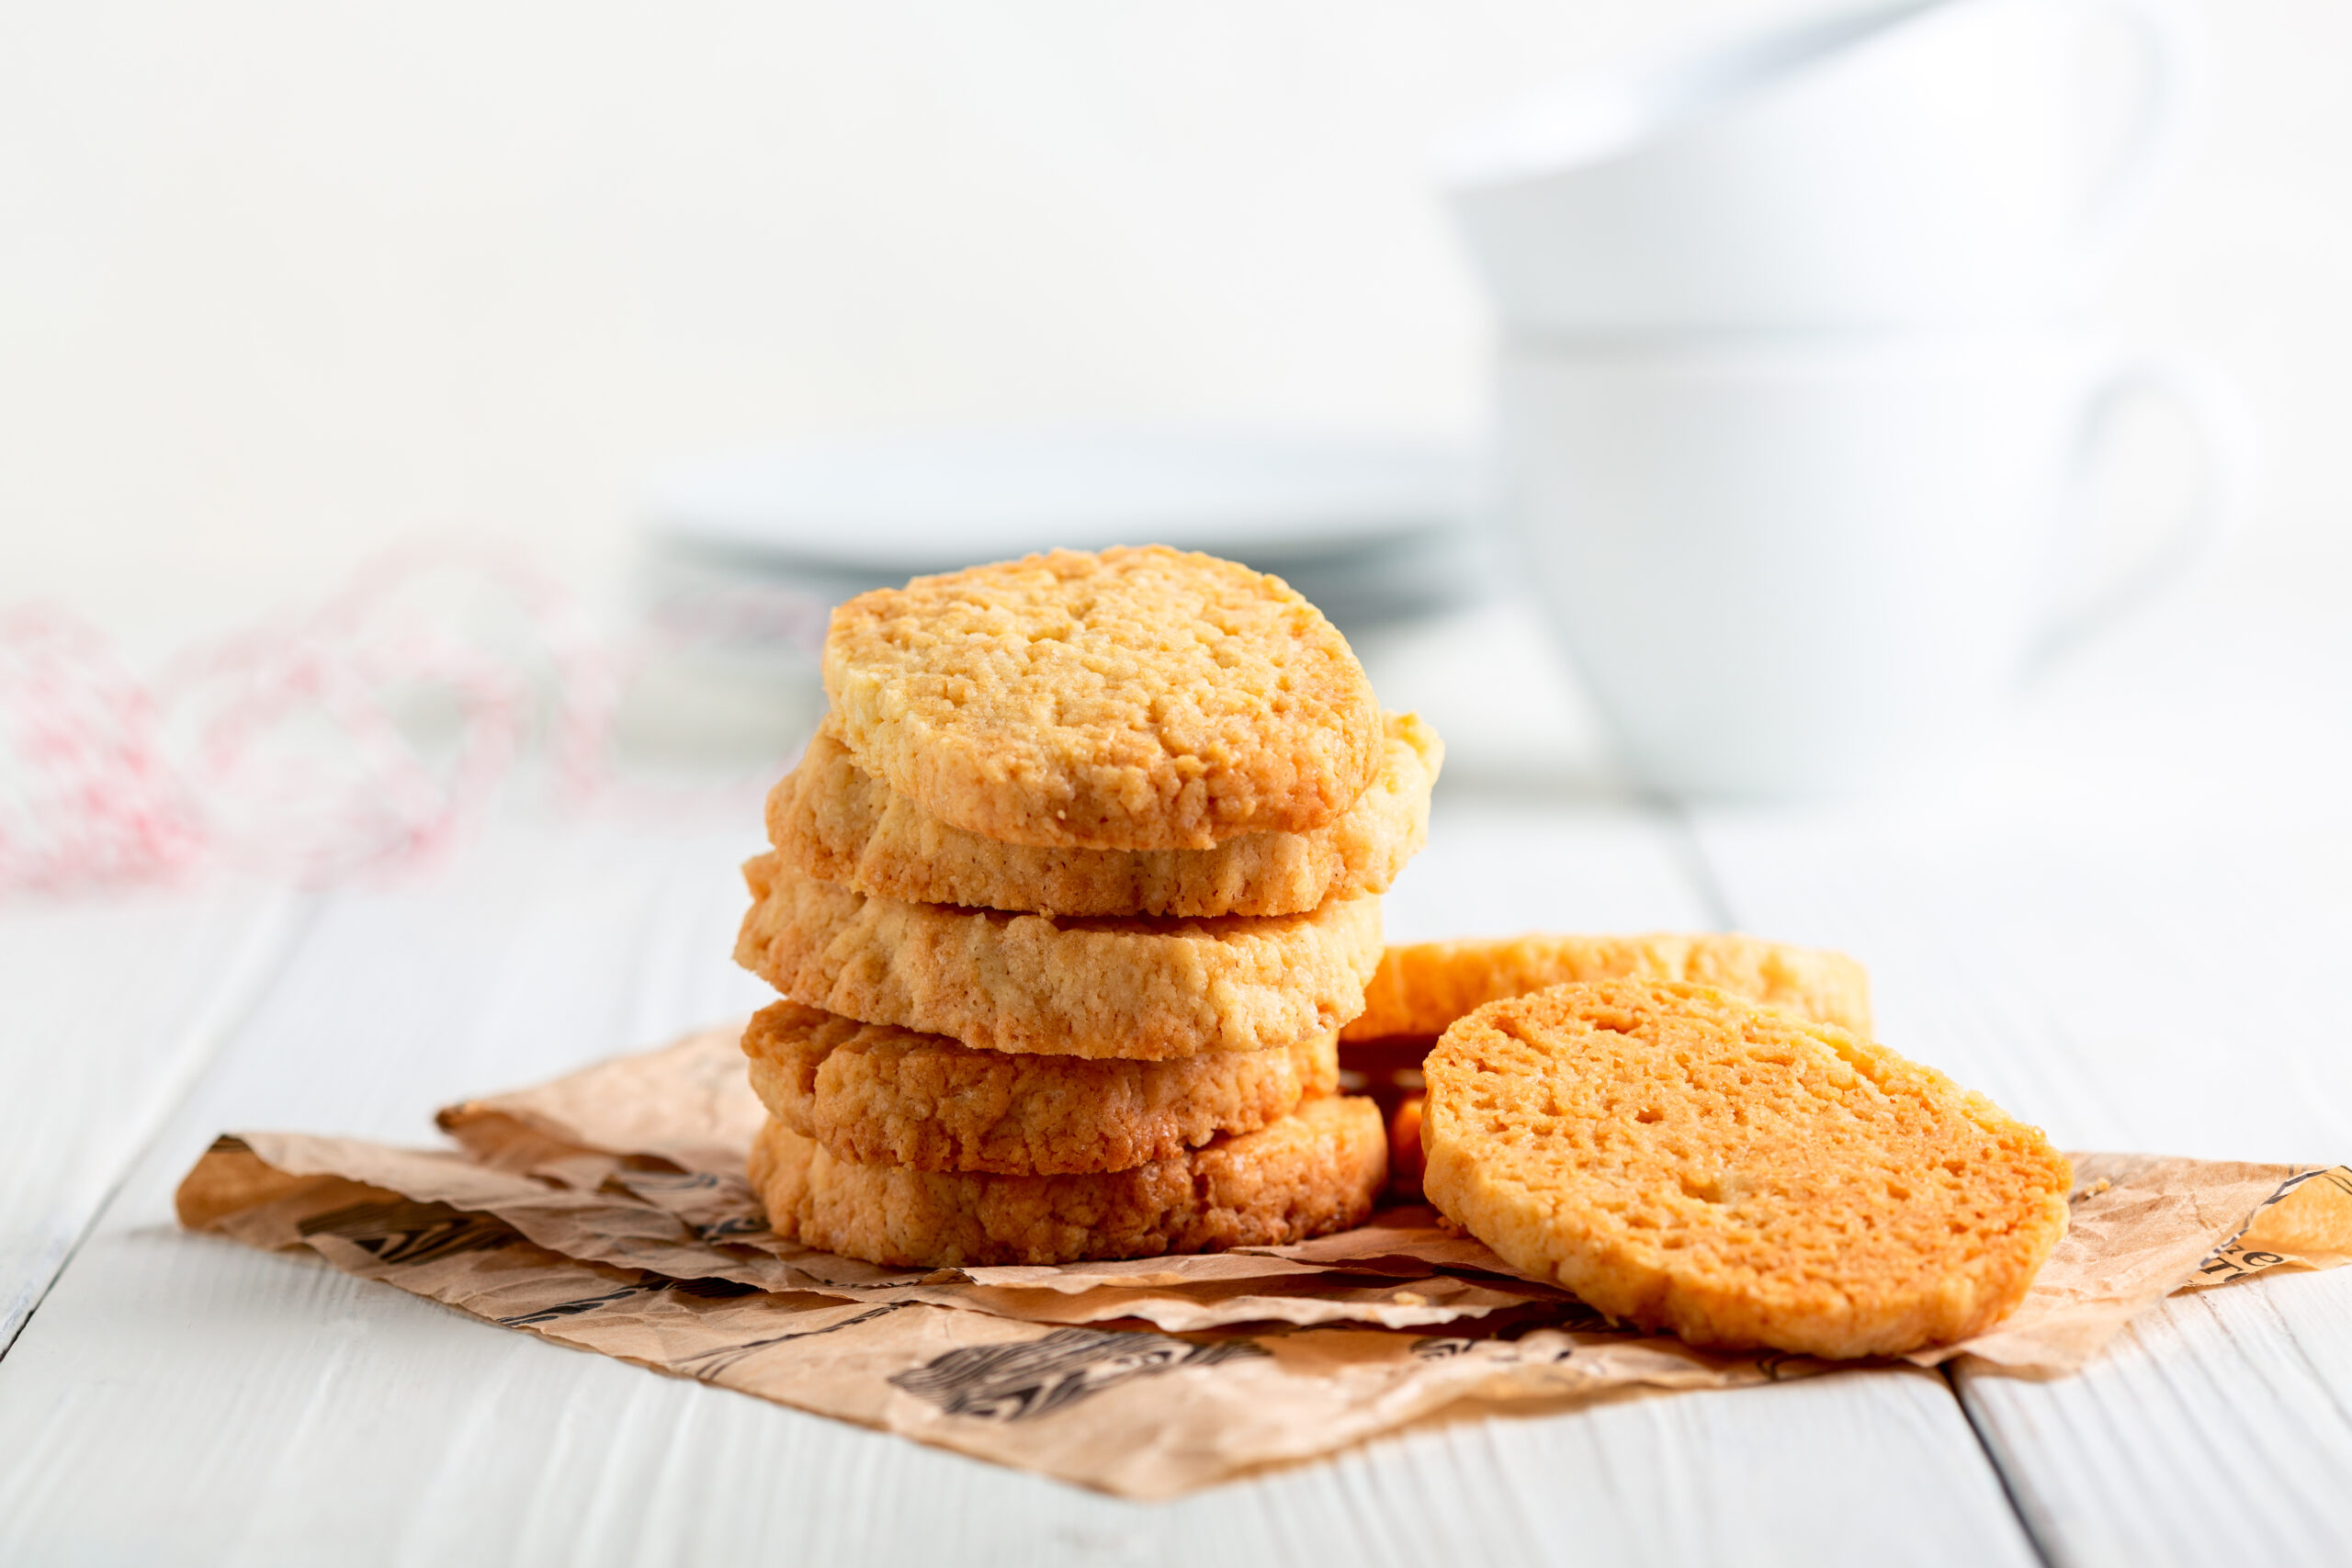
Your pizza stone isn’t just for pizza. It’s a versatile baking tool perfect for bread, cookies, and pastries, too! It’s basically like baking in a brick oven.
This technique can give you a better crust on bread, a delightful crispness on cookies, and the perfect flakiness in pastries. Give it a try!
Make sure to preheat your stone just as you would for pizza. You’ll need to adjust baking temps and times based on what you’re baking.
Avoid Cutting the Pizza on the Stone
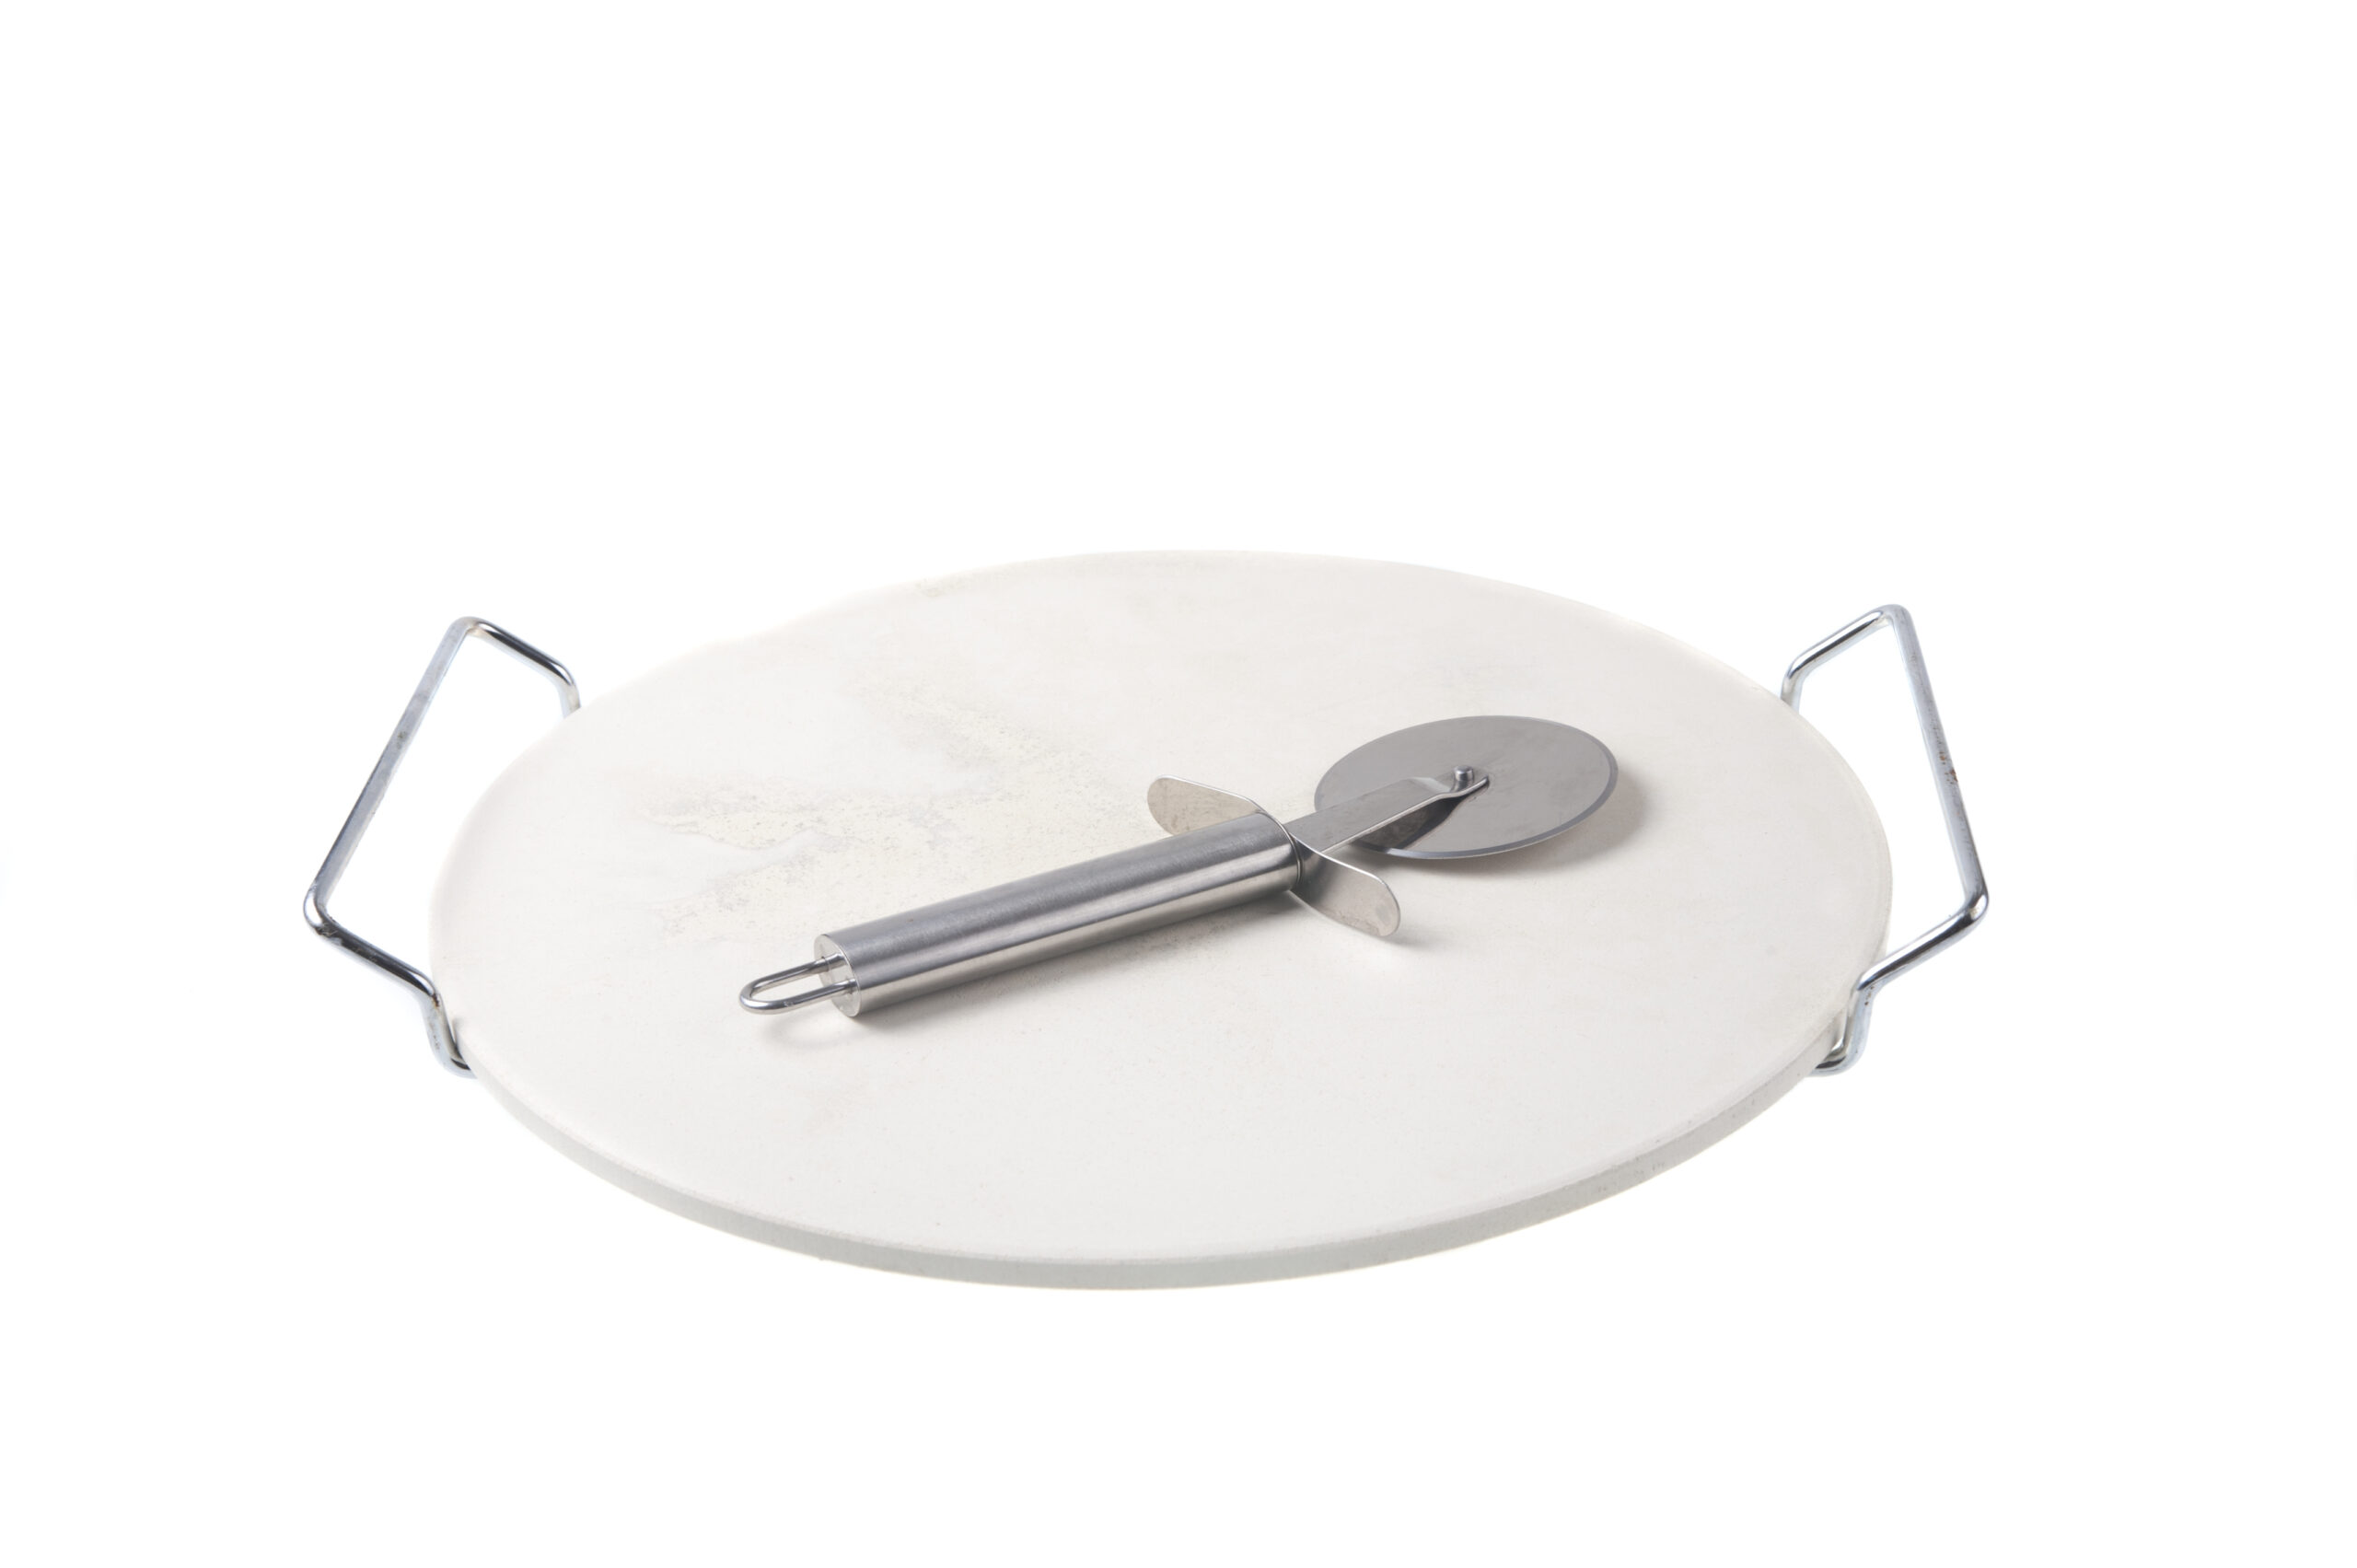
Pizza cutters and knives can create scratches or gouges in the stone, weakening it over time and making it more susceptible to cracking. You don’t want that!
Instead, transfer the cooked pizza to a cutting board before slicing. This practice not only preserves the integrity of your stone but also gives cleaner slices.
The best way to do this is to bake your pizza on parchment paper or use a pizza peel to transport it from the oven.
Invest in a High-Quality Pizza Stone
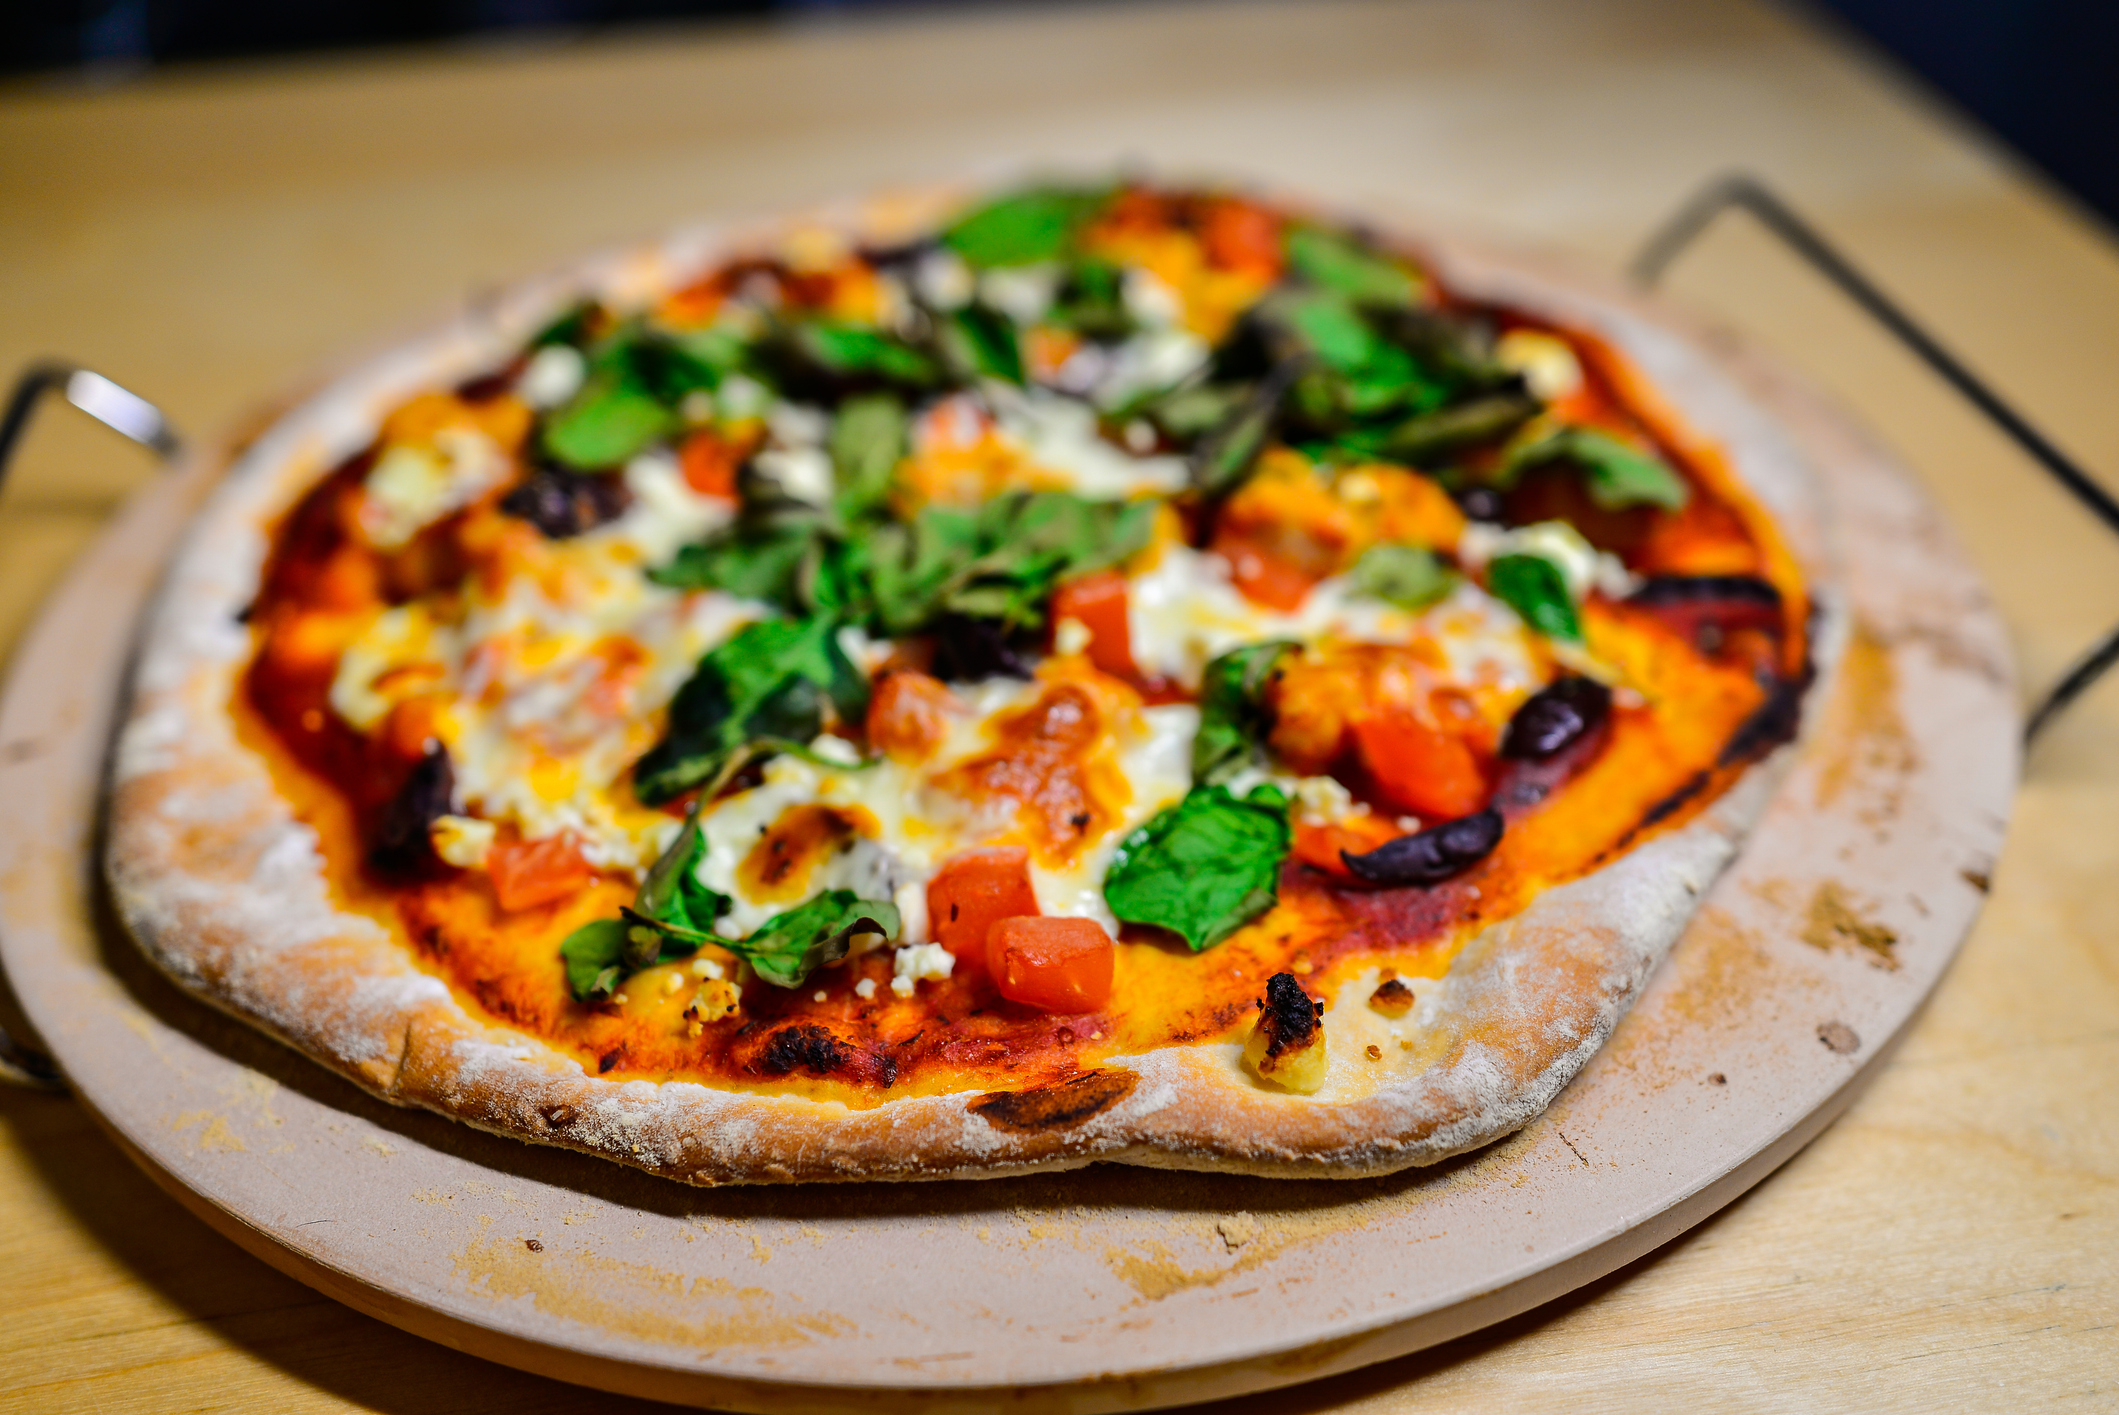
You could get a relatively cheap pizza stone rather than investing in quality. However, choosing a lower-quality stone means you’ll need to replace it much sooner.
Investing in a high-quality pizza stone can also take your home pizza-making experience to the next level. The high-quality materials just work better — it’s worth it!
A superior stone distributes heat evenly, achieves higher temperatures, and retains heat longer. It also resists cracking and wearing, ensuring you get your money’s worth.
Understand Pizza Stone Darkening and Staining
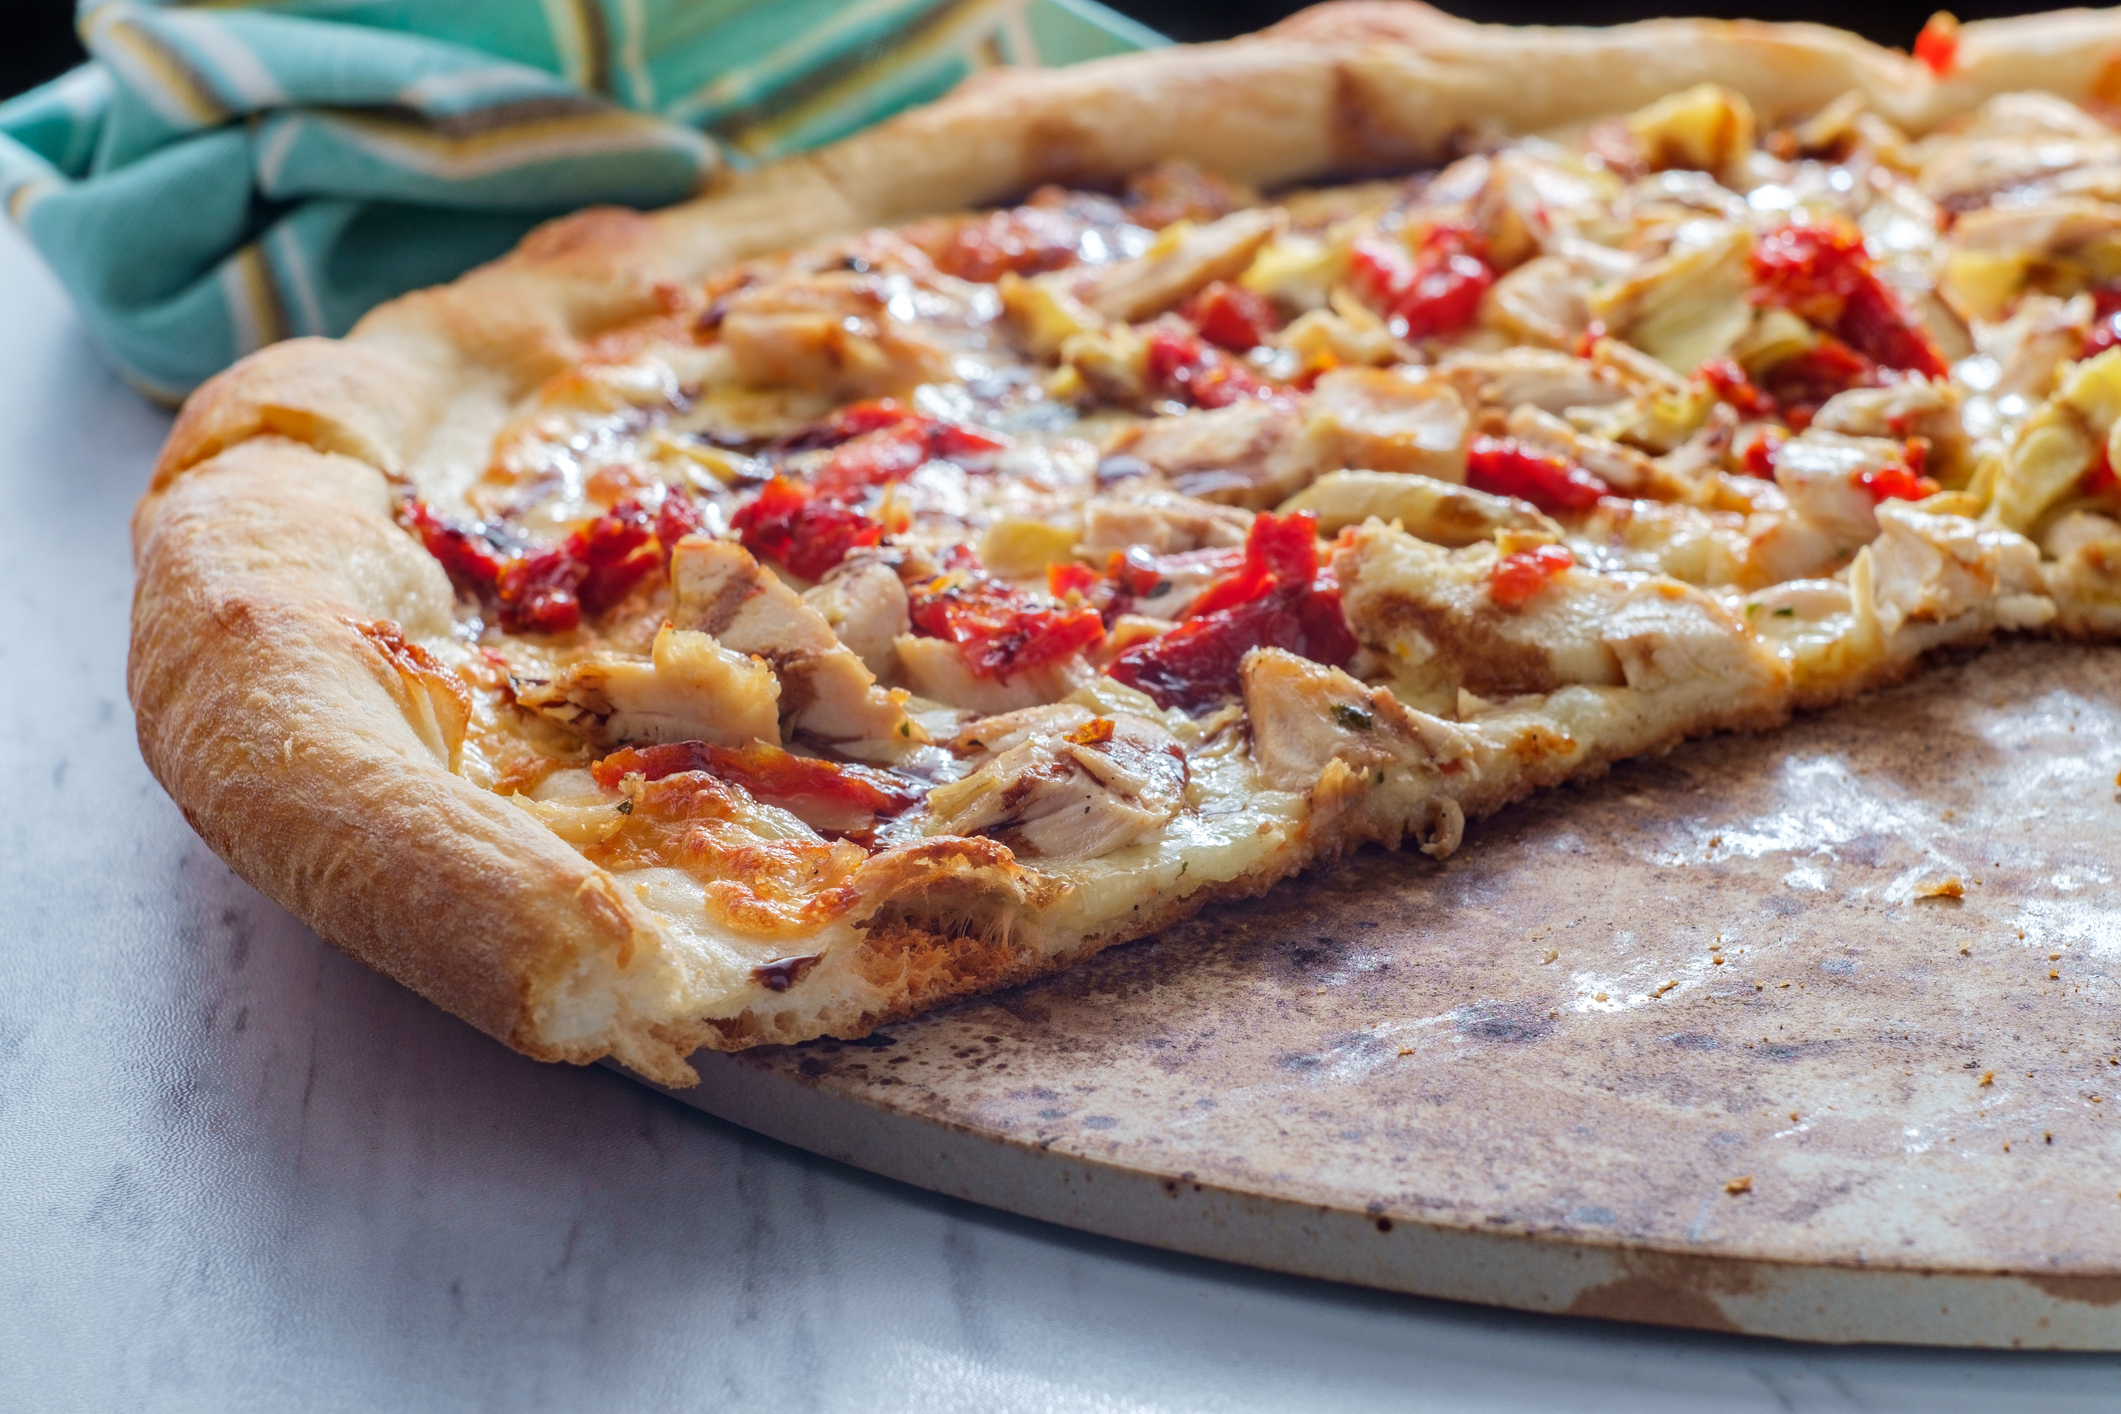
It’s vital to understand that pizza stones darken and stain over time, which is normal. This process actually enhances its non-stick properties, so it’s a positive!
Over time, your stone will darken and accumulate stains from oils, cheese, and other ingredients. A stained pizza stone is often referred to as “well-seasoned.”
In addition to helping resist stickiness, this patina can enhance the flavor of future pizzas. Don’t try to remove the spots — just embrace it!
Use a Compatible Pizza Stone if Using a Grill
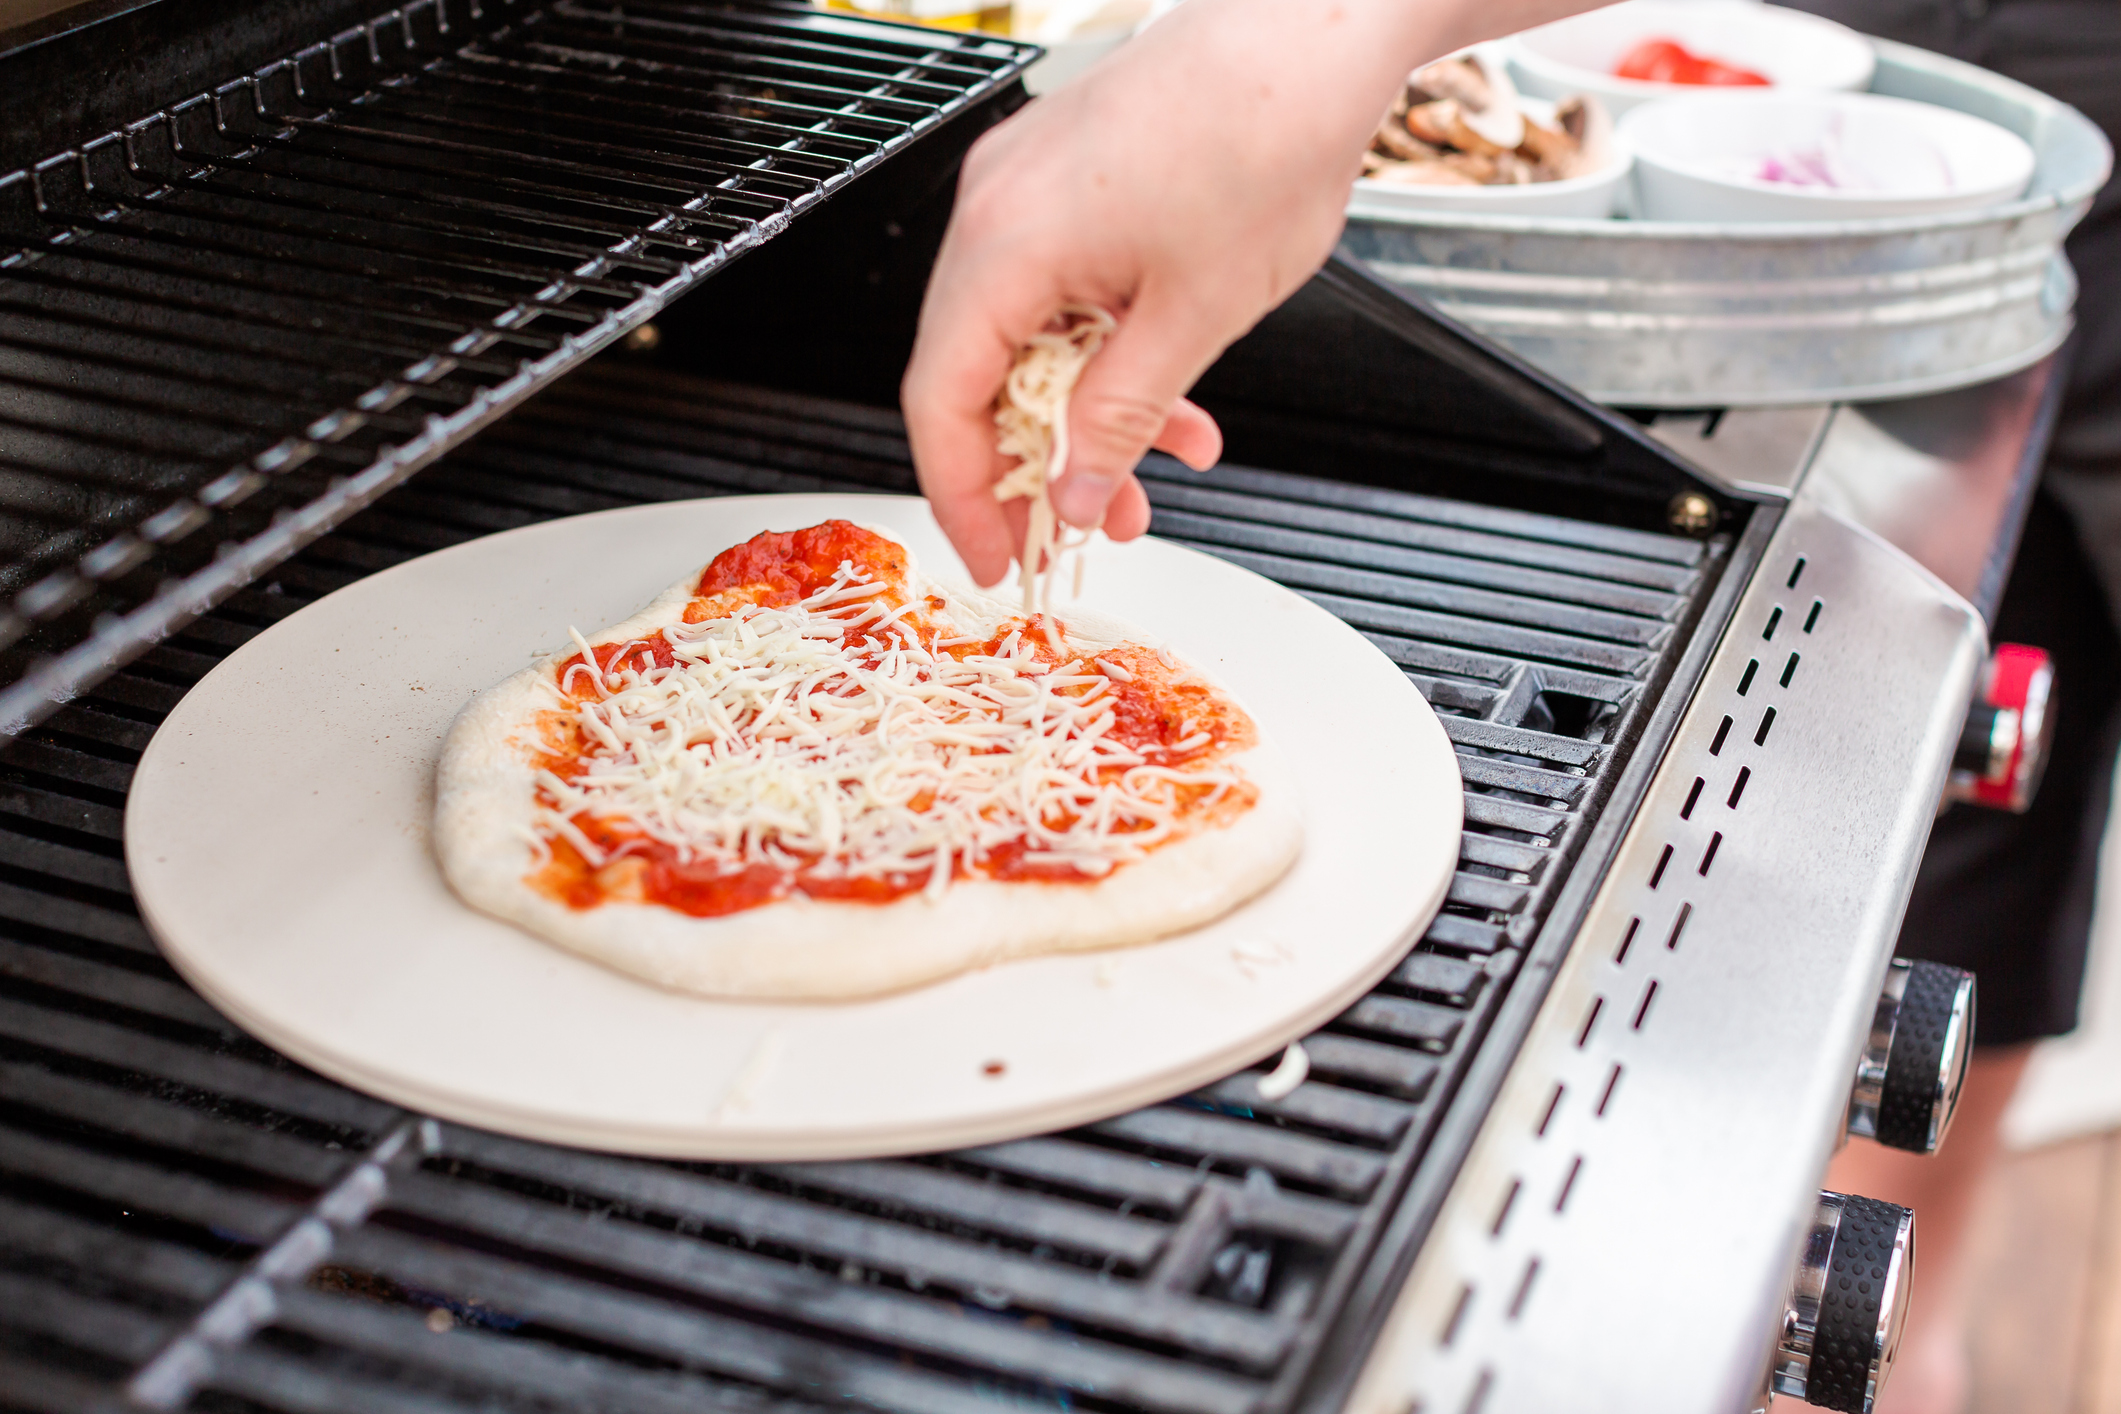
If you’re using a grill to make pizza, make sure you have a compatible pizza stone. Grills can reach higher temperatures faster than most home ovens.
A grill-compatible pizza stone is specifically built to endure direct flames and extreme temperatures. This ensures it doesn’t crack or break under the heat stress.
Grilling pizza on a pizza stone achieves an authentic, smoky-flavored pizza with a crispy crust, mimicking a wood-fired pizza oven experience. Just choose your stone wisely!
Check the Instructions for Maximum Heat Capacity
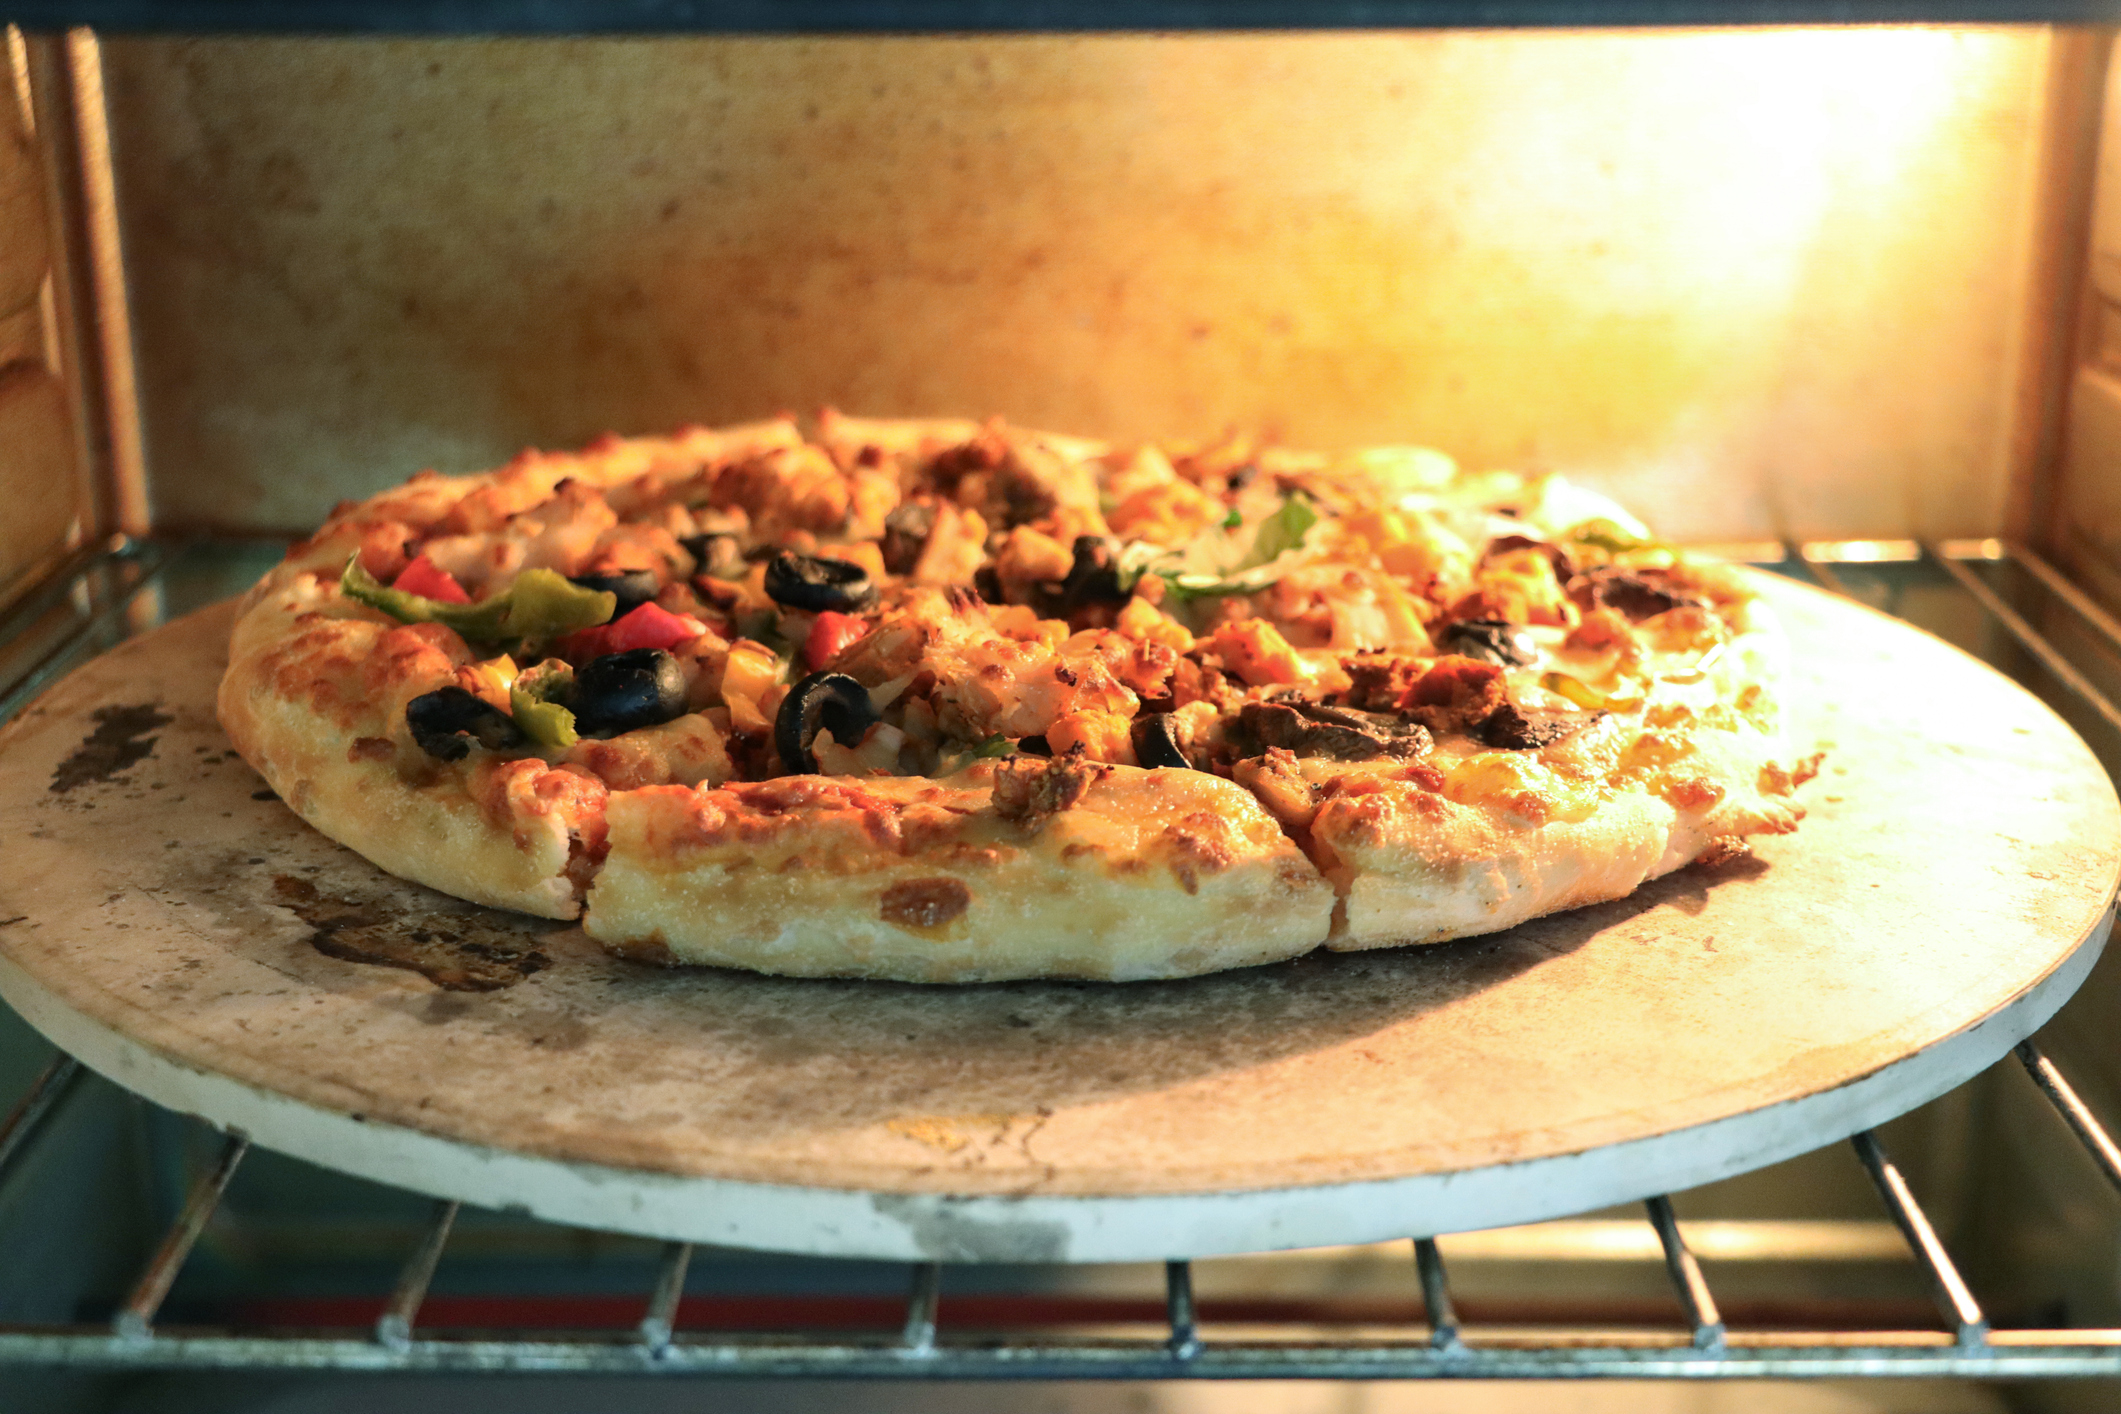
Pizza stones are made out of various materials and using various different methods of manufacturing. This means that they can have higher or lower heat capacities.
Typically, a pizza stone’s heat capacity is listed in the manufacturer’s instructions that came with it. If not, you might want to contact the company.
Adhering to these guidelines extends the life of your stone by preventing heat damage. It also helps guarantee consistently delicious, perfectly baked pizzas every time.
Use the Residual Heat for Baking Quick Items
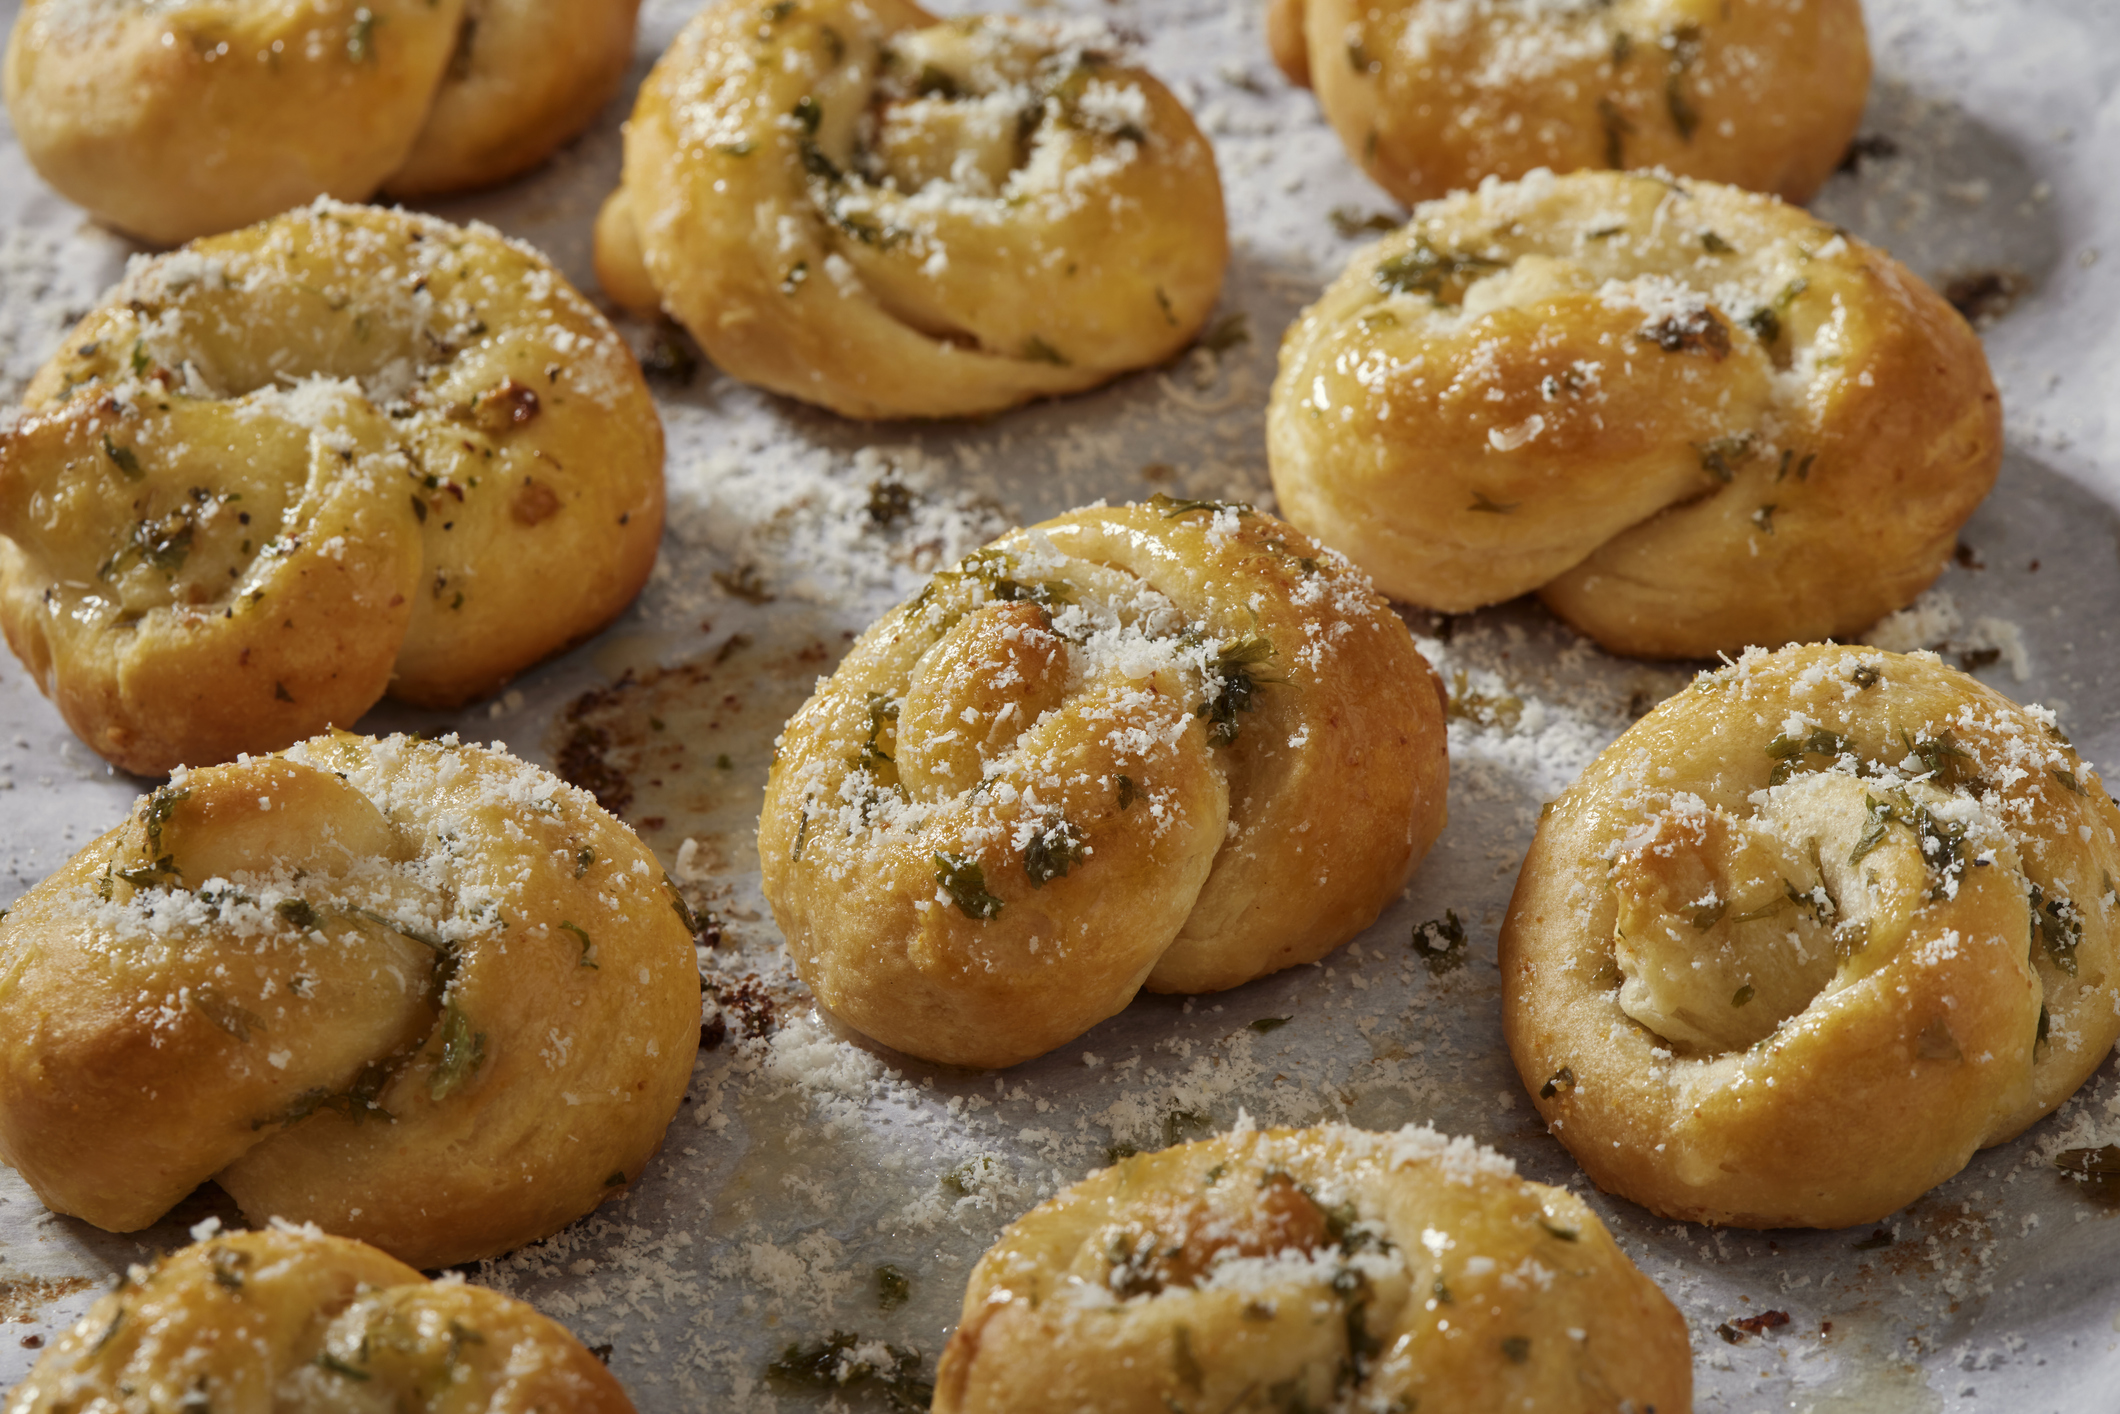
Because a pizza stone remains hot for up to several hours after baking at high temperatures, you can actually use this heat to bake something else.
For example, you can heat up a quick batch of garlic knots on your pizza stone. Consider making flatbreads, or even reheating leftovers on the hot stone.
You can do this after turning off your oven, making it a great way to conserve energy. It can even enhance the flavor of these quick bakes!
Be Patient with the Preheating Process
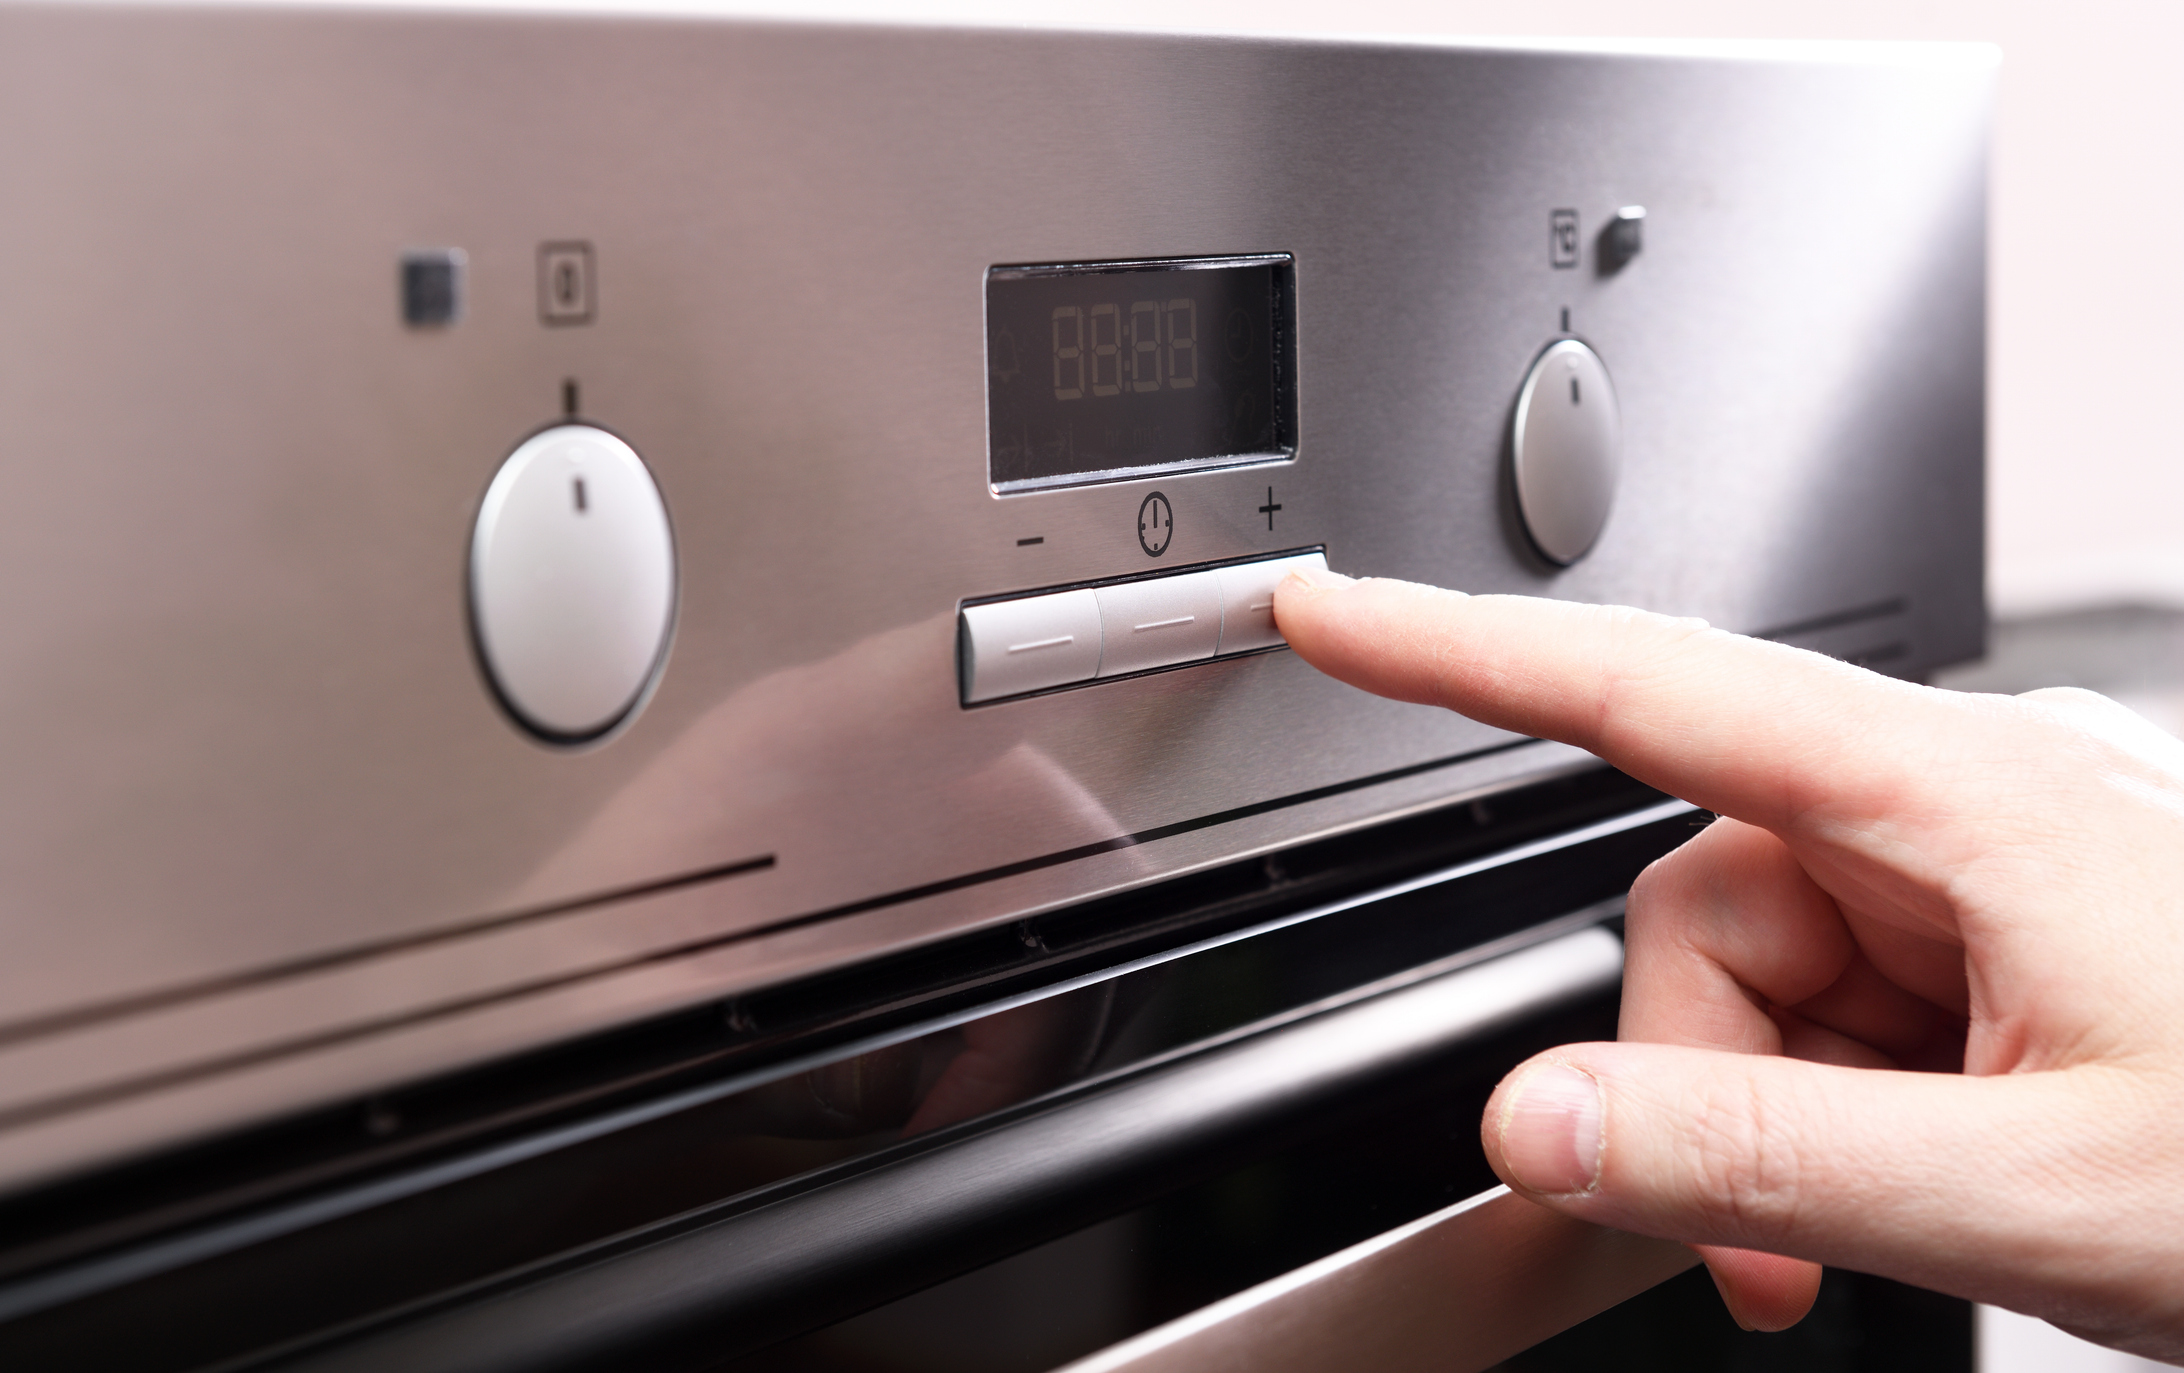
If there’s one step you don’t want to rush when using a pizza stone, it’s the preheating process. This is vital for using a pizza stone properly.
Preheating ensures that the stone reaches and maintains the high temperatures needed for that perfect, crispy pizza crust. Try to allow at least 30 to 60 minutes.
While it might be tempting to cut the preheat time short, doing so can result in undercooked dough and unevenly cooked toppings. Patience is the key.
Experiment with Different Racks
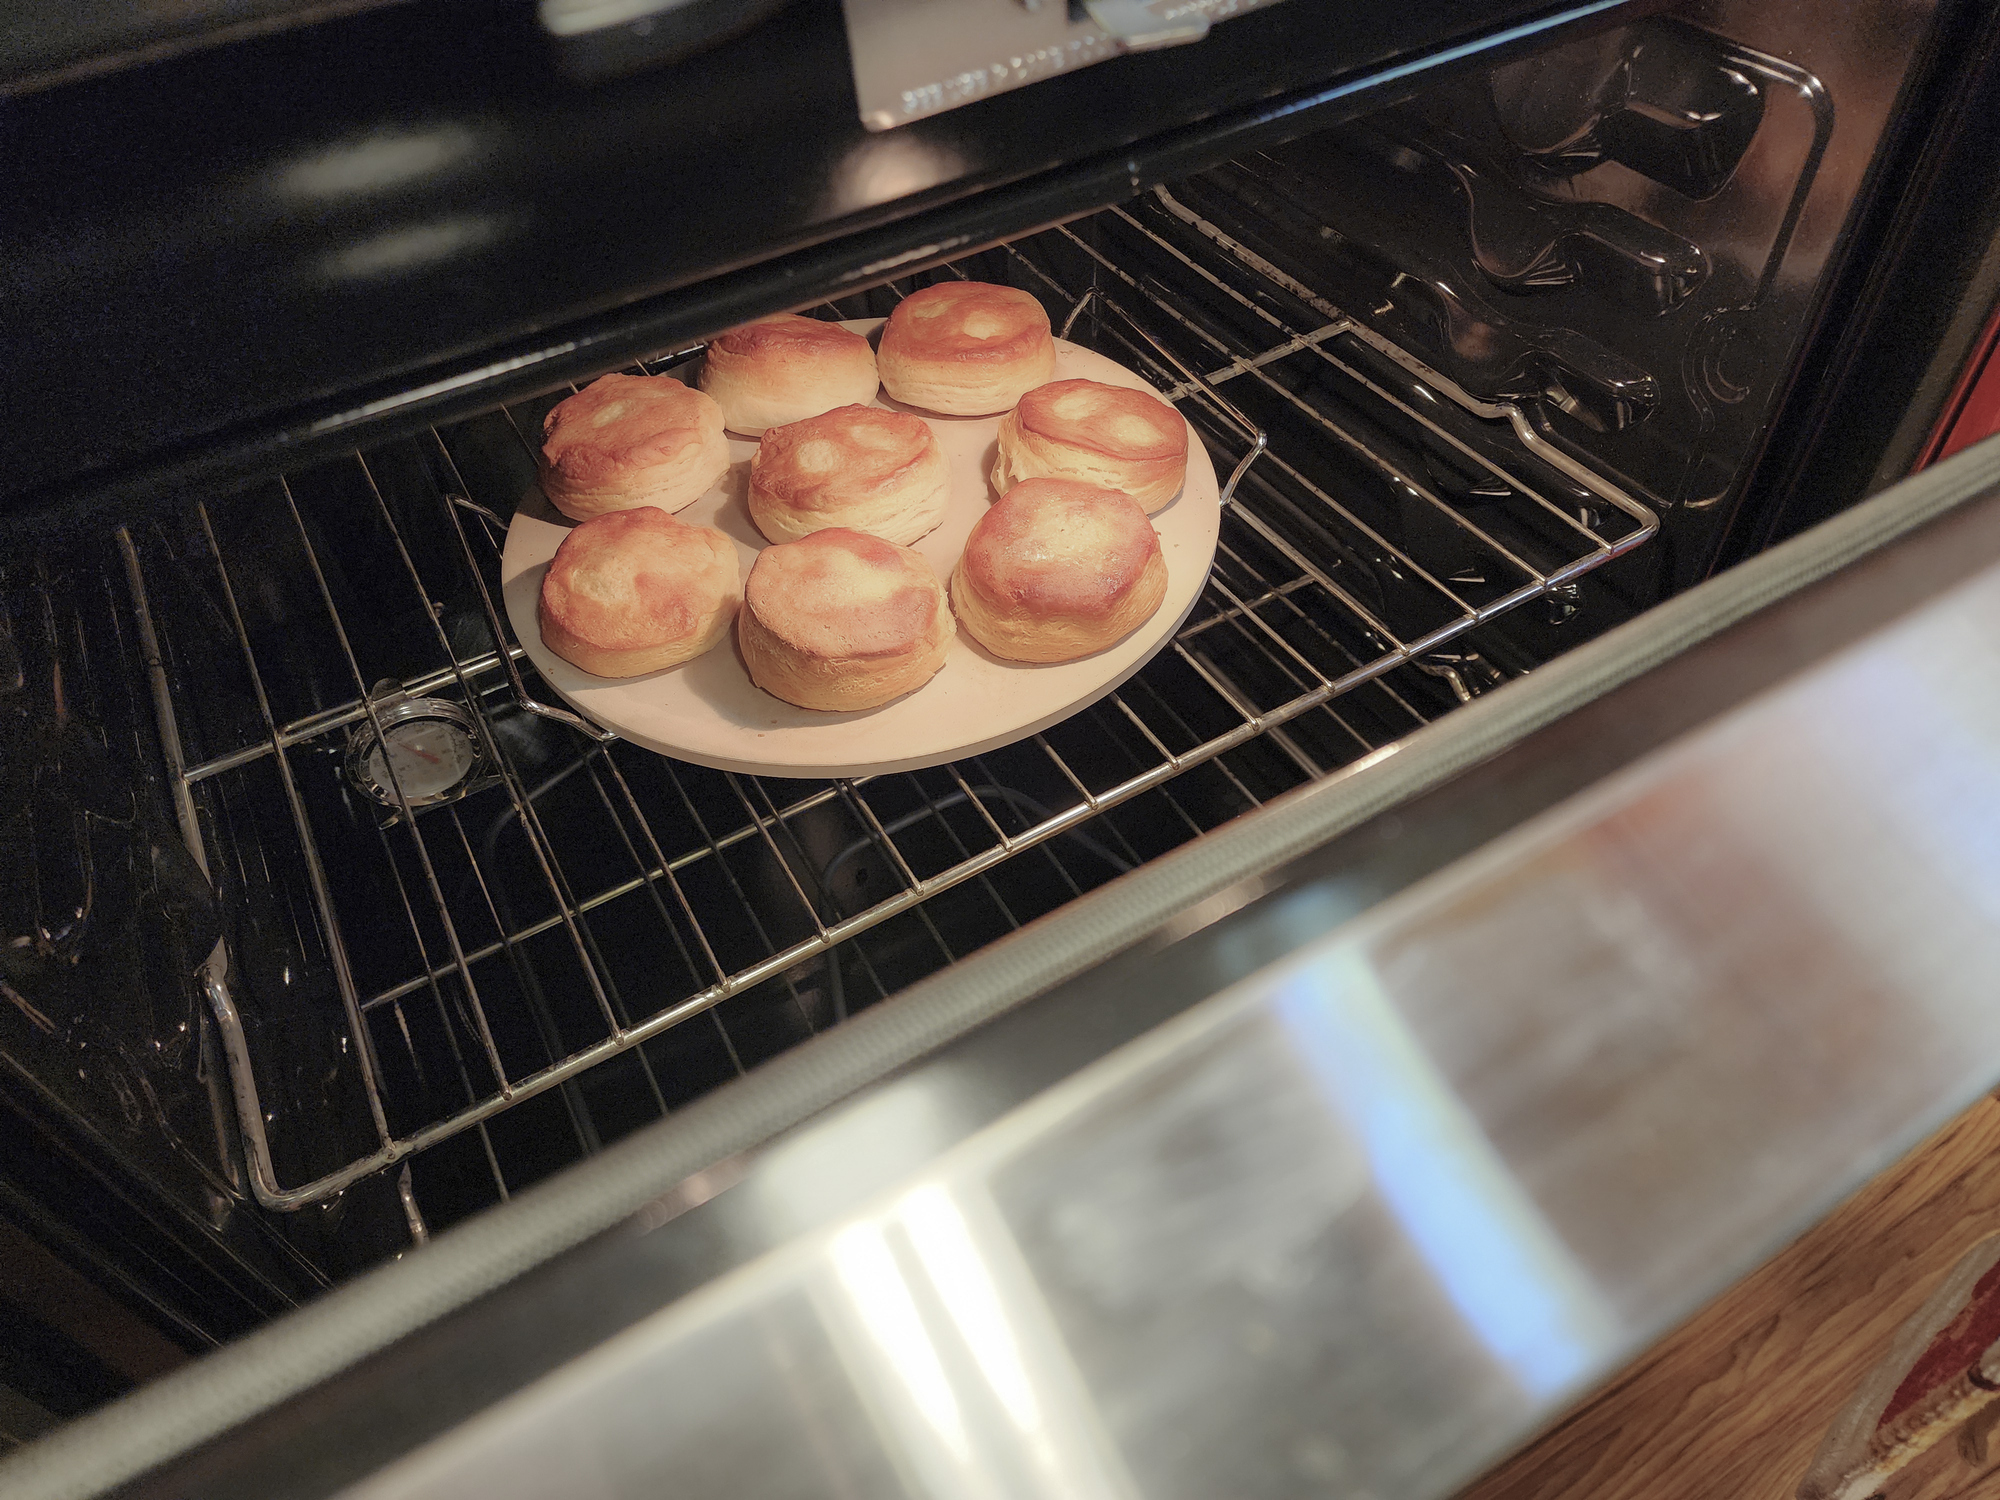
As mentioned previously, the best rack for your pizza stone is typically the bottom rack. Being closer to the heat element helps the stone radiate more heat.
However, it’s worth experimenting with other oven locations to see what you like best. Each method of placing your pizza stone has its pros and cons.
Typically, placing the stone on the bottom rack will result in a crispier crunch. Placing it higher up can lead to more thoroughly melted cheese.
Try Recipes Beyond Pizza
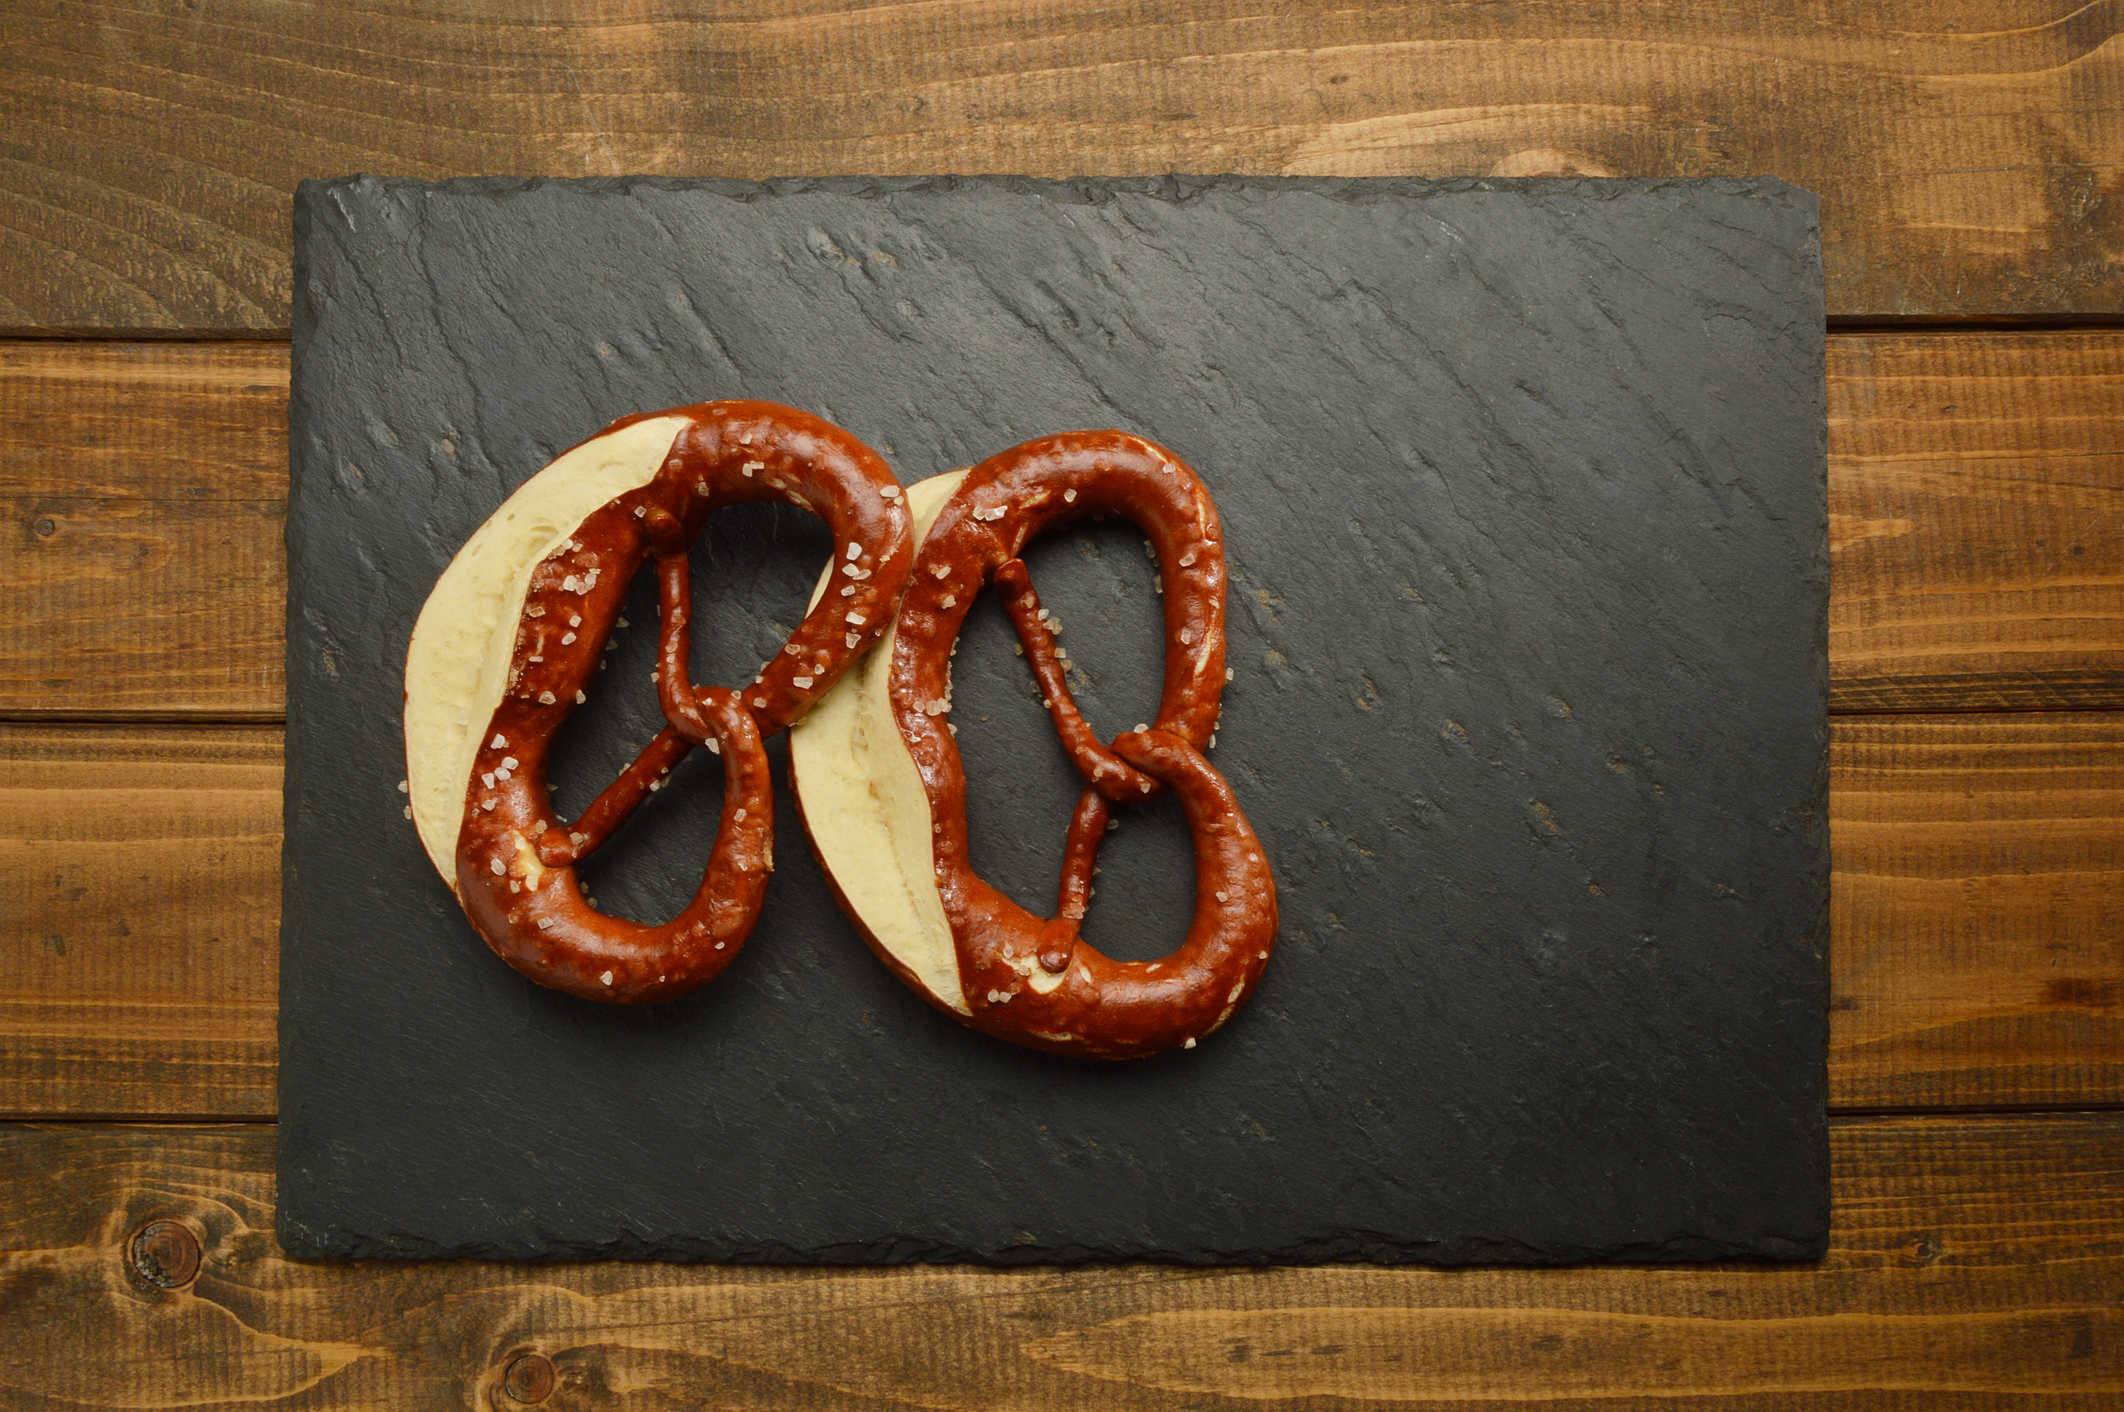
Once you’ve perfected your pizza-baking technique, you can start experimenting with other baked goods and recipes. A pizza stone is a highly versatile kitchen tool!
Try baking bread, roasting vegetables, or making cookies on it. The stone’s even heat distribution mimics a brick oven, giving items unique textures and flavors.
Vegetables roast perfectly with a charred, flavorful edge. Cookies come out evenly baked with a delightful crunch. Expand your culinary repertoire using your pizza stone!
Keep a Log of Baking Times and Temperatures

Keeping a log of baking times and temperatures for each pizza or other dishes you make with your pizza stone can be an incredibly helpful habit.
Over time, this log will become a valuable resource. It allows you to refine your process for consistent results and even share your tips with others.
Record exactly how long you bake each item, the temperature you used, and the results. Play around with different times and temps to see what works best.
Handle Your Pizza Stone with Care
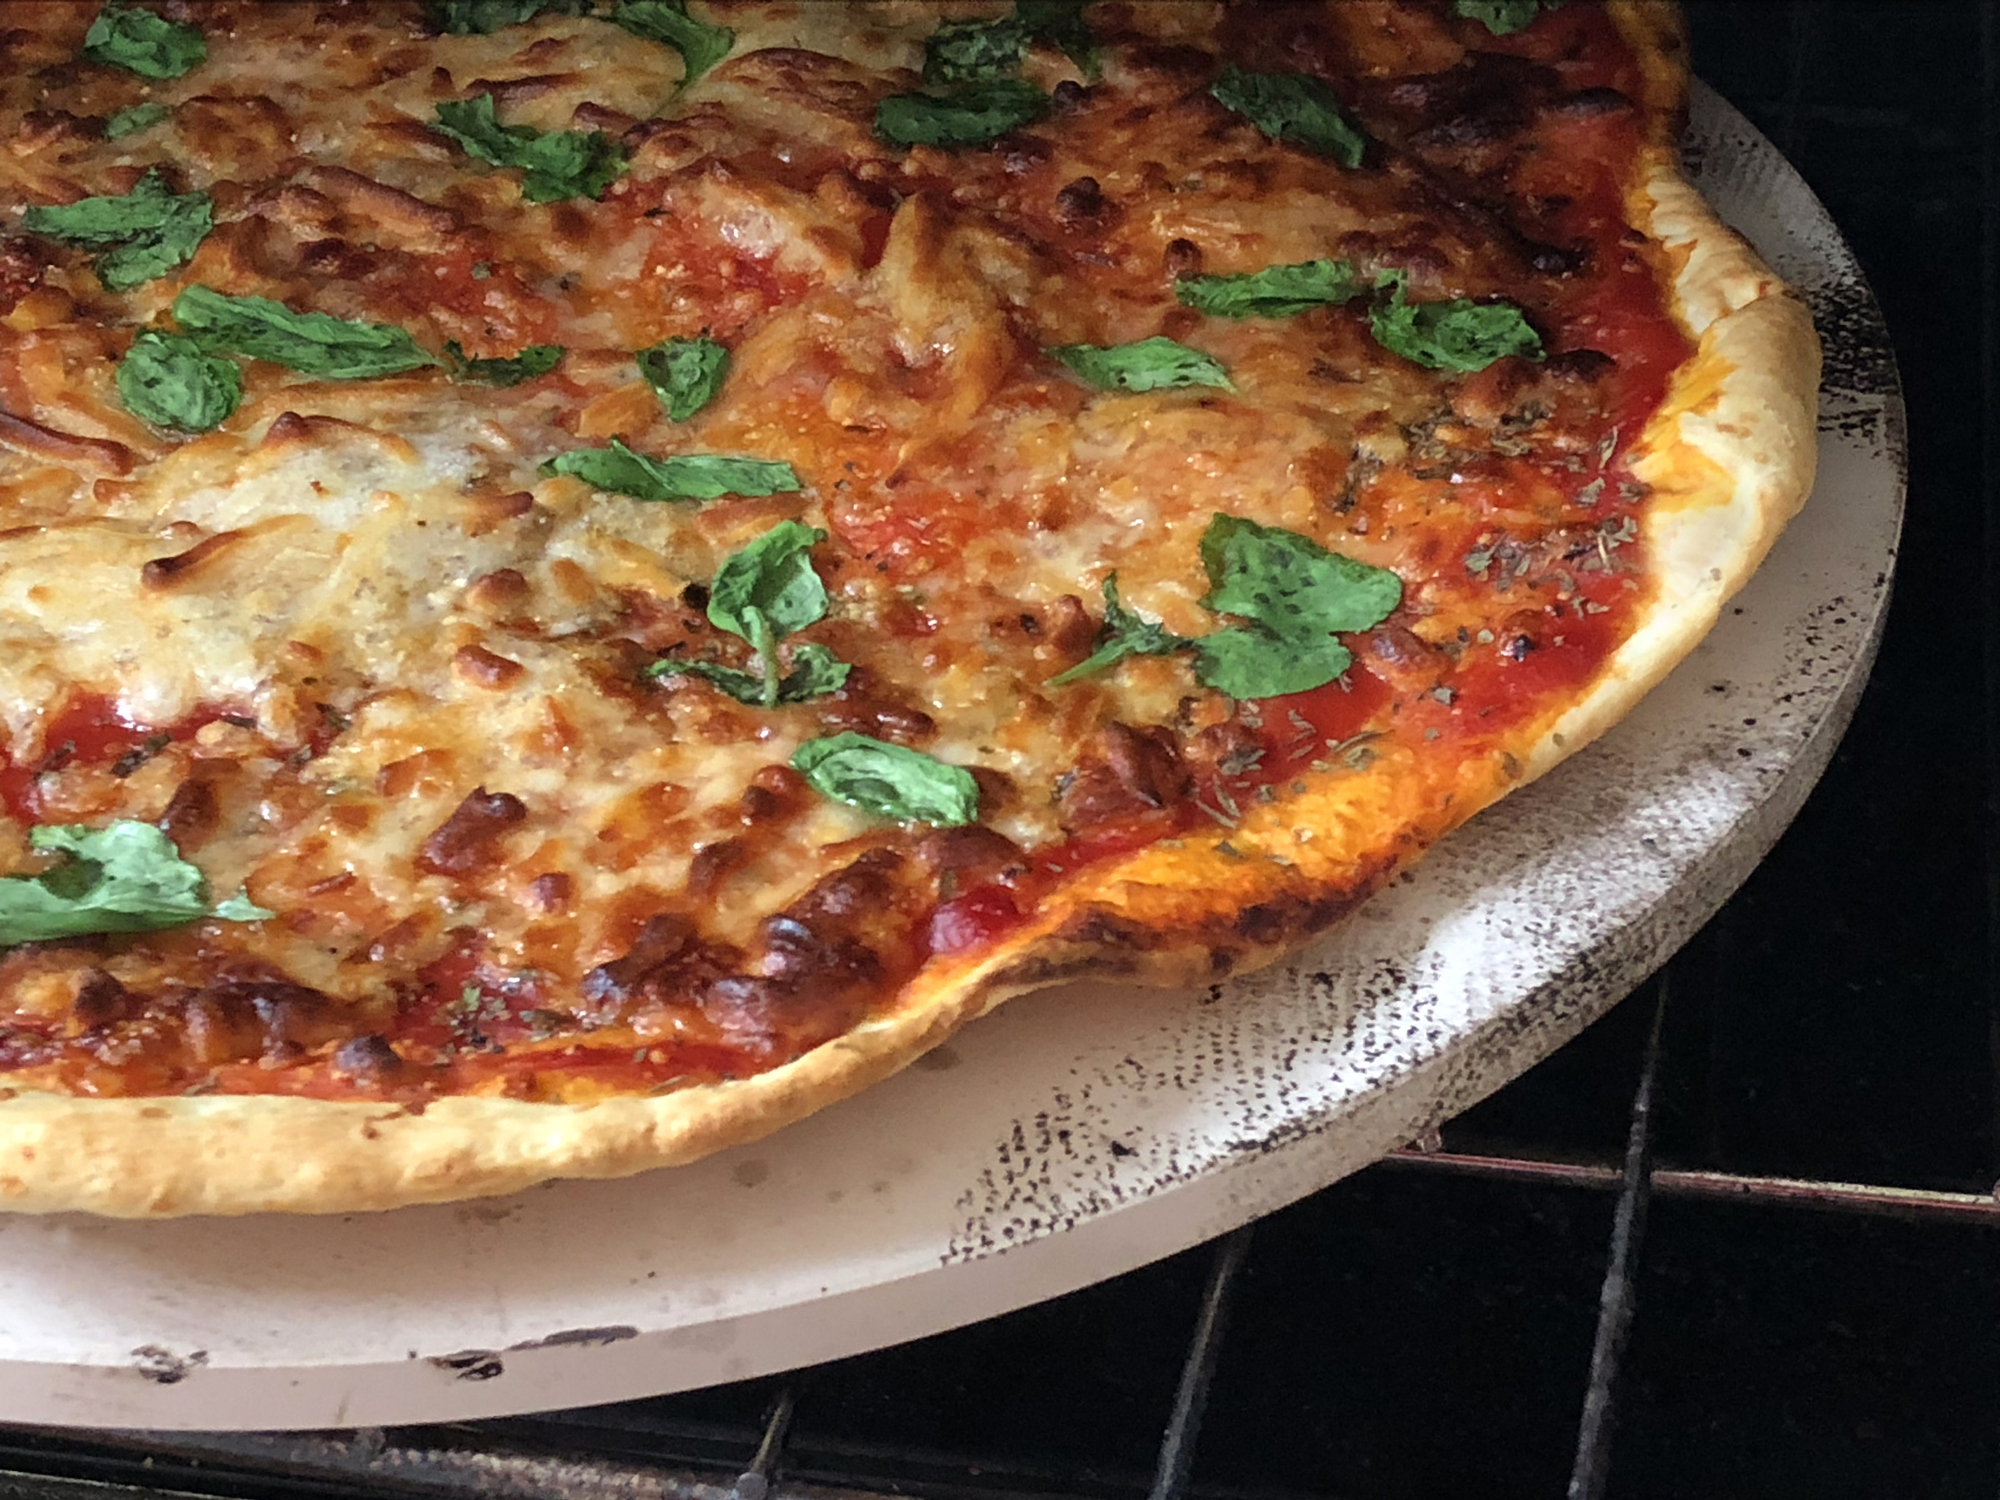
Your cooking stone might look rustic and rugged, but it’s actually quite fragile. If you’re not careful, you can easily crack or break a pizza stone.
Handling the stone with care is essential to prolong its lifespan. Most importantly, be careful to avoid sudden temperature changes, as thermal shock can cause damage.
Store your pizza stone in the oven, and only move it when it’s cool. Proper care is the key to responsible and rewarding pizza stone ownership.
Share Tips with Fellow Pizza Stone Users
Now that you’re a seasoned pizza-stone user, you’re a member of a very exclusive club! Reach out to friends and family members who use them, too.
Together, you can swap tips and help each other get the most out of your pizza stones. It’s all about word of mouth and passing on traditions.
Discuss your successes and challenges, and help one another troubleshoot any issues. Pizza-making with a pizza stone is a collaborative effort if you want the best results!

